Securing Tool Change Door to Prevent it from Falling

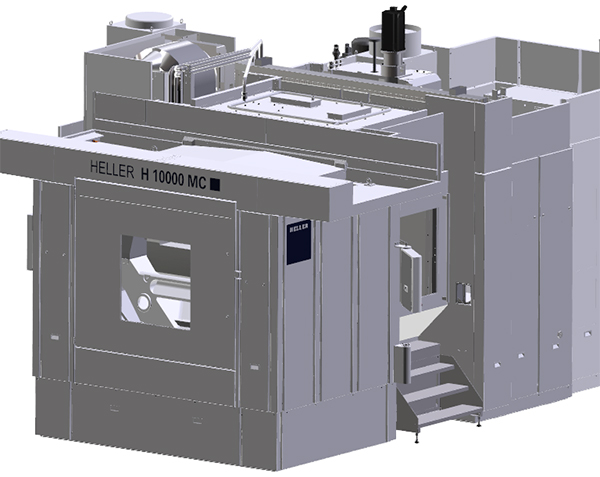
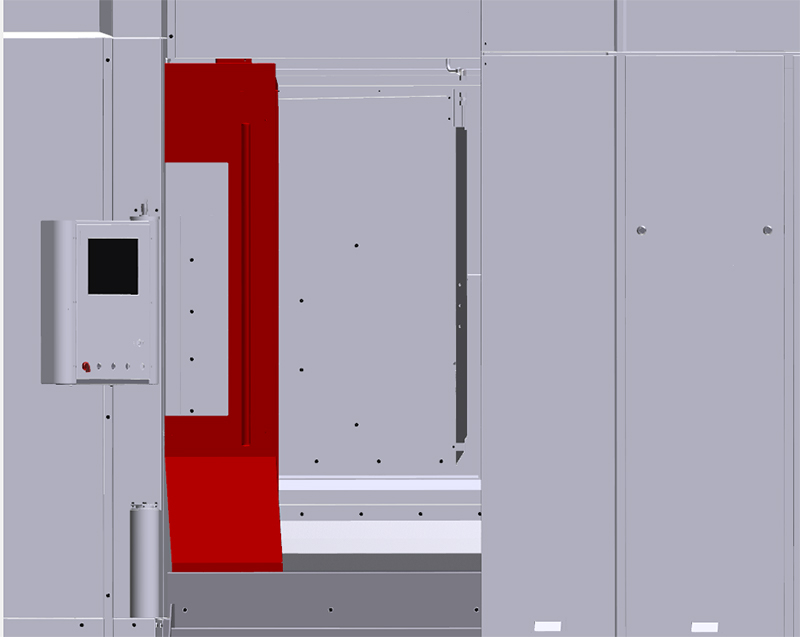
Work being carried out near the tool changer may result in injury if the lifting device of the tool change door should fail. The tool change door must be supported before work is carried out in the danger zone.

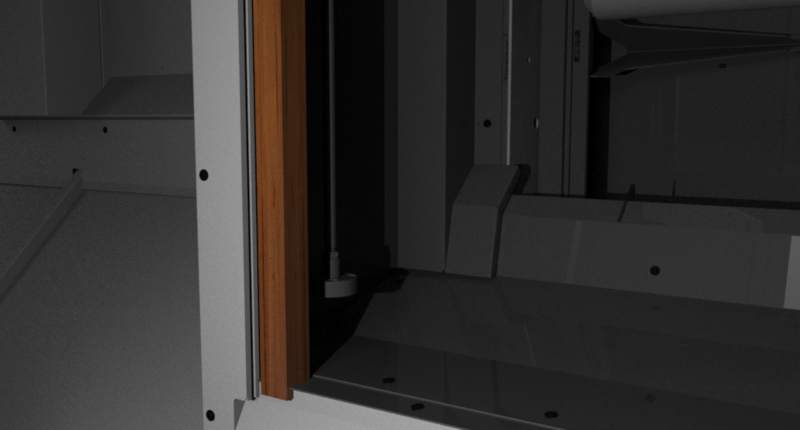
Suitable lengths of stable timber beam.

Before Starting Work

Step 1:

The machine is ready for production.

Step 2:

Access right for "Individual functions" main menu granted.

Step 3:

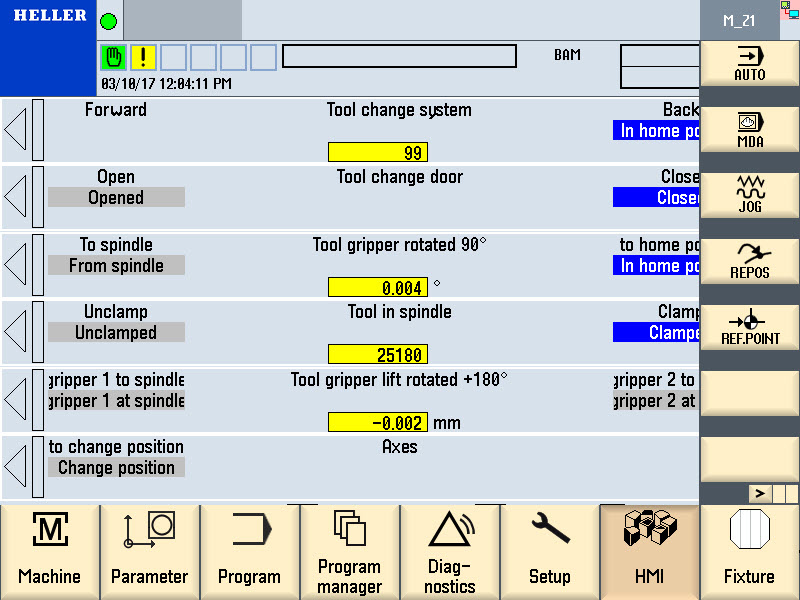
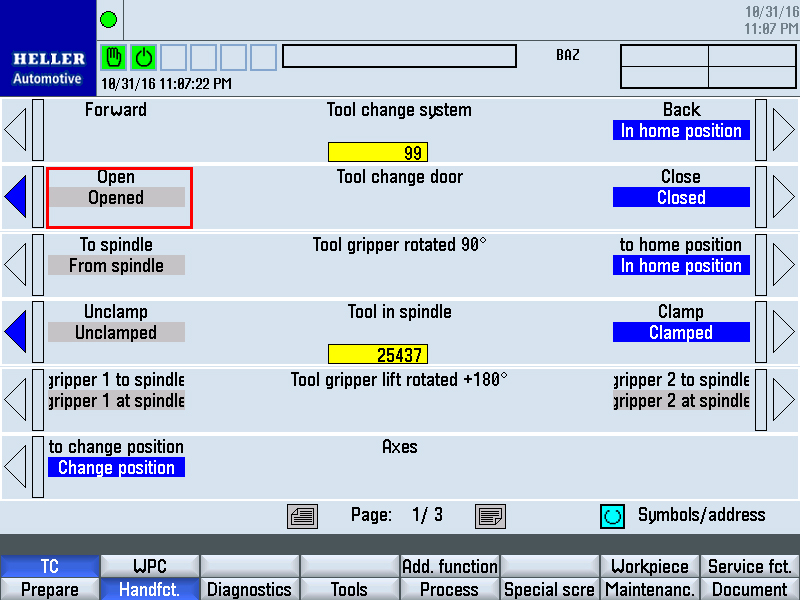
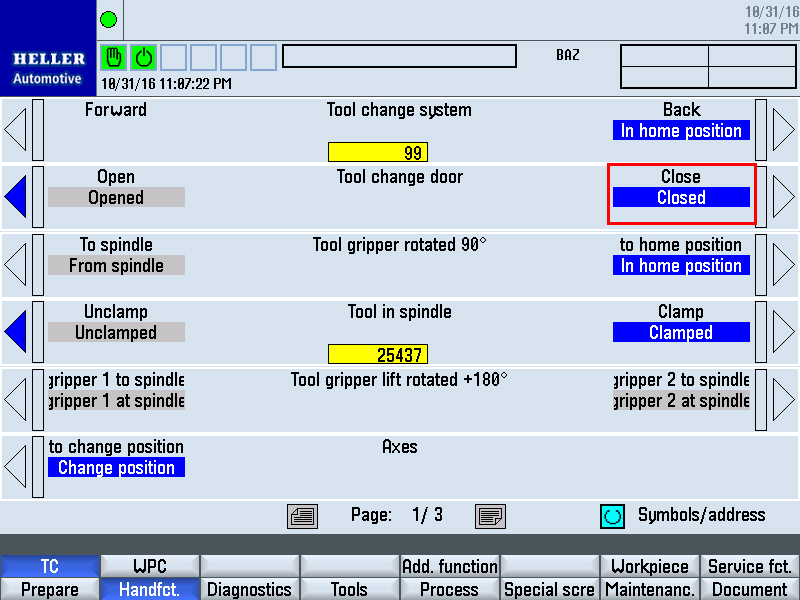
Select the "Tool change individual functions" main menu.

Step 4:

Open tool change door using the "tool change door" individual function.

Step 5:

Ensure that the loading hatch in the work area hood is closed.

Step 6:

Open work area safety door and secure to prevent closing.

Step 7:

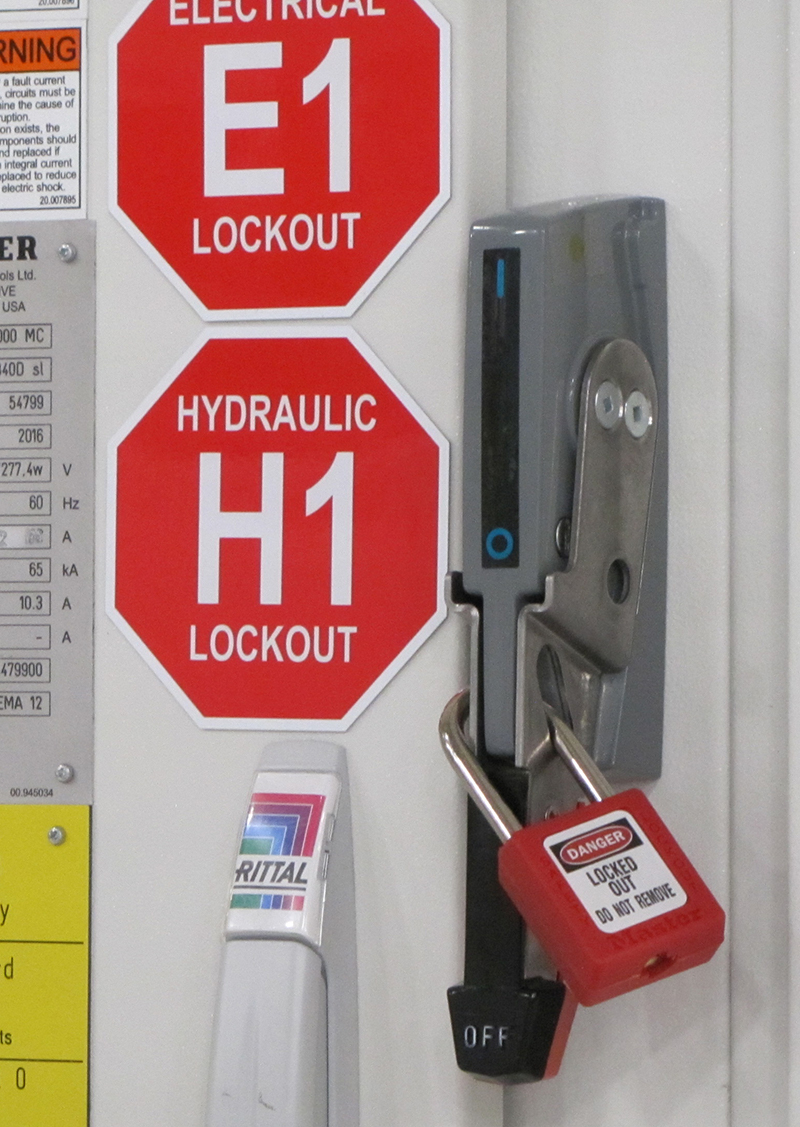
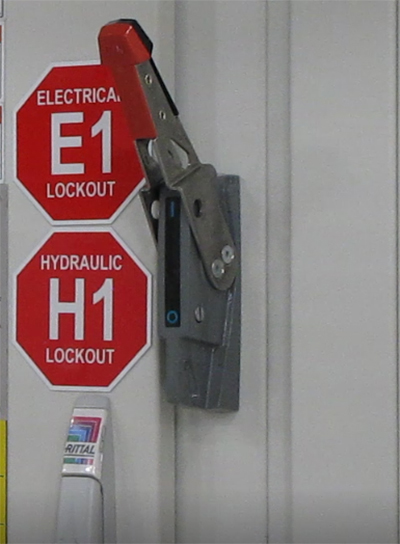
Switch off machine at main switch and secure against being switched on again.

Step 8:

Firmly clamp the wooden block below the tool change door.

On Completion of Work

Step 1:

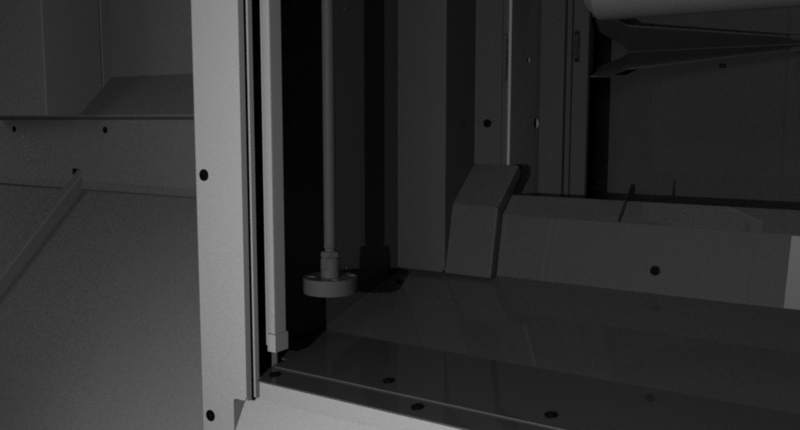
Remove support from the tool change door.

Step 2:

Before closing the work area safety door, ensure that nobody is behind the guard panels. Close work area safety door.

Step 3:

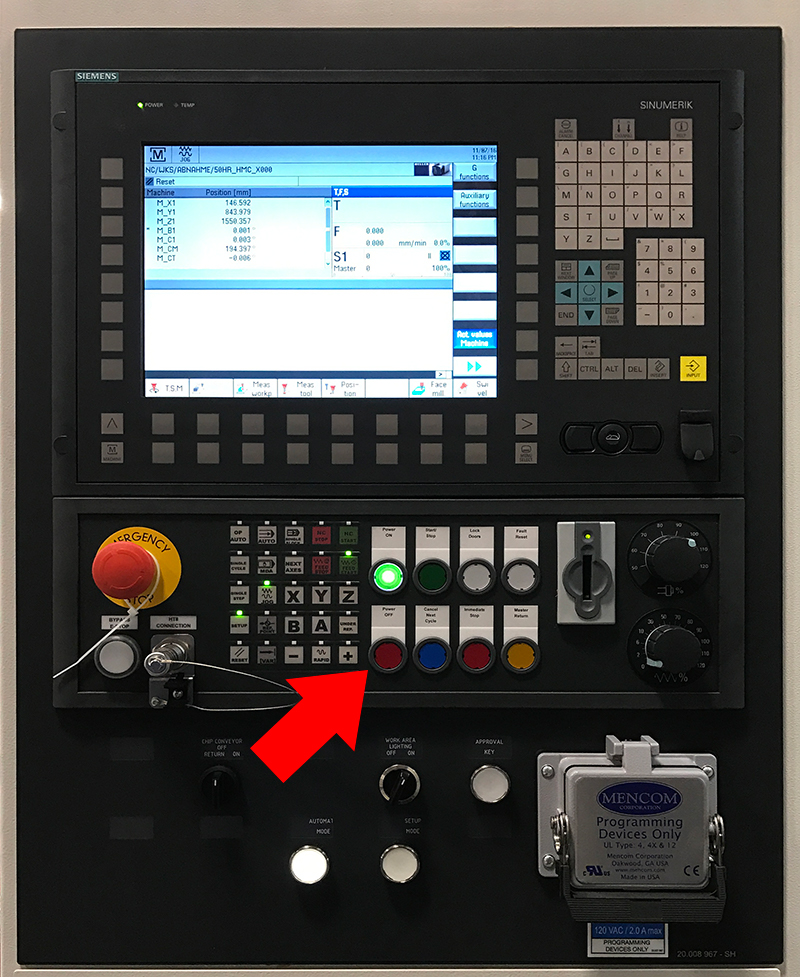
Turn on machine on at the main switch.

Step 4:

Switch on motors.

Step 5:

Close tool change door using the "tool change door" individual function.

Step 6:

Revoke access rights.

Step 7:

Switch off motors.