Replacing Safety Pane of the Work Area Safety DoorInterval 8 Year(s) Real time The safety pane consists of polycarbonate, which is protected on the inside by single-layer safety glass and on the outside by blown film. Polycarbonate can age and become brittle, which reduces its impact resistance. It is not possible to see this embrittlement! In order to protect persons in the machine surroundings, replace the safety pane after eight years as a precautionary measure. Component Safety pane of work area safety door Spare part Safety pane, Sealing strip, Joint sealant(Polyether to DIN 18454) See wearing and spare parts list (VS). Removing Safety PanePlease observe chapter 4.2 "Special safety measures" when entering or leaving the machine. Exercise caution when working inside the machine with the machining unit not secured! Step 1: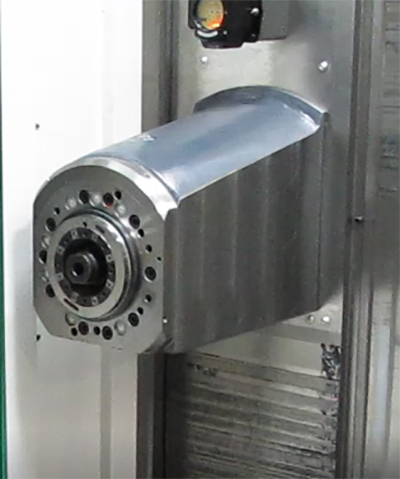
There should be no tool in the tool spindle. Step 2: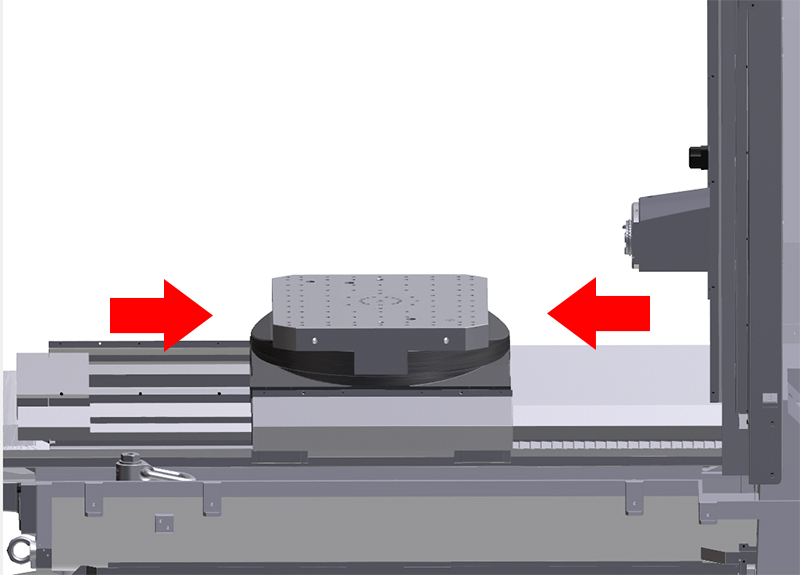
The linear axes are positioned so as to make the inside of the work area safety door easily accessible.
Step 3:
Loading hatch closed. Step 4: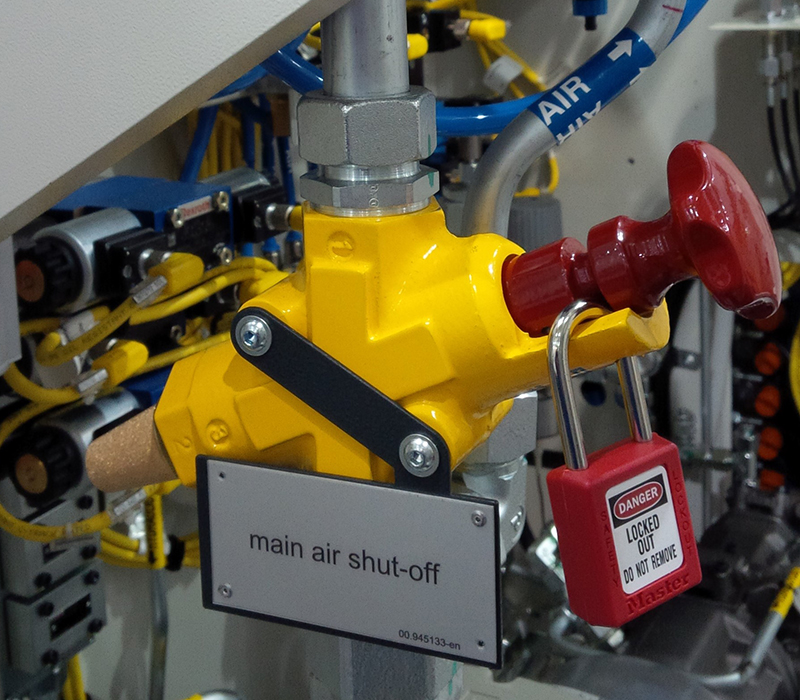
Compressed air shut-off valve closed and secured to prevent opening. Step 5: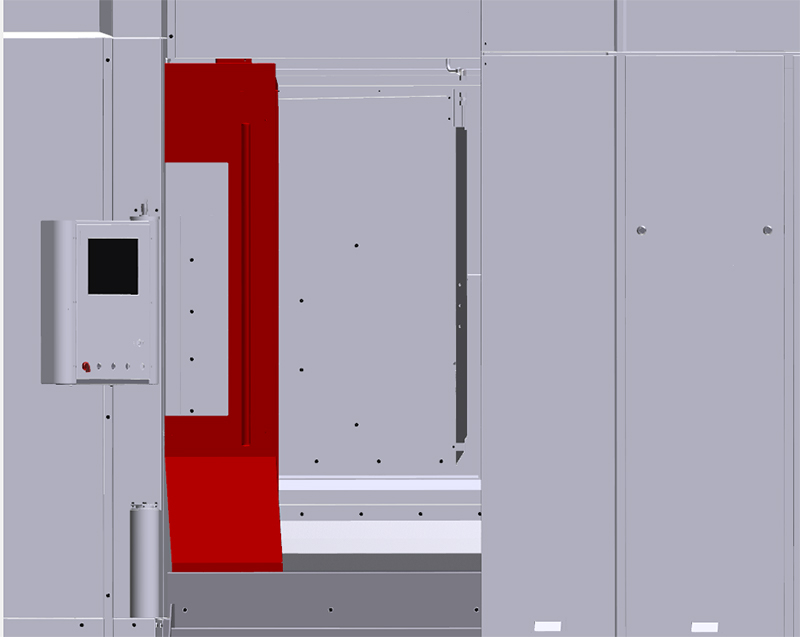
Unlock and open the work area safety door. Step 6: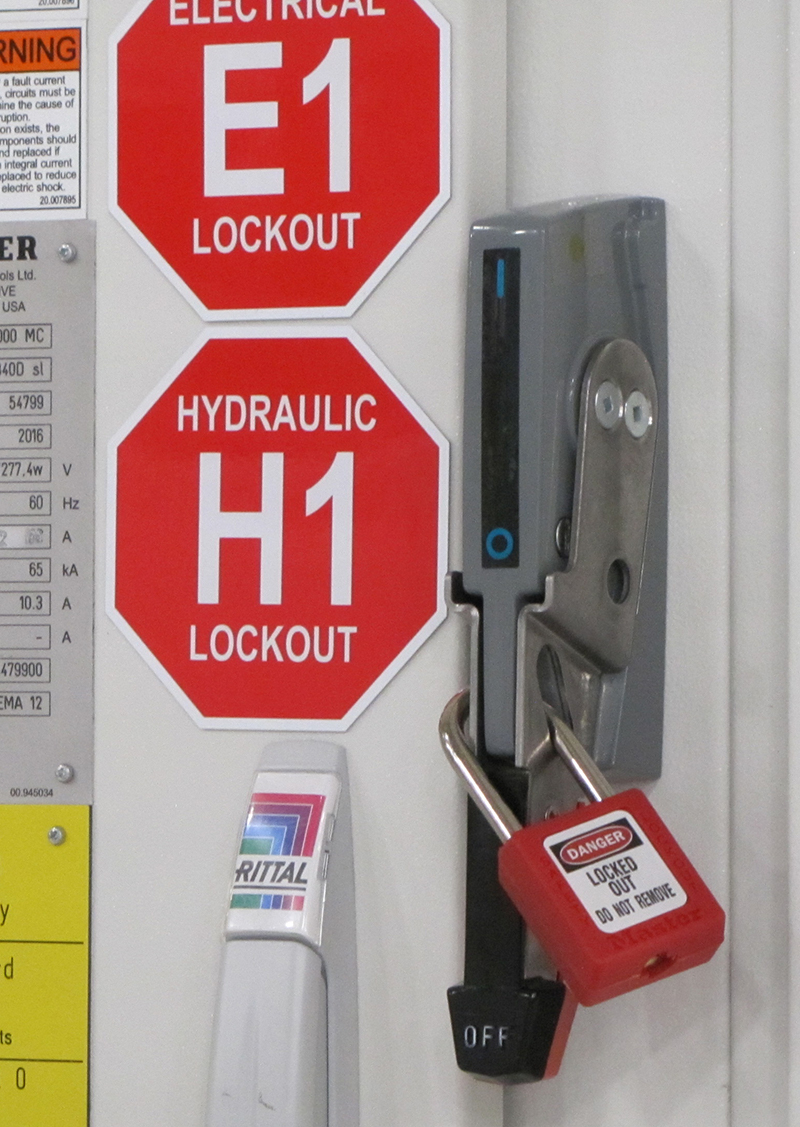
Switch off machine at main switch and secure against being switched on again. Step 7: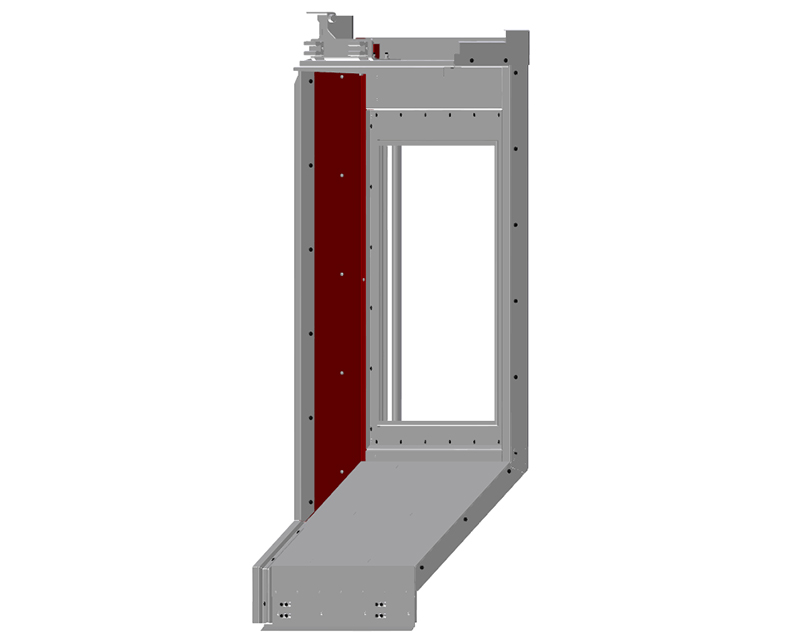
Unscrew cover plate to make the duct union of the air supply and all fixings of screen blow-off device accessible. Step 8: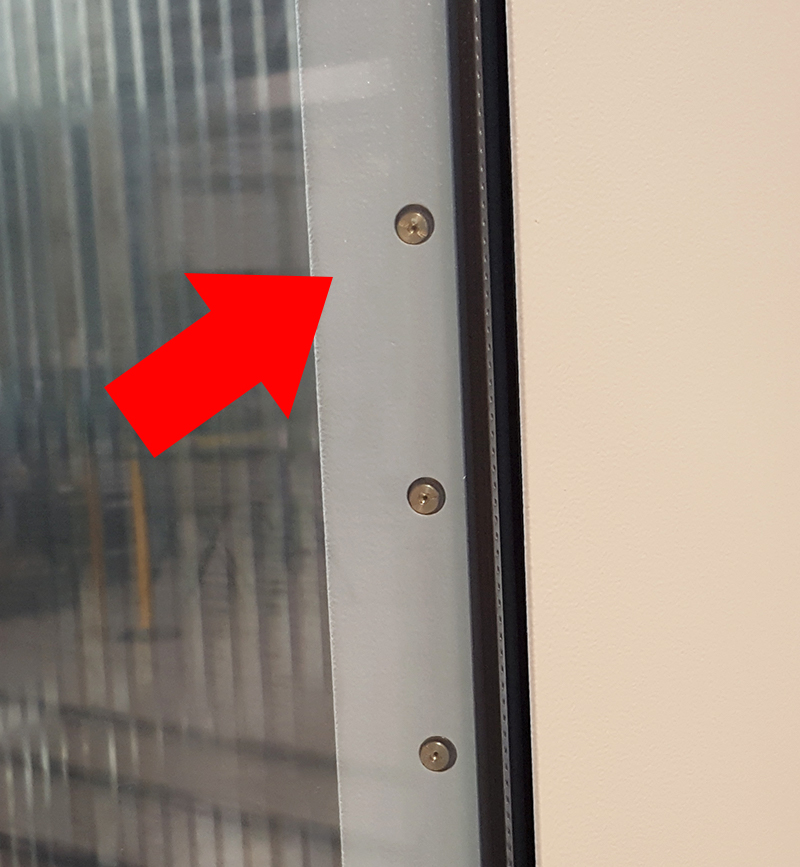
Unscrew and remove screen blow-off device. Step 9: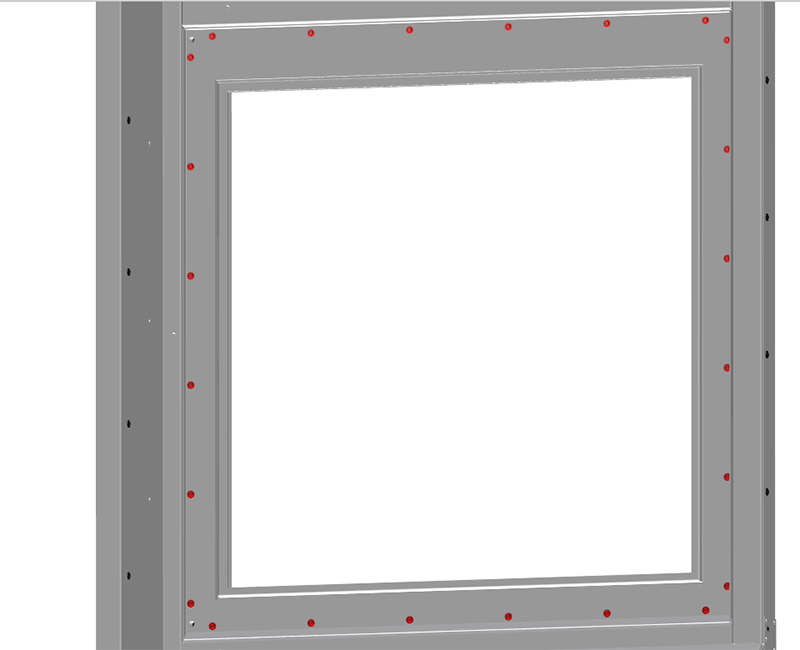
Remove flange-head screws from retaining plate. Step 10: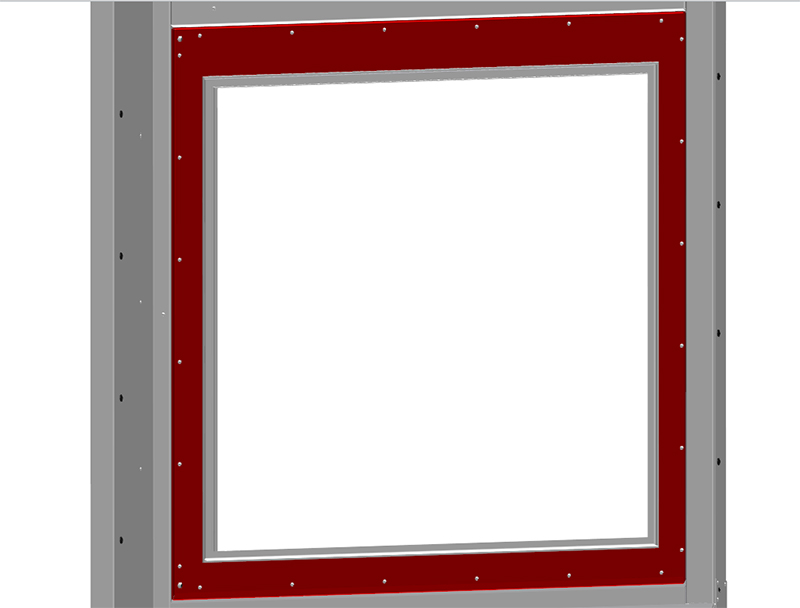
Remove retaining plate carefully to prevent the safety pane from falling out. Step 11: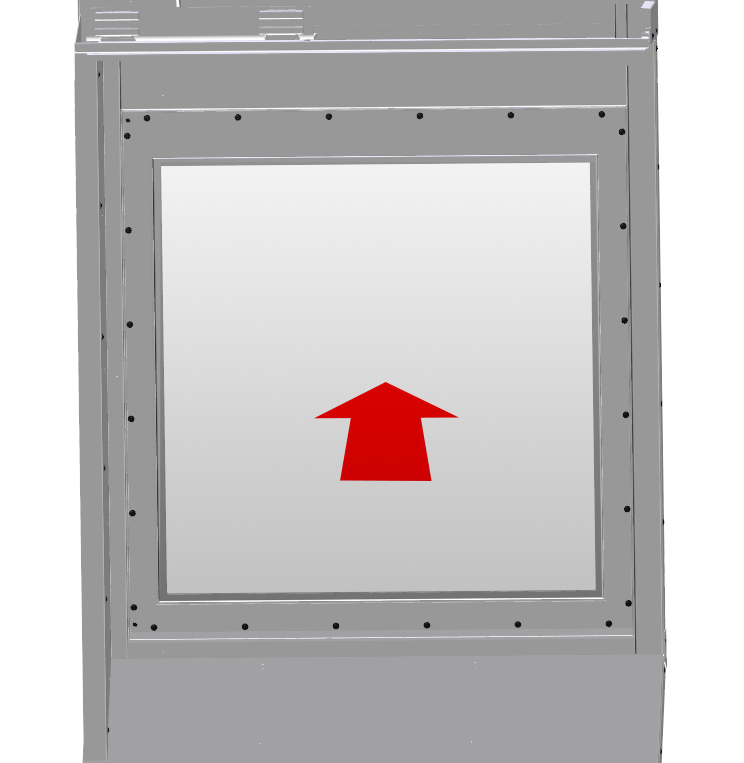
Push the safety pane out of the door frame towards the work area. Step 12:
Remove used sealing band from retaining plate and joint sealant residues from door frame. Installing Safety PaneStep 1: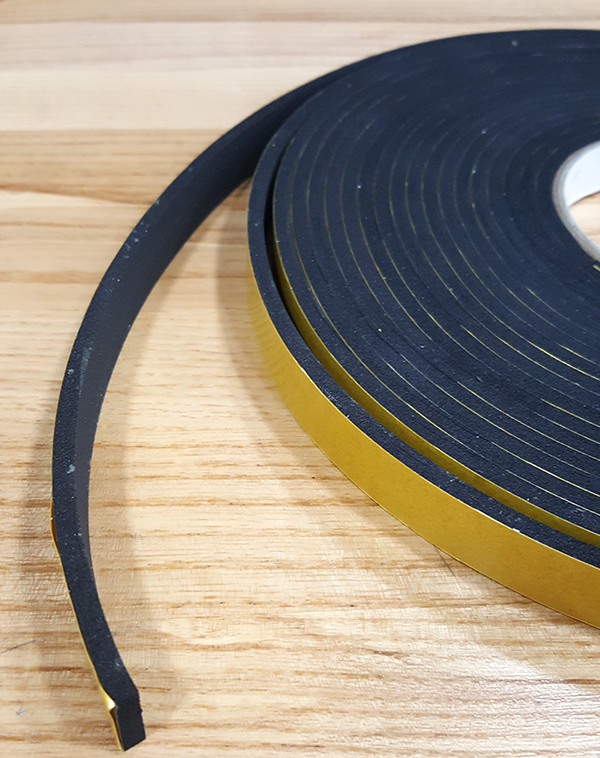
Fit new sealing band to retaining plate. Step 2: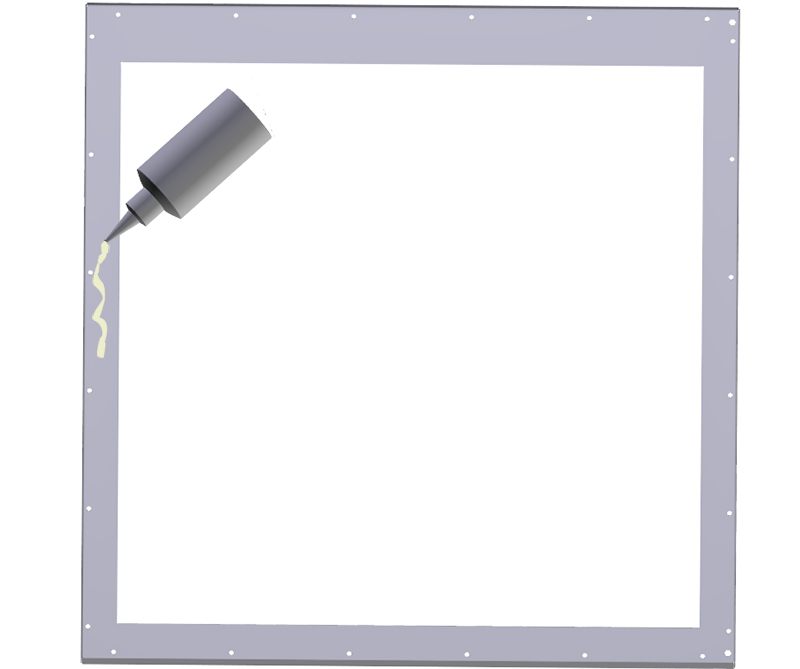
Apply joint sealant to the entire door frame. Distance from window opening: 3 to 4 cm. Step 3:
Mount retaining plate. Step 4:
Secure retaining plate with flange-head screws. Step 5:
Connect the screen blow-off device to the air supply and fix to the retaining plate using retaining angles. Step 6:
Mount cover plate and tighten. CloseStep 1:Before closing the work area safety door, ensure that nobody is behind the guard panels. Close work area safety door. Step 2:
Open compressed air shut-off valve. Step 3:
Turn on machine on at the main switch. The work area safety door is locked. Step 4:
Switch on motors. Step 5:
Place a tool in the tool spindle to protect the tool spindle from the ingress of dirt. Step 6: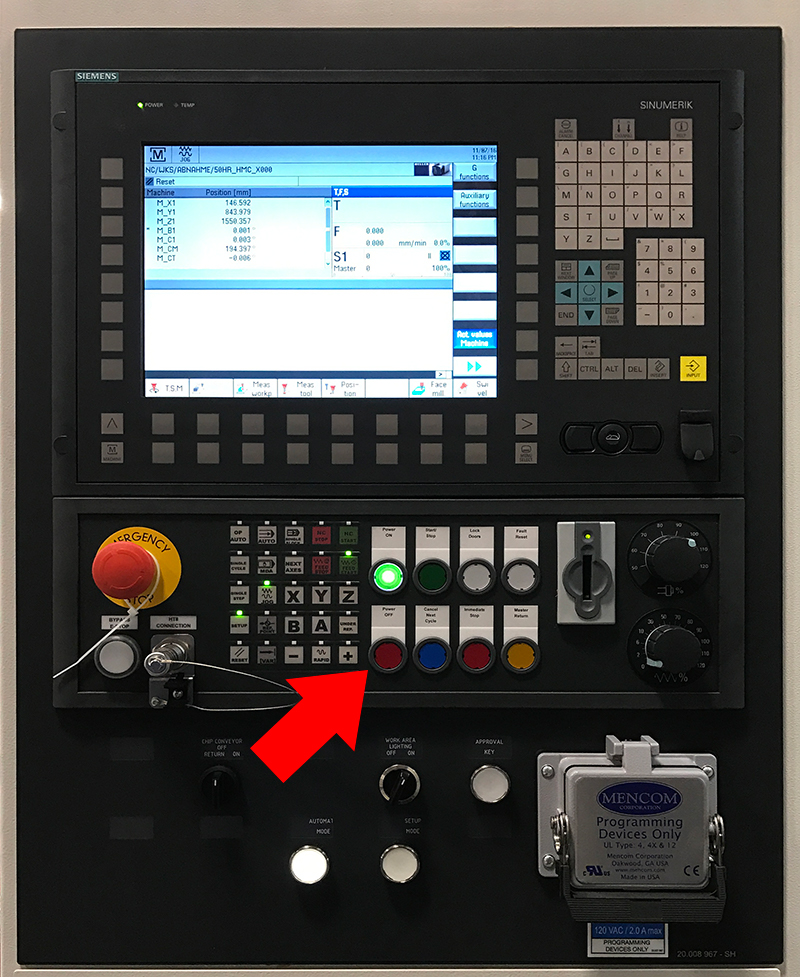
Switch off motors. |