Removing Chips from the Work AreaInterval 200 Hours Operating time Reduce this interval depending on the type and quantity of chips. Component Work area Chip hook, hand broom Please observe chapter 4.2 "Special safety measures" when entering or leaving the machine. Exercise caution when working inside the machine with the machining unit not secured! Step 1:A tool is placed in the tool spindle. Step 2: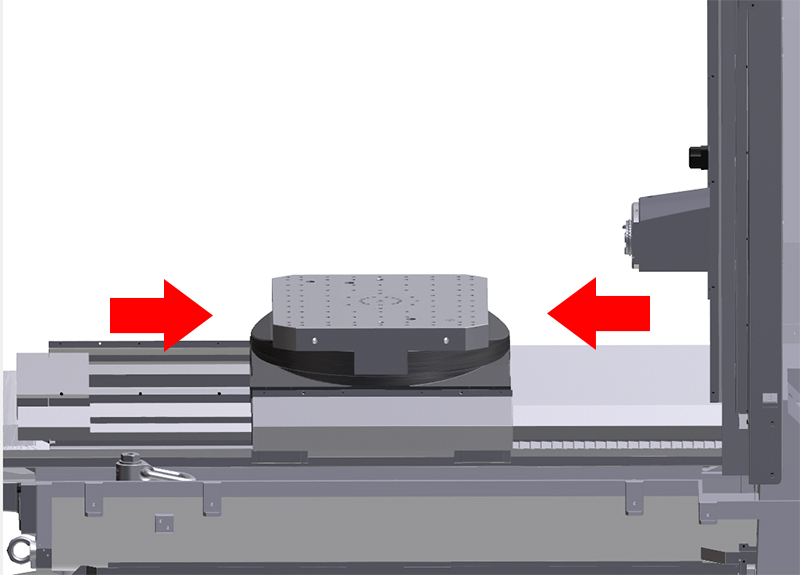
The linear axes are positioned such that you can remove swarf without entering the work area:
Step 3: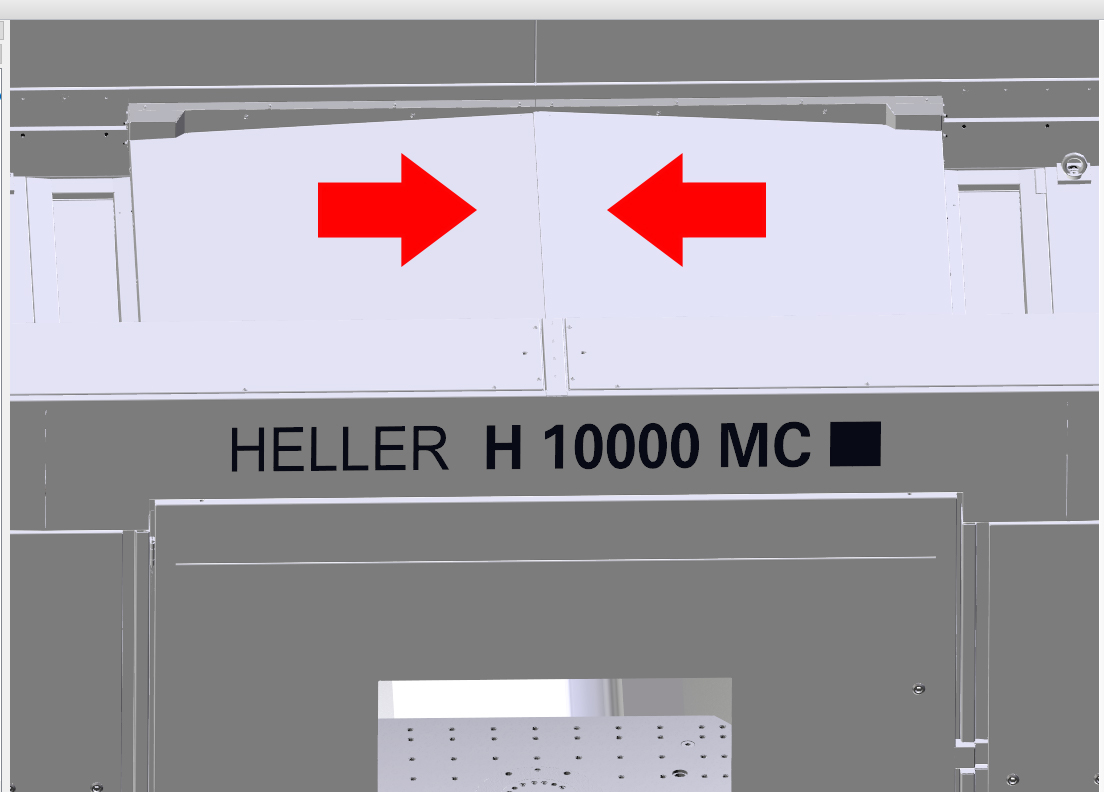
Loading hatch closed. Step 4: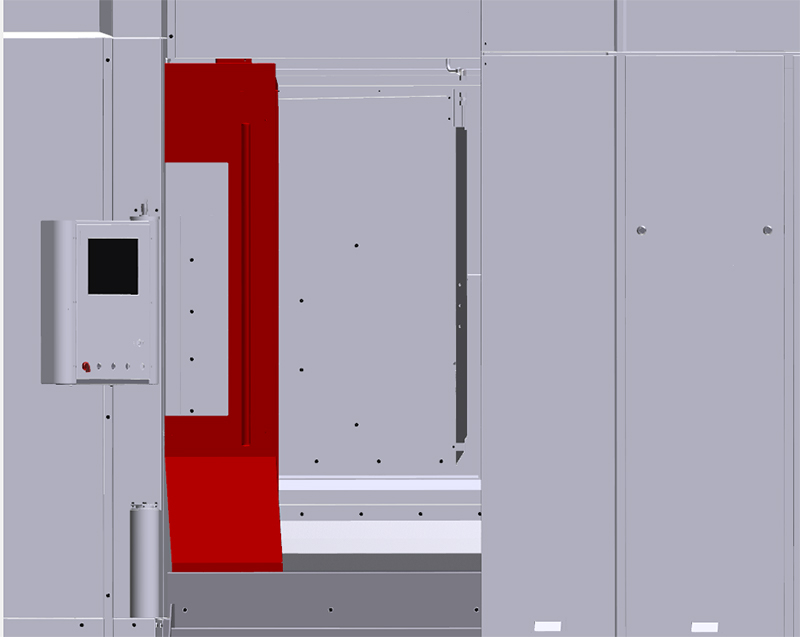
Work area safety door open and secured to prevent closing. Step 5: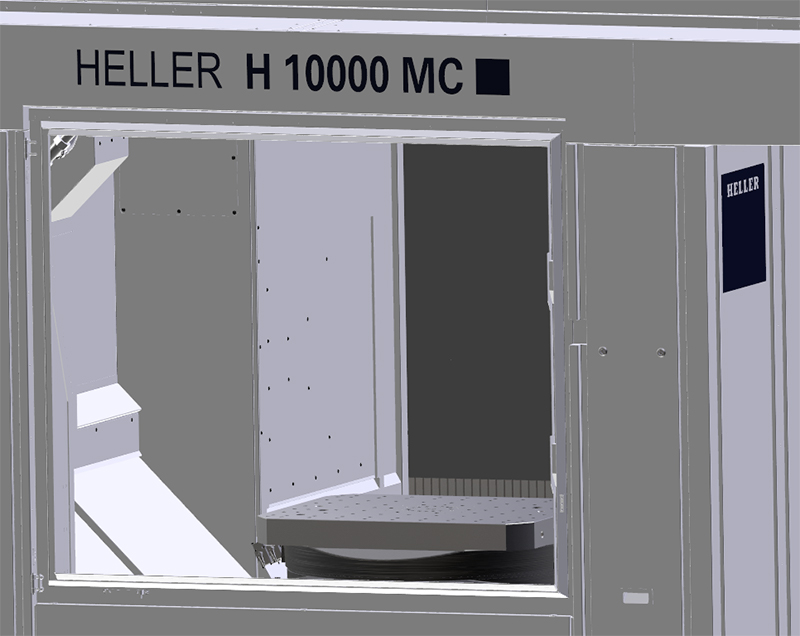
Workpiece setting station safety door (front door)opened. Step 6: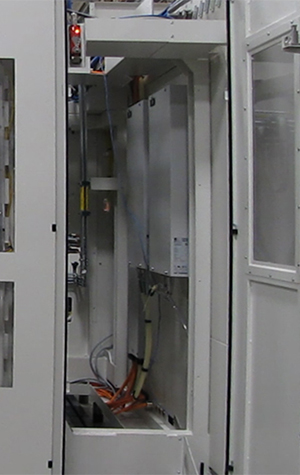
Maintenance area safety door opened and secured to prevent closing. Step 7: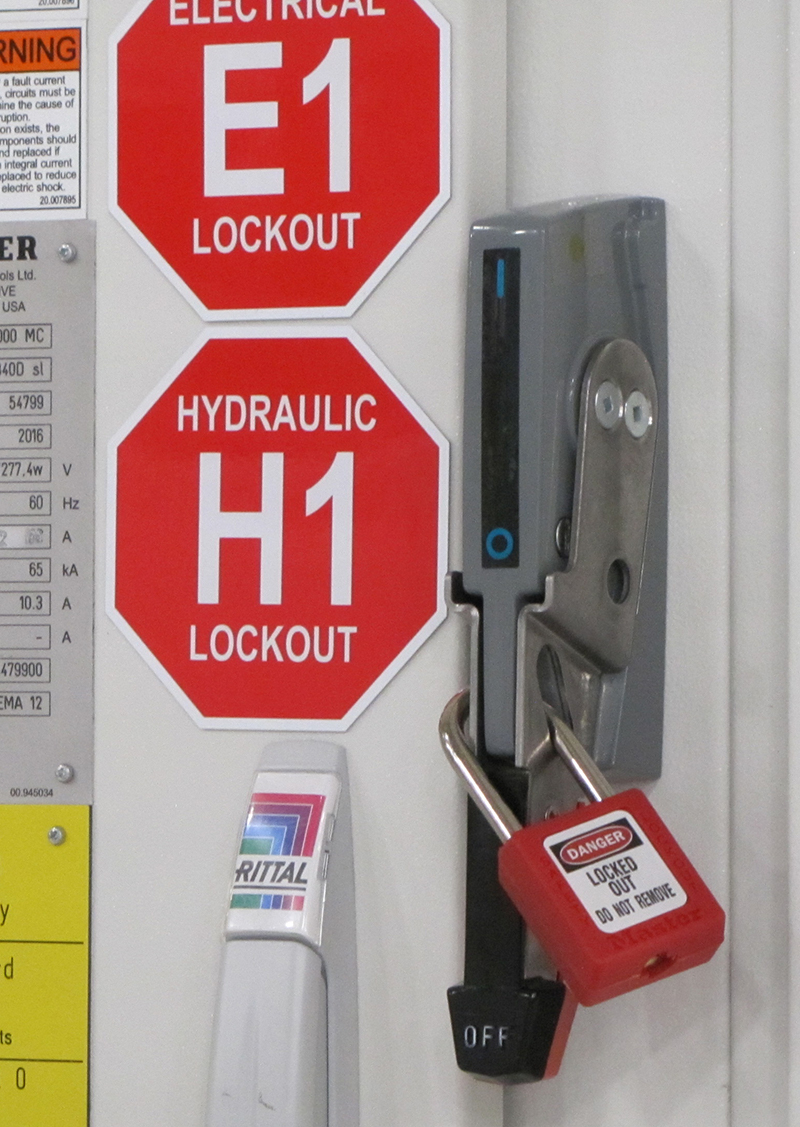
Machine switched off at main switch and secured against being switched on again. Step 8: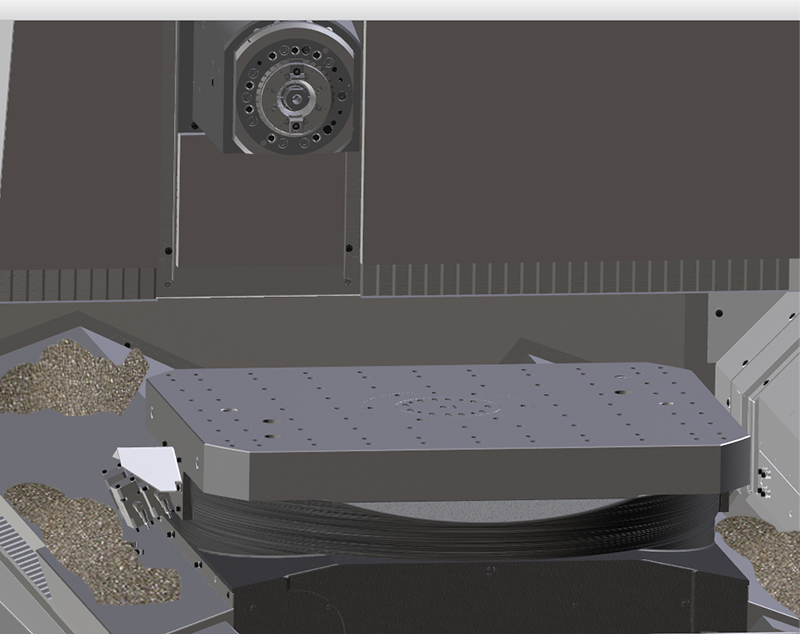
Remove chips from the workpiece clamping fixture and the work area. Step 9:Before closing the safety doors, ensure that nobody is behind the guard panels. Close the work area safety door and the workpiece setting station safety door (front door). |