Oil Change in the Guide Slides

Interval

1 Year(s) Real time

Component

Guide slides of the machining unit

Consumable

Lubrication oil CLP 46 acc. to DIN 51517, part 3 (ISO-L-CKC 46 acc. to ISO 6743, part 6) Purity class ISO 4406-18/16/13 Container capacity 5 l

Disimilar lubricants can contain various additives that might not be compatible. To rule out incompatibility between the lubricants, disimilar lubricants must not be mixed. If you have any questions, please contact your lubricant supplier.

Used oil must be regarded as hazardous waste and be disposed of according to the locally applicable regulations.

Spare part

Oil filter screw with seal: screw plug

  • Container with 10 litre capacity
  • Can with narrow neck or funnel
  • Fine filter
  • Ladder

Please observe chapter 4.2 "Special safety measures" when entering or leaving the machine.

Step 1:

The machining unit is warm to the touch.

Step 2:

Machining unit traversed into support position.

Step 3:

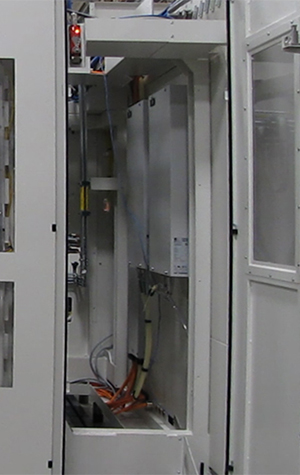
Maintenance area safety door opened and secured to prevent closing.

Step 4:

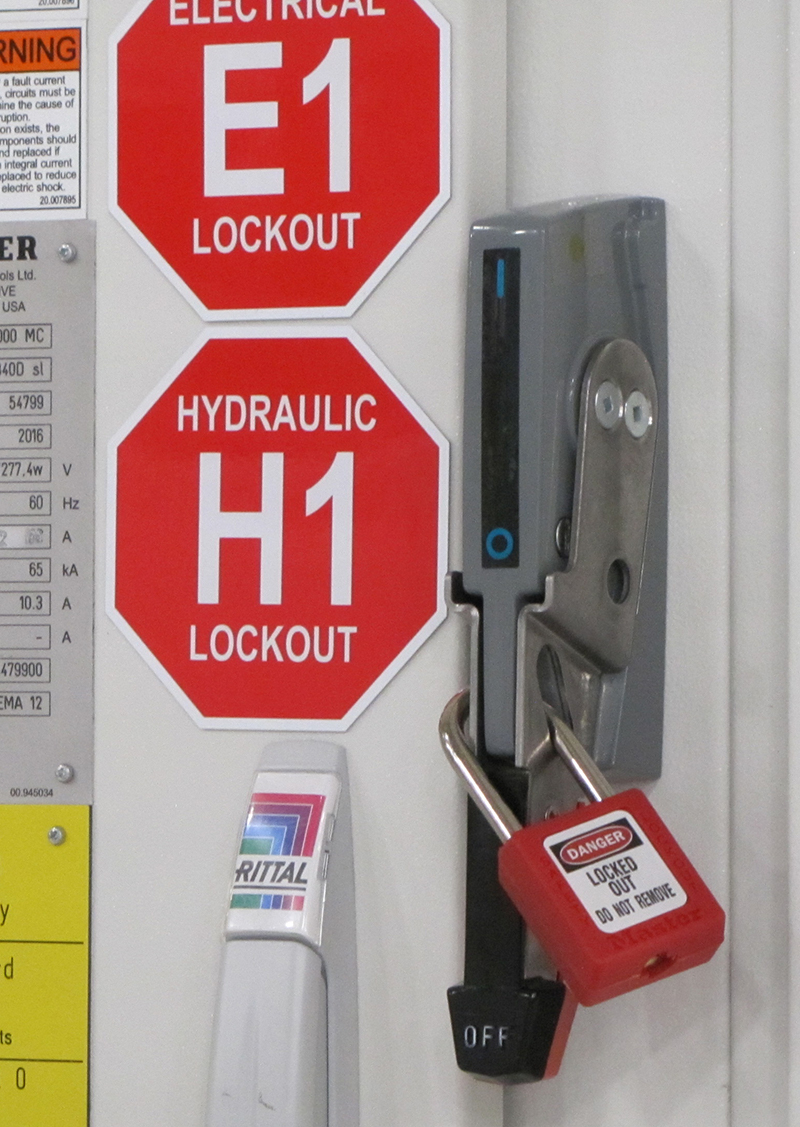
Machine switched off at main switch and secured against being switched on again.

Step 5:

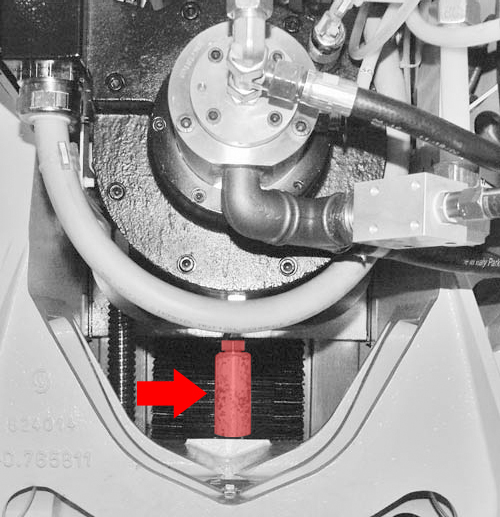
Machining unit protected from falling by supports.

Step 6:

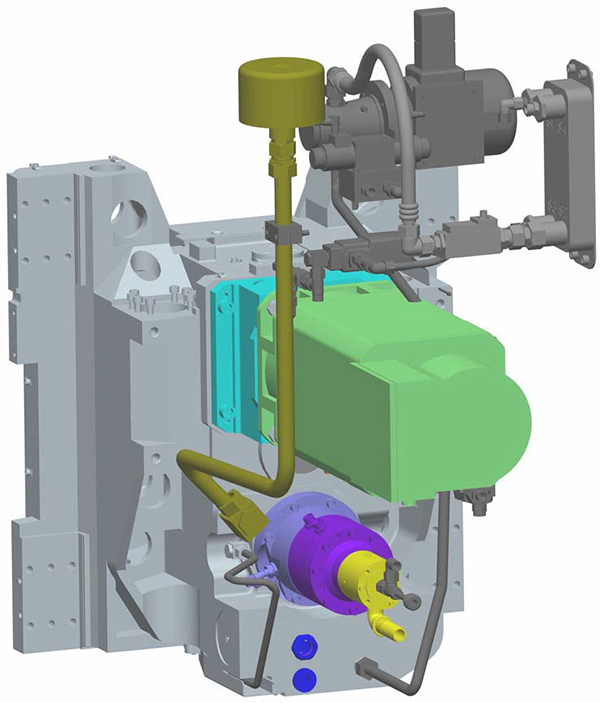
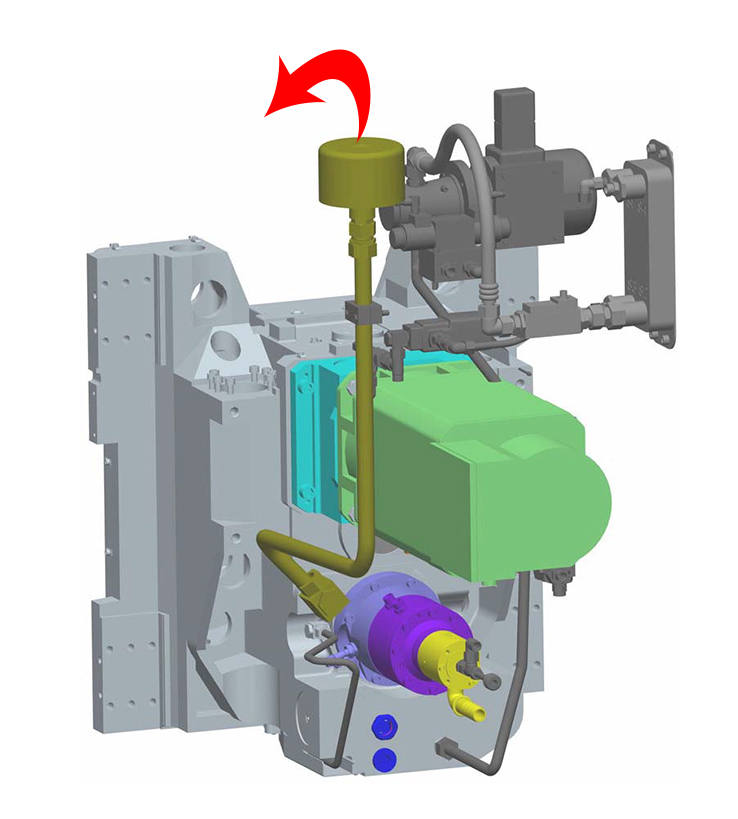
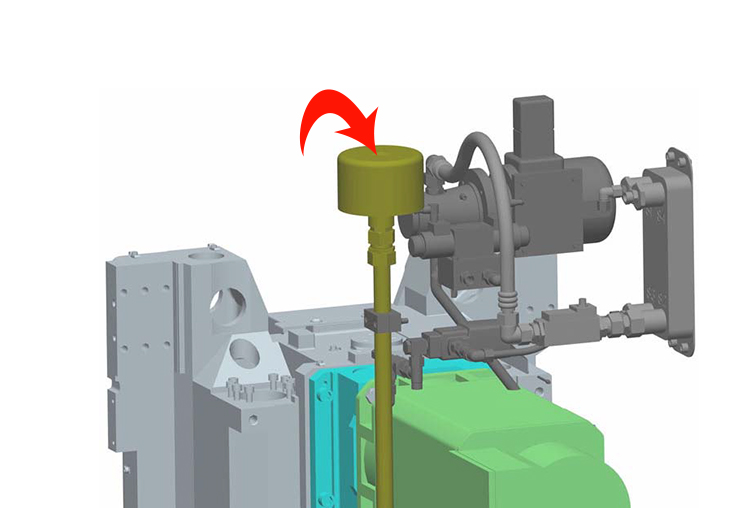
Remove the ventilation filter.

Step 7:

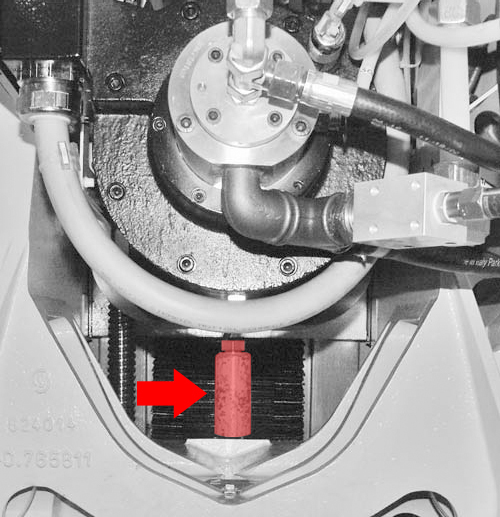
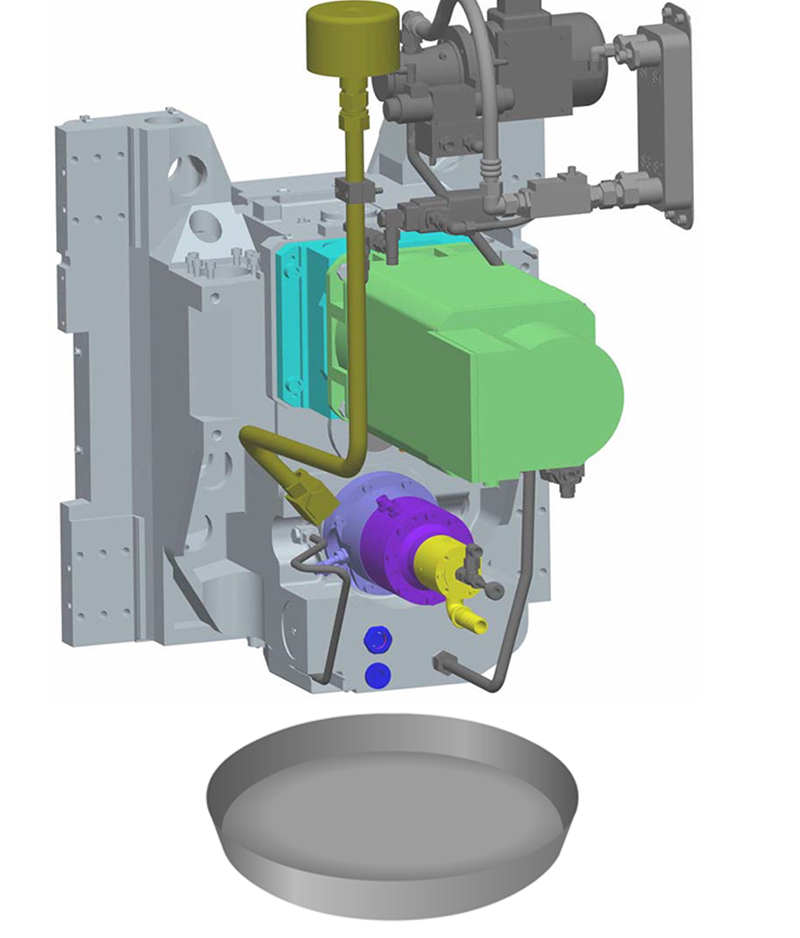
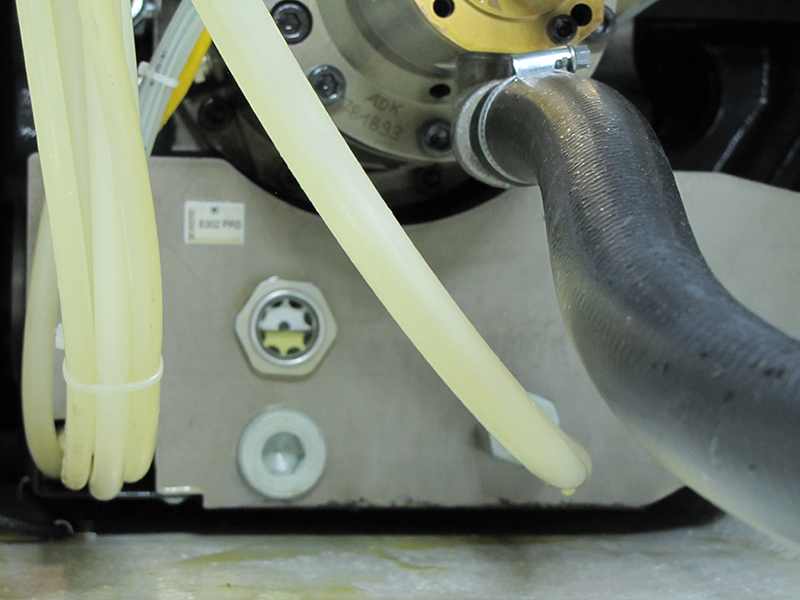
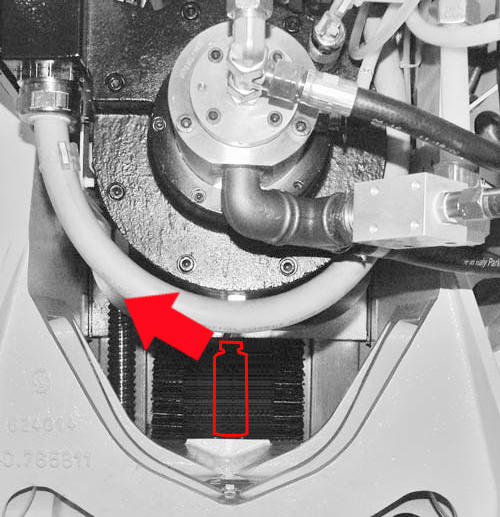
Position a suitable container under the oil drain screw.

Step 8:

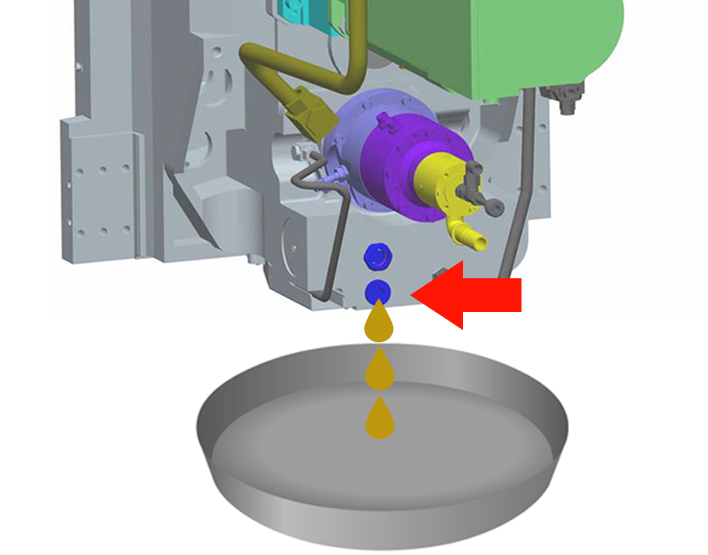
Remove oil drain screw. Allow oil to drain into the container.

Step 9:

Insert oil drain screw with sealing ring and tighten.

Step 10:

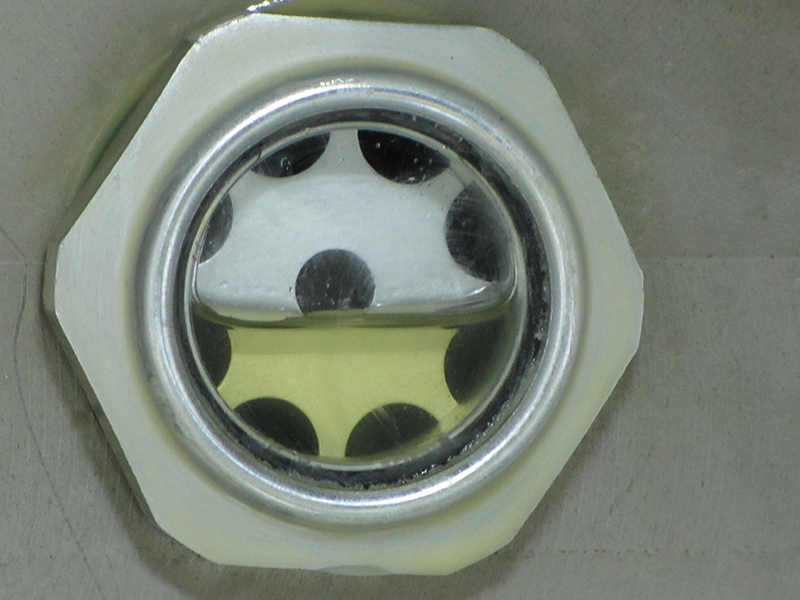
Fill with oil through oil filler tube until the level reaches the center of the sight glass.

Step 11:

Mount ventilation filter.

Step 12:

Remove support from the machining unit.

Step 13:

Before closing the maintenance safety door, ensure that nobody is behind the guard panels. Close maintenance area safety door.