Cleaning and Checking Tool Holders, Tool Cartridges and Tools

Interval

1000 Hours Operating time

Component

All tool holders, tool cartridges and tools

Inspection

Step 1:

Motors are switched on.

Step 2:

Run tool cartridge from the conveying station to the tool loading position.

Step 3:

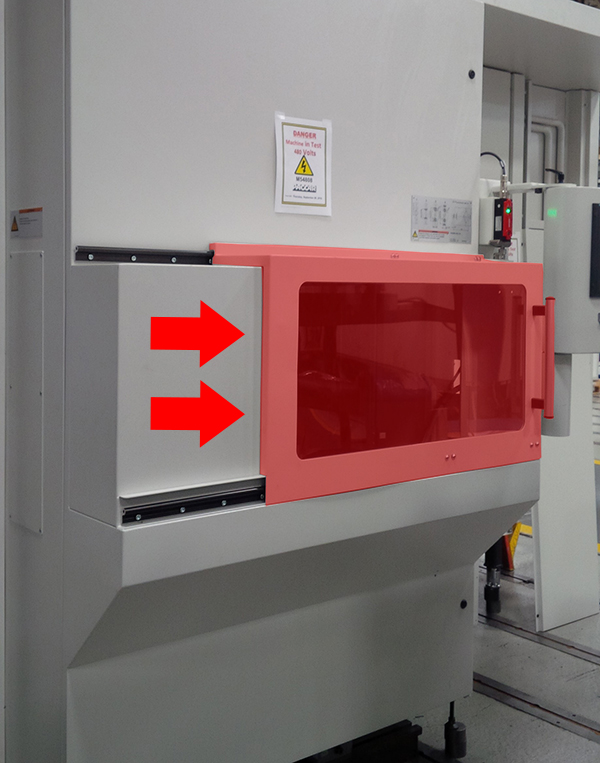
Tool loading station safety door unlocked and open.

Step 4:

Remove tool from the tool cartridge.

Step 5:

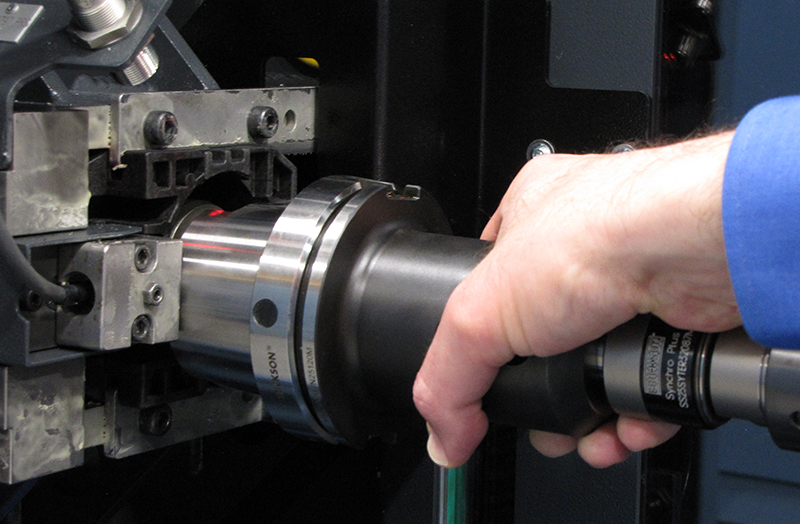
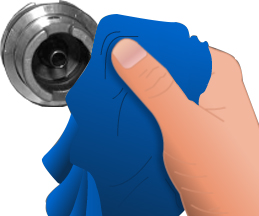
Clean tool and check for wearing:

  • Clean hollow shaft and flat location, remove swarf. Check hollow shaft and flat location for grooves, scratches and rust spots.
  • Check that the cooling lubricant pipe is securely mounted. Tighten cap nut.
  • With coded tools: Check codechip is faultless.
  • Replace worn components.

Step 6:

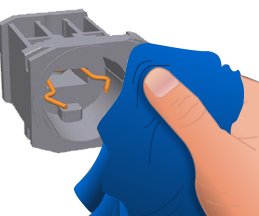
Clean tool cartridge and check for wearing.

Step 7:

Remove tool cartridge if damaged.

For procedure, see: "Replacing tool cartridge or tool holder"

Step 8:

Clean and check tool holders:

  • Close tool loading station safety door.
  • Assign access right for the "individual functions" main menu.
  • Select the "Tool change manual mode" main menu. Open intermediate door via individual function "Tool setting station/tool magazine safety door".
  • Select "Additional functions manual mode" main menu. Unlock tool setting station safety door via individual function "Tool setting station safety doors/safety door".
  • Open tool loading station safety door.
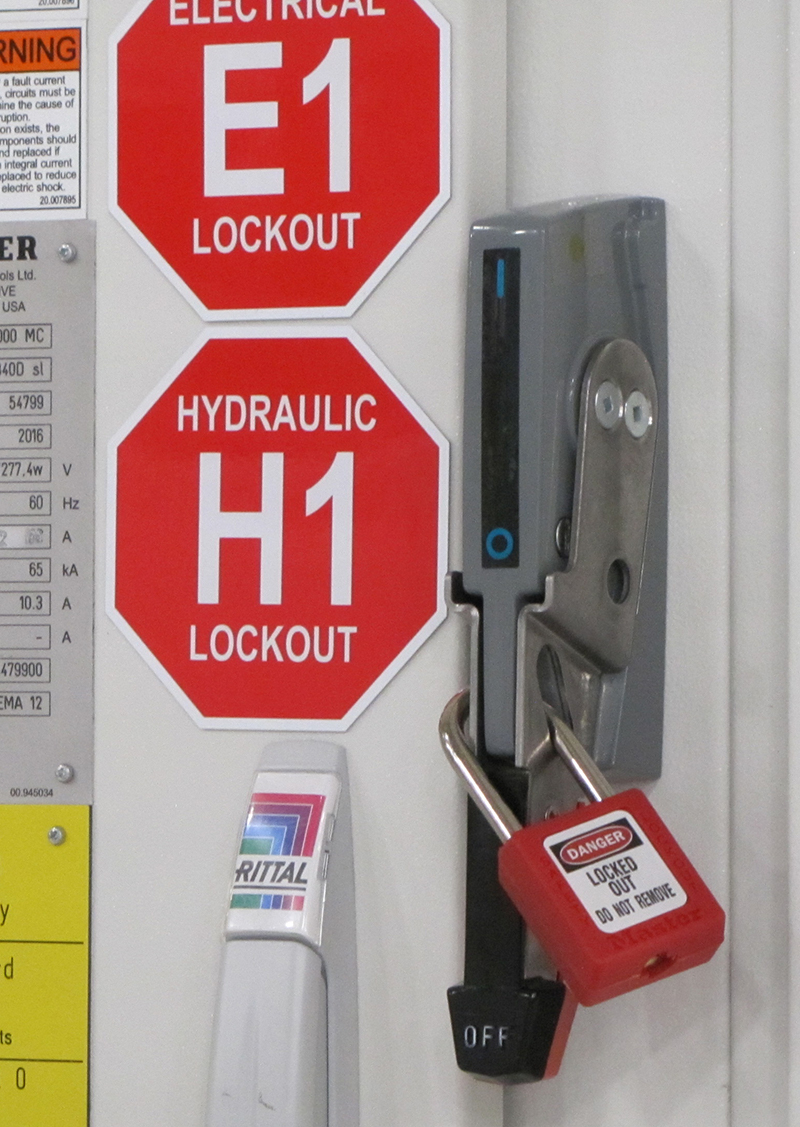
  • Switch off machine at main switch and secure against being switched on again.
  • Secure the intermediate door to prevent it from lowering.
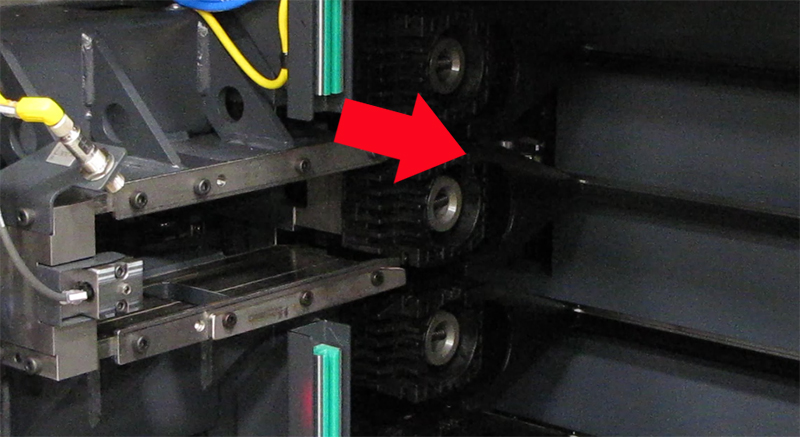
  • Clean empty tool holder and check for faultless condition.
  • Remove support from intermediate door.
  • Close tool loading station safety door.
  • Turn on machine on at the main switch.
  • Switch on motors.
  • Close intermediate door via individual function "Tool setting station/tool magazine safety door".
  • Revoke granted access right.

Step 9:

Remove tool holder if damaged.

For procedure, see: "Replacing tool cartridge or tool holder"

Step 10:

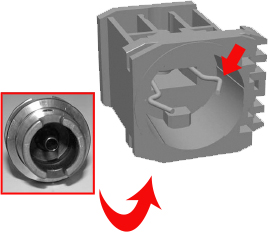
Insert tool into tool cartridge. The retaining spring must engage and sit tight.

Step 11:

Run tool back tool to the conveying station.

Step 12:

Check all other magazine places in the same way.

Step 13:

On completion of the maintenance work, close and lock the tool loading station safety door.

Replacing Tool cartridge or tool holder

Spare part

Tool cartridge

Tool holder

See wearing and spare parts list (VS)

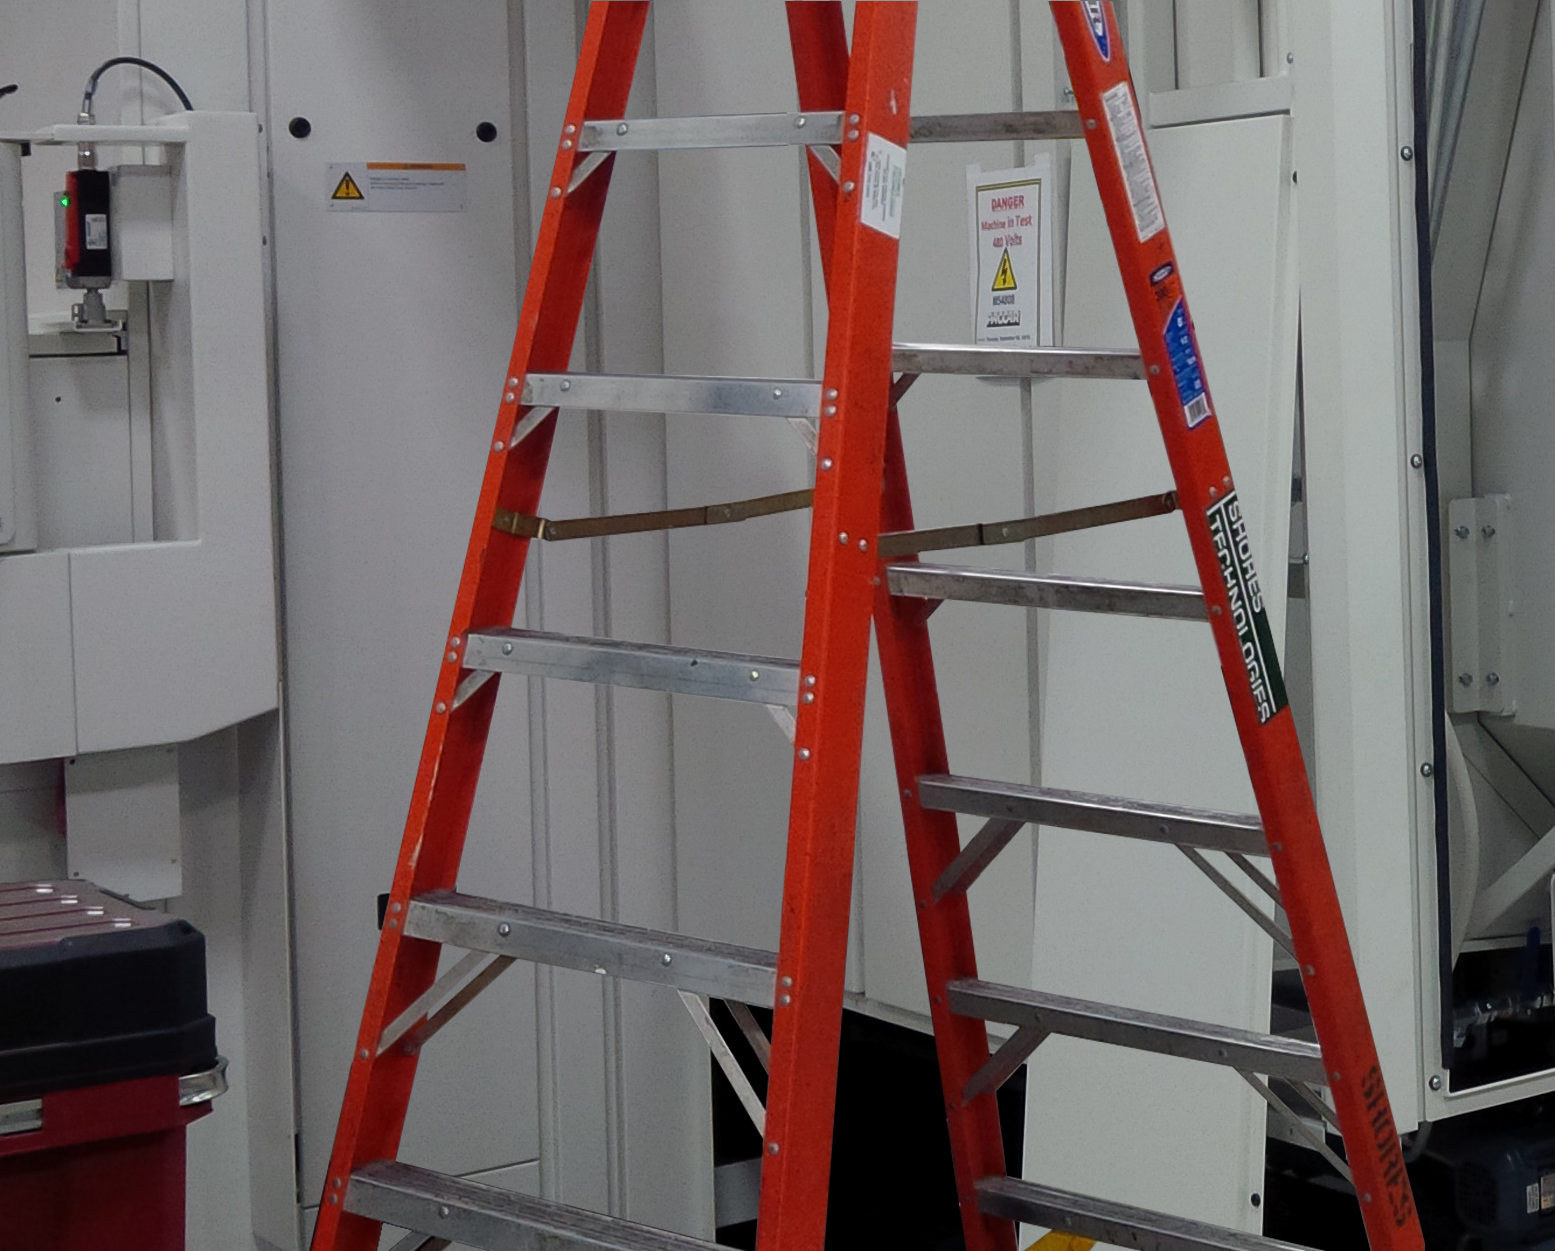
Ladder

Observe Section 4.2 "Special safety measures" before opening the tool magazine maintenance door.

Step 1:

Close and lock the tool loading station safety door.

Step 2:

Run the empty tool cartridge back to the conveying station.

Step 3:

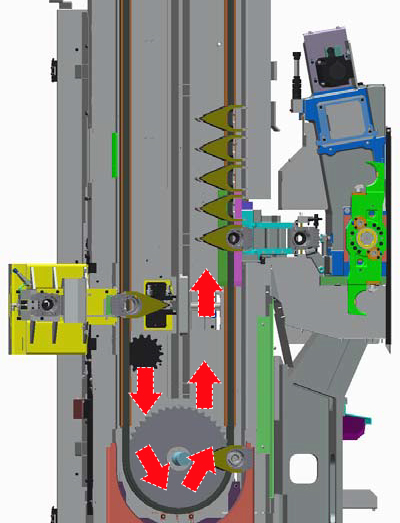
Move magazine place with defective tool cartridge or defective tool holder to the cartridge unloading position.

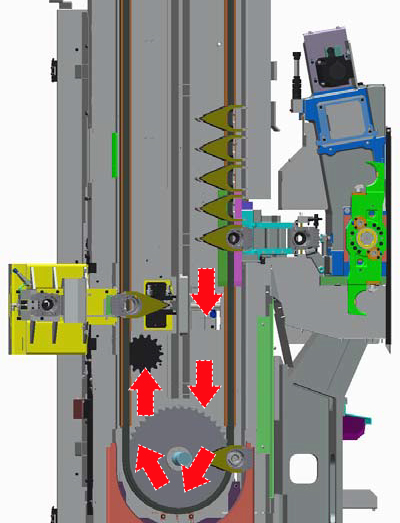
The cartridge unloading position is 5 locations above the conveying station to the tool setting station.

Step 4:

Unlock and open the tool loading station safety door

Step 5:

Switch off machine at main switch and secure against being switched on again.

Step 6:

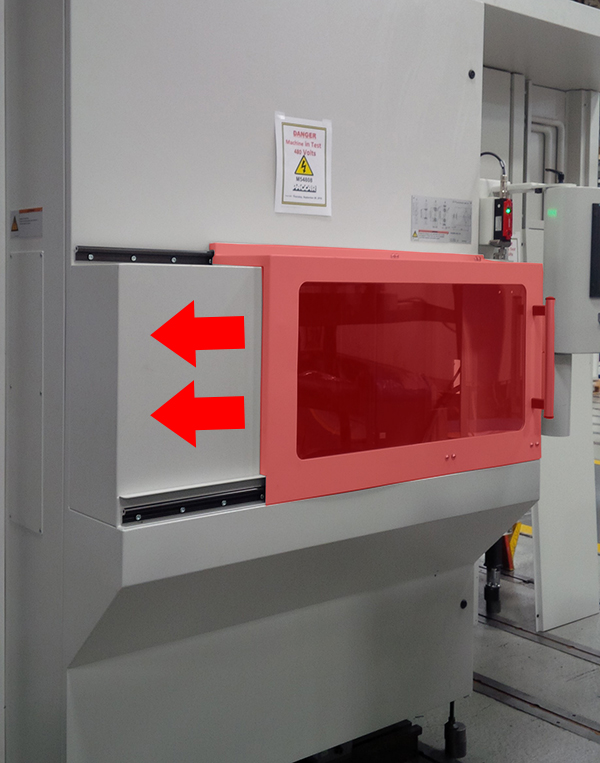
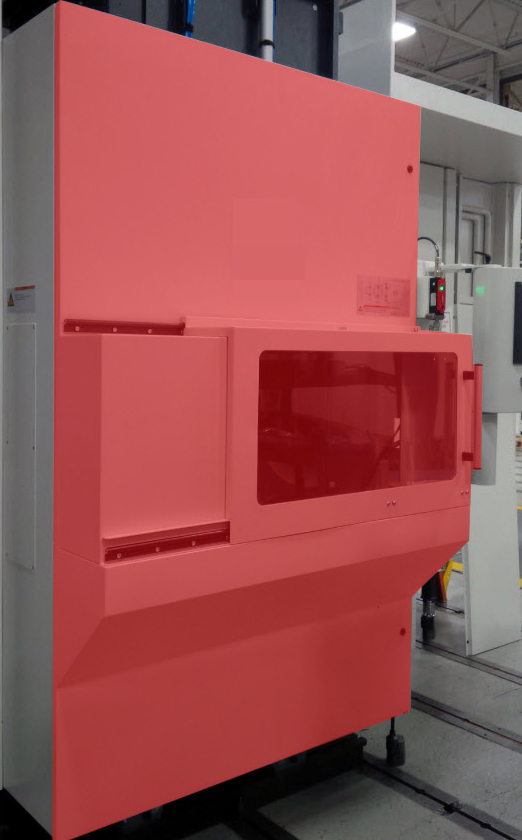
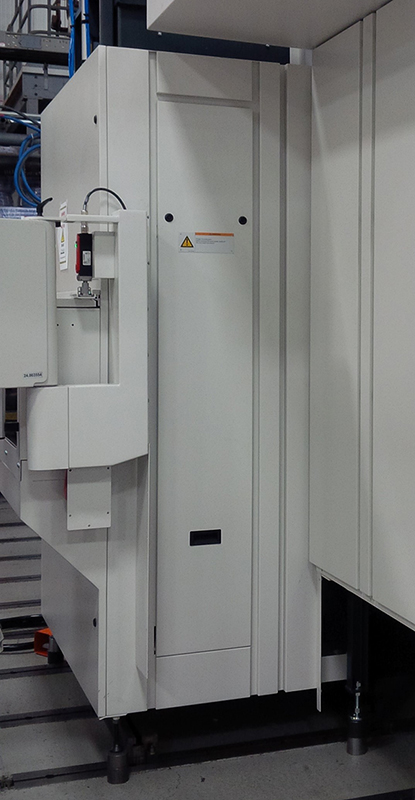
Open maintenance door of the tool magazine.

For more information on how to open maintenance door see: "Opening the chain magazine maintenance door"

Step 7:

Position the ladder so that you can safely reach the cartrige unloading position.

Step 8:

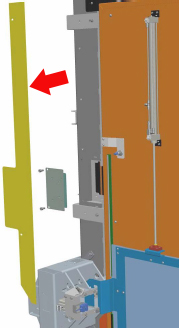
Remove guard panel.

Step 9:

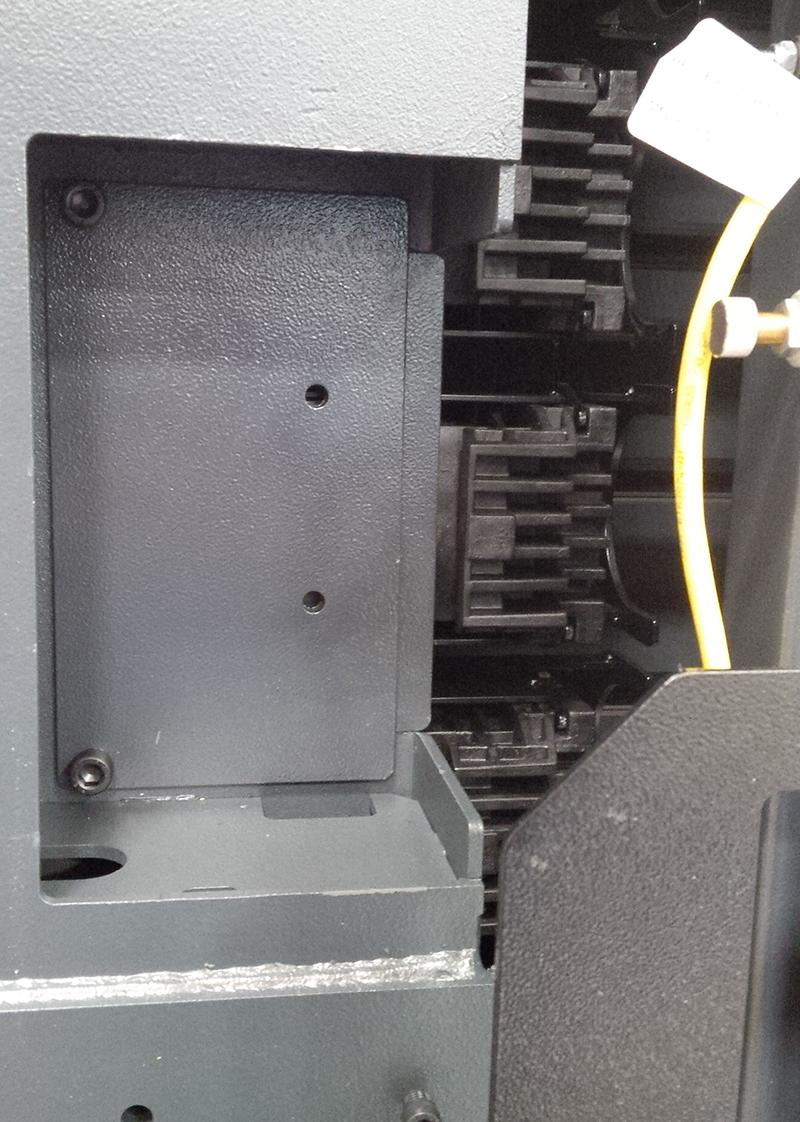
Remove cover (2 hexagon socket screws).

Step 10:

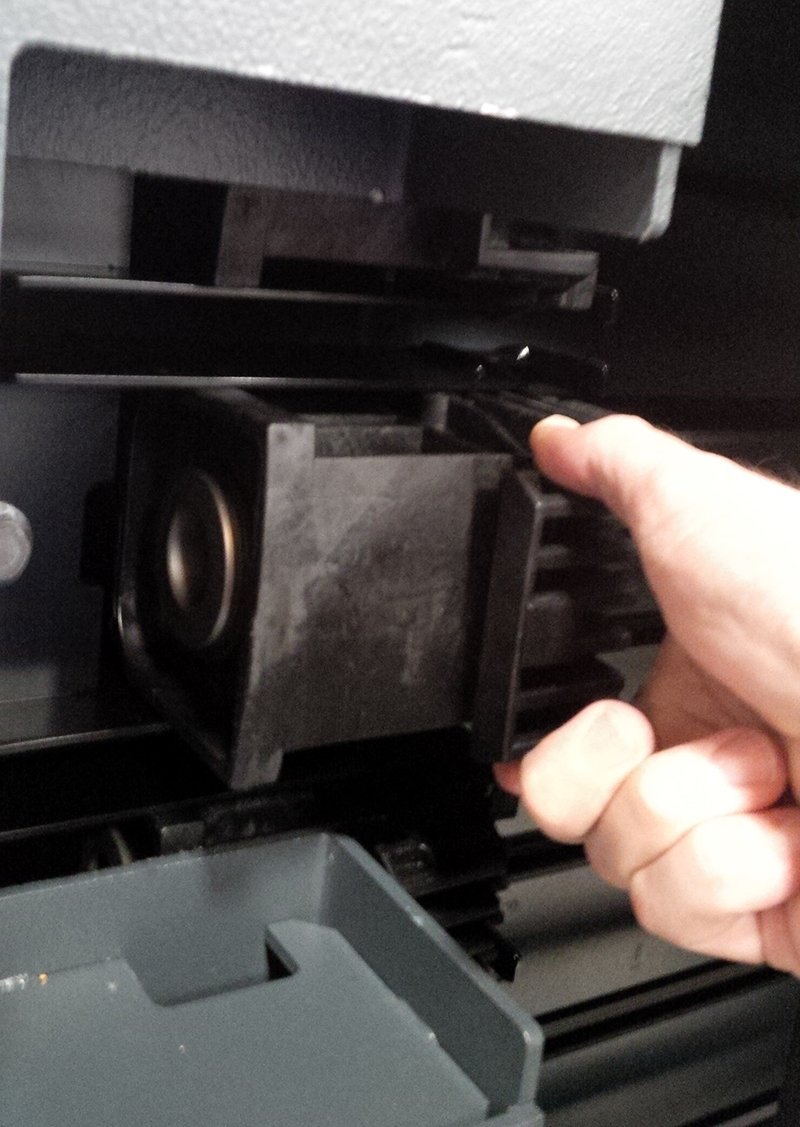
Remove tool cartridge.

Step 11:

If the tool holder is defective:

  • Loosen screw. A link stone on the rear of the tool holder forms the counter-piece. Remove fixing screw and link stone.
  • Remove tool holder.
  • Position the new tool holder onto the two chain bolts and secure with link stone and screw.

Step 12:

Insert tool cartridge into the tool holder.

Step 13:

Fit the cover.

Step 14:

Attach safety guard.

Step 15:

Before closing the maintenance door, ensure that nobody is behind the guard panels.

Close the maintenance door of the tool magazine.

Step 16:

Close tool loading station safety door.