Clean and Check Chip ConveyorInterval 1 Year(s) Operating time Reduce this interval depending on the contamination of the machine. Component Chip Conveyor Exhauster unit to exhaust cooling lubricant and sludge For manufacturer's documentation on the chip conveyor, see Subsuppliers' Information (ZI) from "Knoll". Please observe chapter 4.2 "Special safety measures" when entering or leaving the machine. Step 1: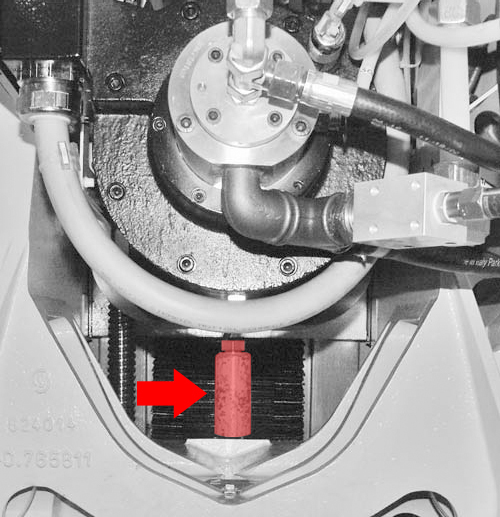
Machining unit traversed into support position. Step 2:
Turn off the Coolant/Pumpback Disconnect. Step 3:
Maintenance area safety door opened and secured to prevent closing. Step 4: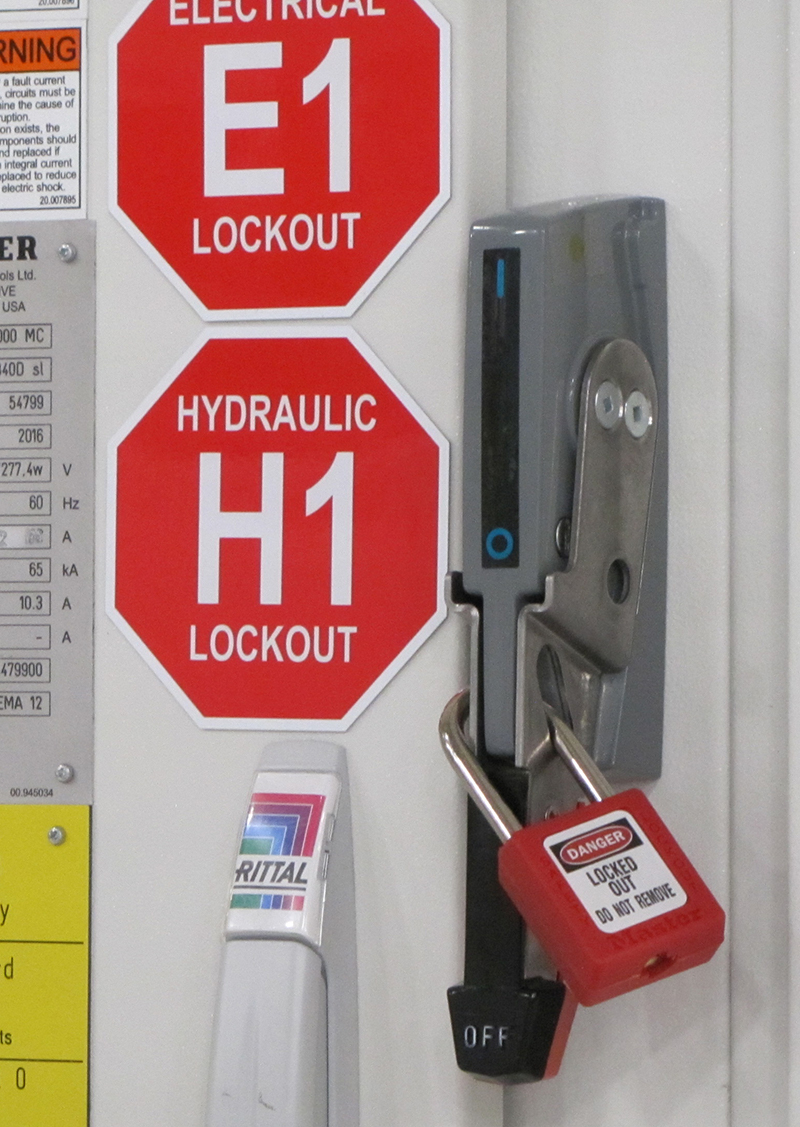
Machine switched off at main switch and secured against being switched on again. Step 5:
Machining unit protected from falling by supports. Step 6:
Check chip conveyor, fitted accessories and pipes for leakages and visible external damage. Step 7:
Repair leakages and damage immediately. Do not operate machine with damaged equipment! Step 8: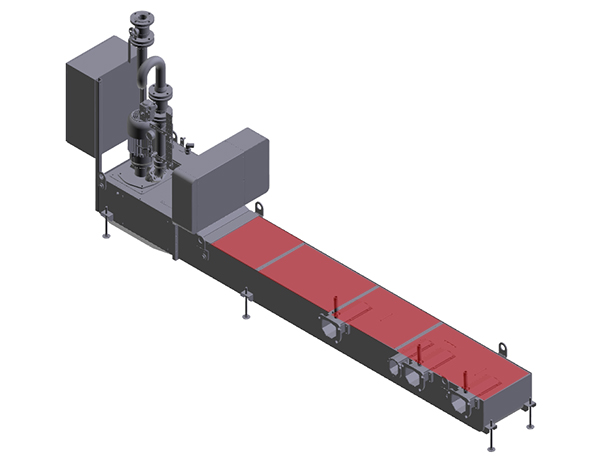
Remove covers from the chip conveyor. Step 9: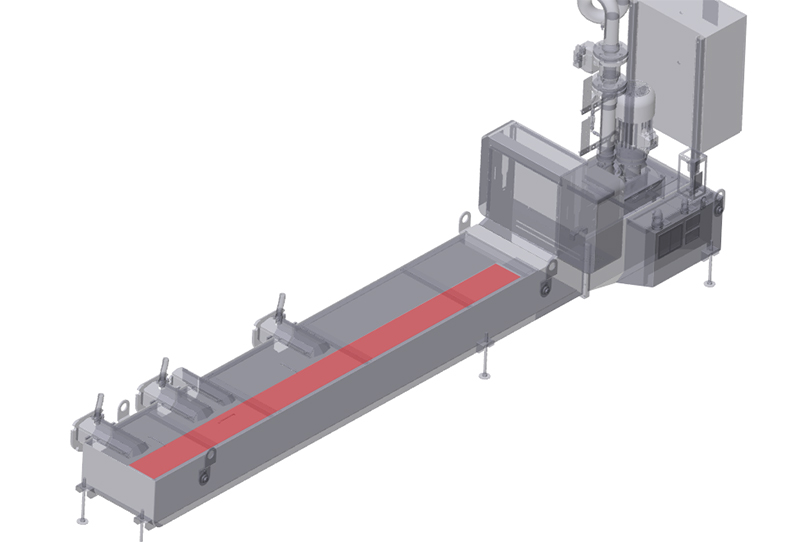
Exhaust cooling lubricant from the chip conveyor. Remove chips. Step 10:Clean inside the chip conveyor and check for damage and corrosion. Replace damaged components. Step 11: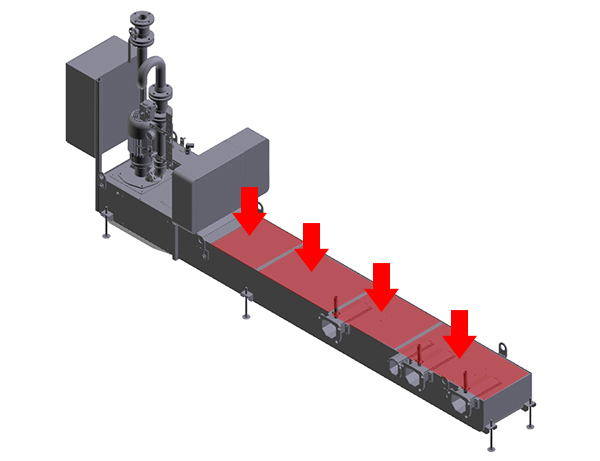
Refit covers onto the chip conveyor. Step 12:
Remove support from the machining unit. Step 13:
Before closing the maintenance safety door, ensure that nobody is behind the guard panels. Close and lock maintenance area safety door. |