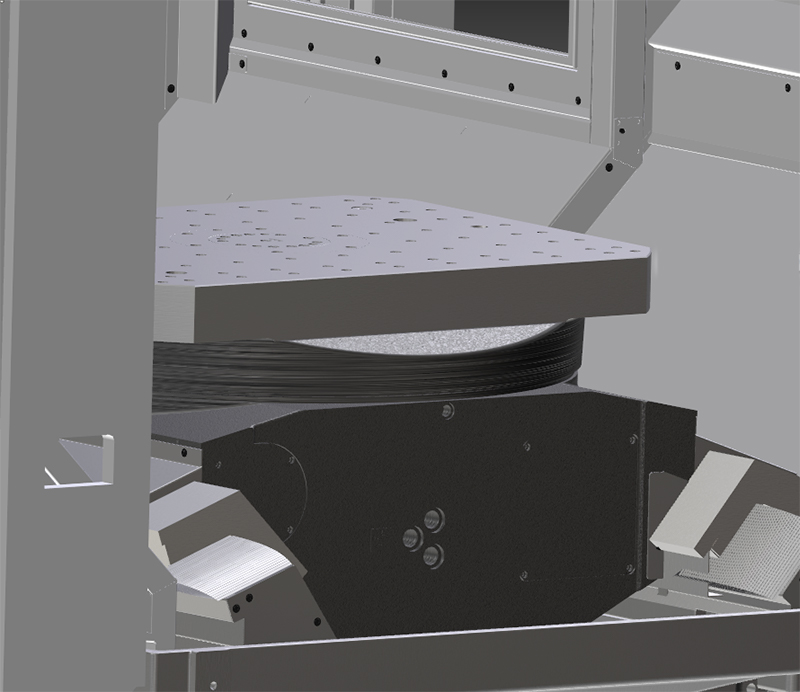
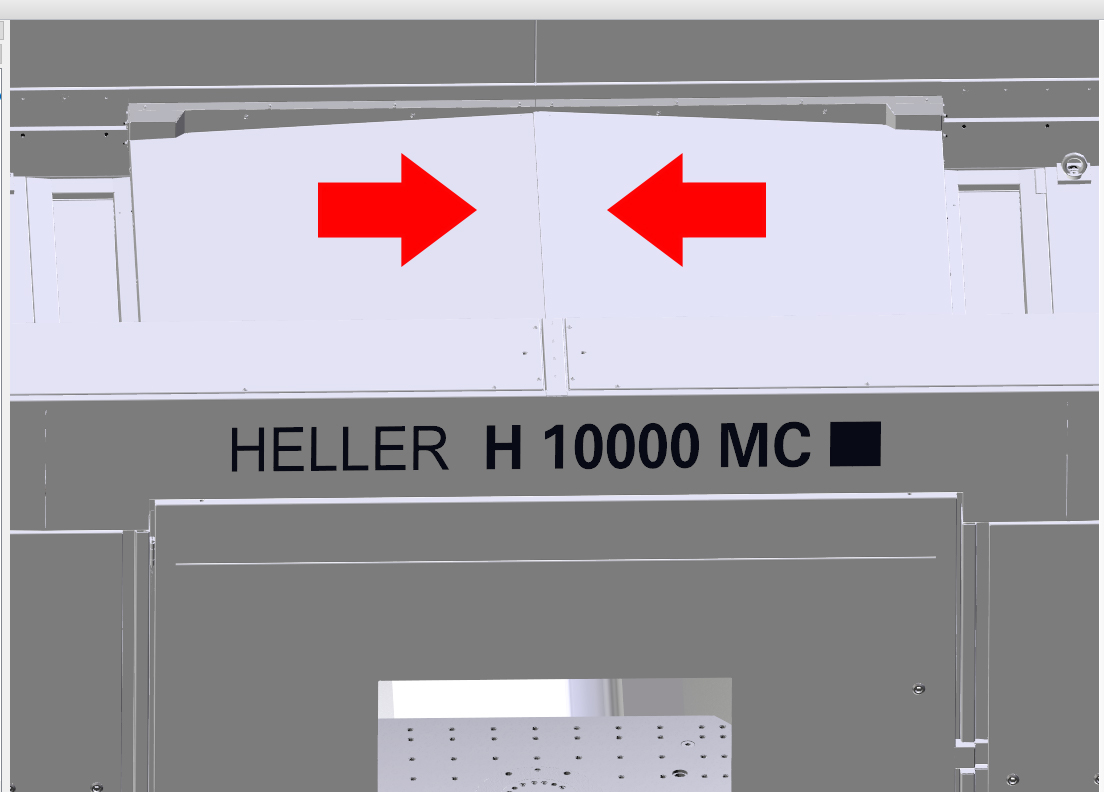
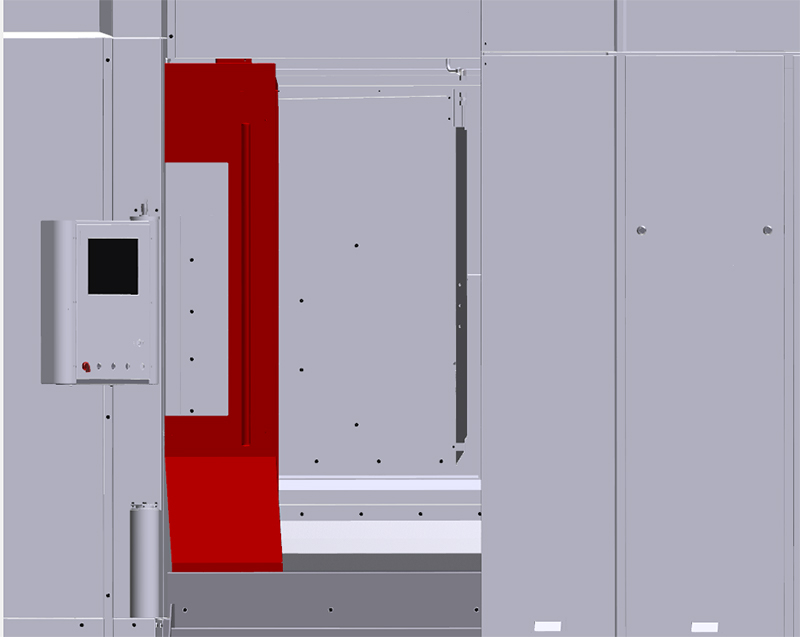
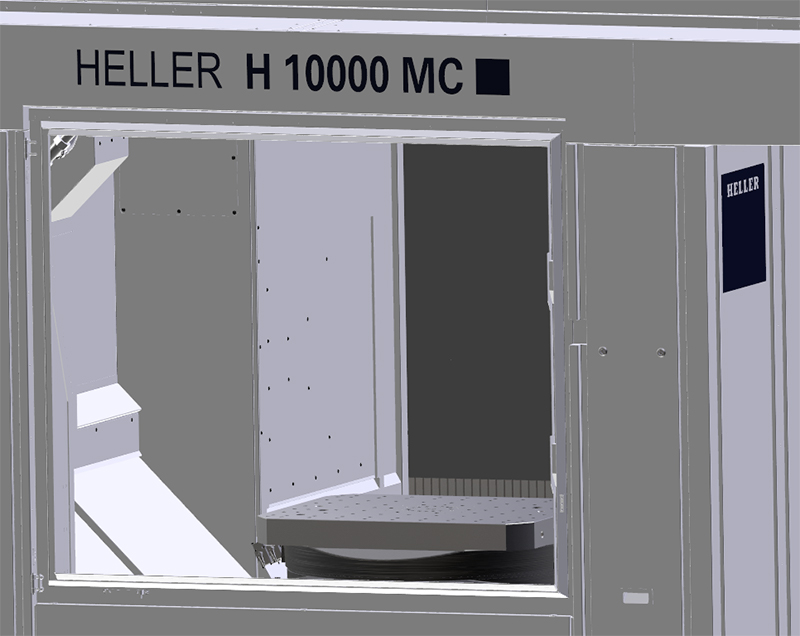
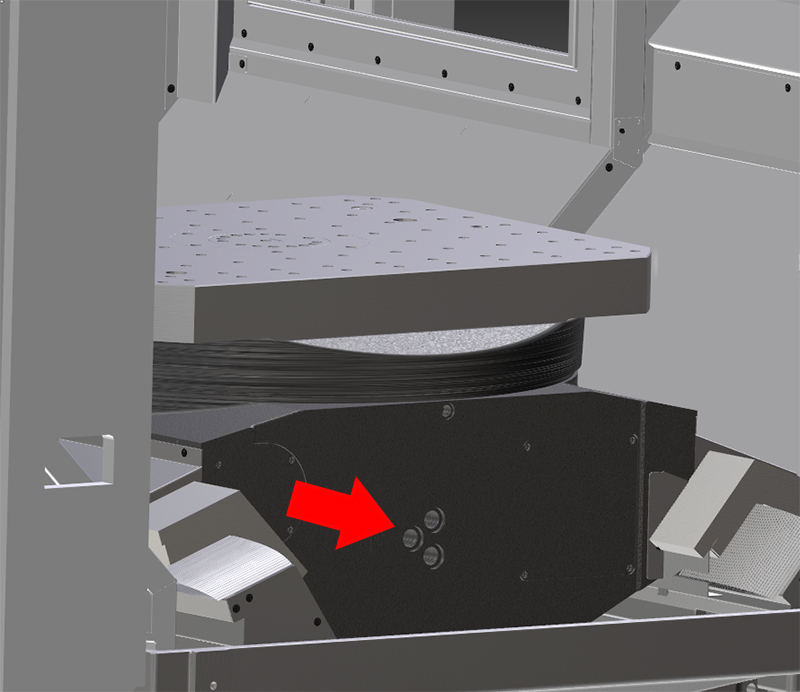
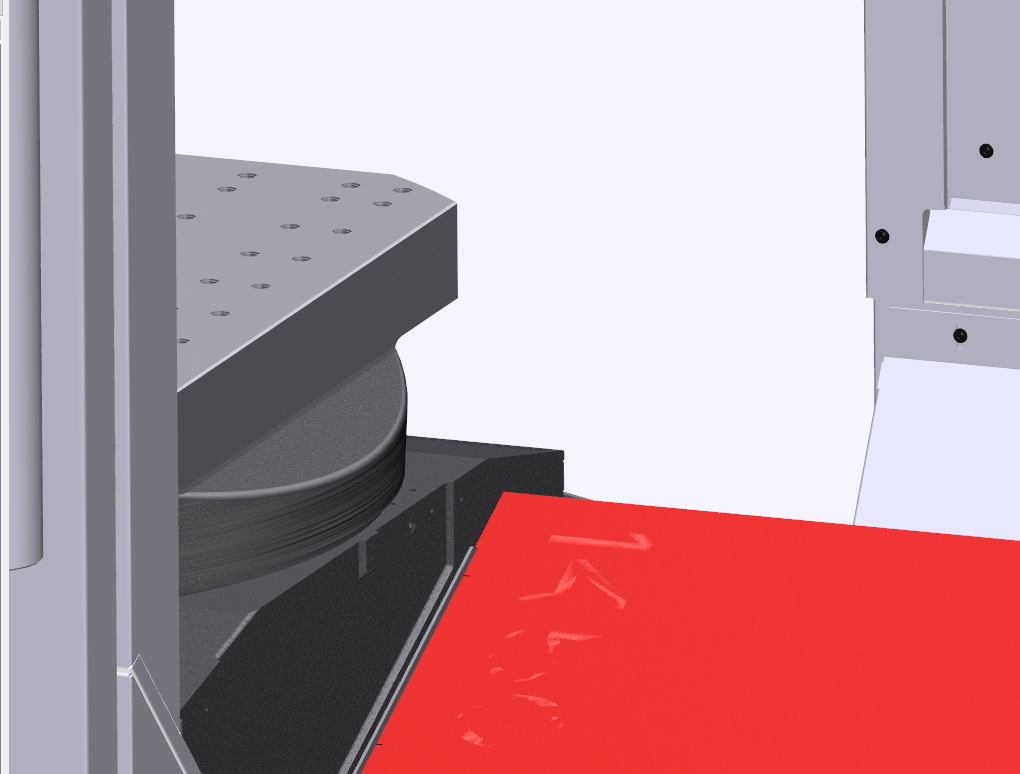
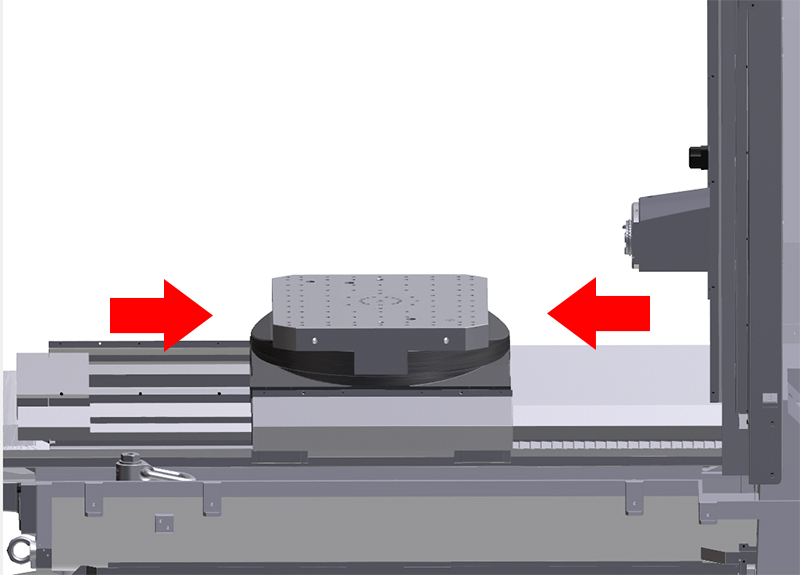
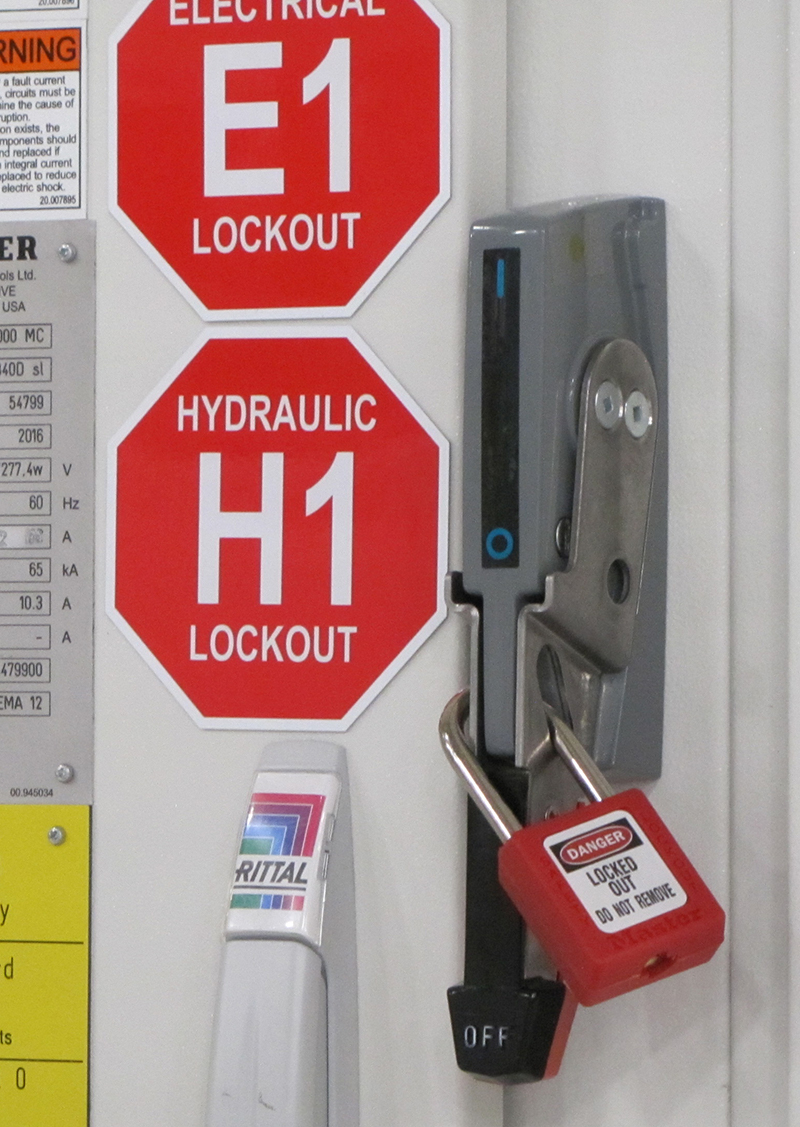
Checking Oil Level in Rotary Feed TableInterval 200 Hours Operating time Component Rotary feed table Please observe chapter 4.2 "Special safety measures" when entering or leaving the machine. Exercise caution when working inside the machine with the machining unit not secured! Step 1The linear axes are positioned so as to make the oil sight glass on the rotary table accessible.
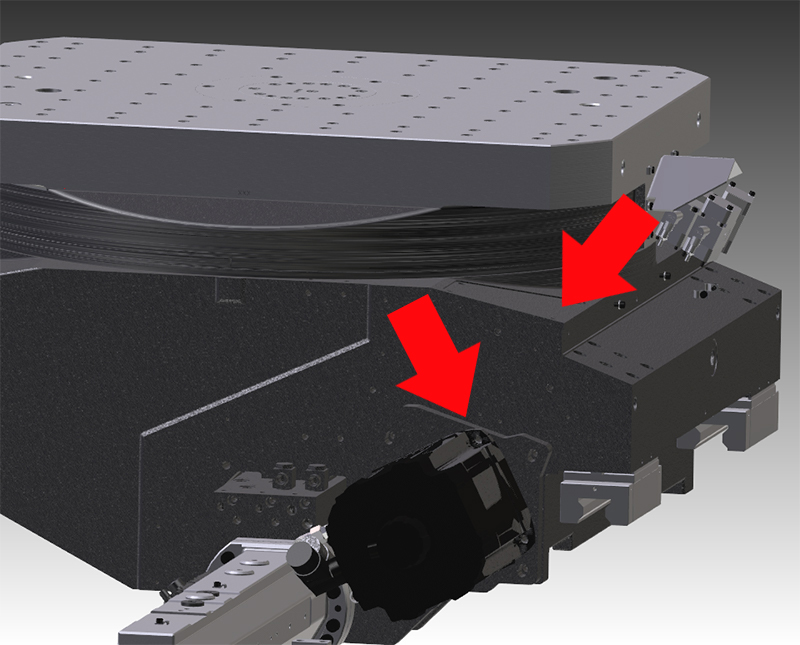
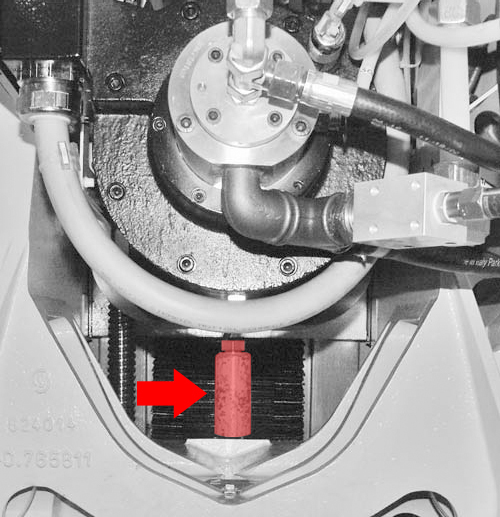
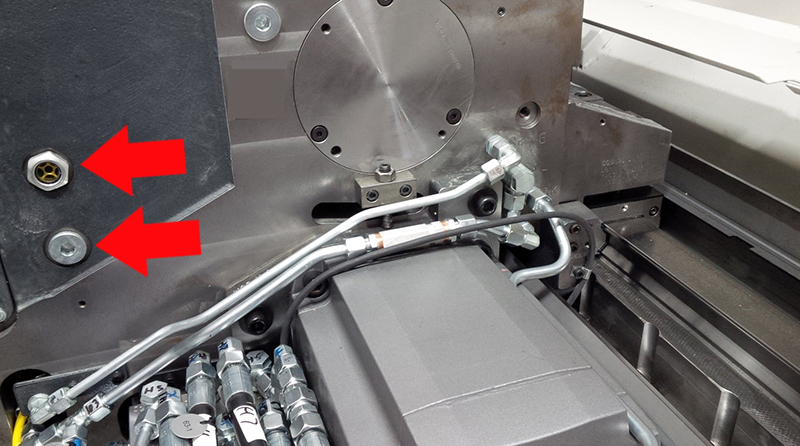
Step 2Step 3Step 4Step 5Step 6If the oil level is too low, check rotary feed table for leaks and top up oil. (For procedure, see: "Check for leaks and top up oil.") Step 7Before closing the safety doors, ensure that nobody is behind the guard panels. Close the work area safety door and the workpiece setting station safety door (front door). Check for leaks and top up oilConsumable Used cooling lubricant should be regarded as hazardous waste and must be disposed of according to the locally applicable regulations. Disimilar lubricants can contain various additives that might not be compatible. To rule out incompatibility between the lubricants, disimilar lubricants must not be mixed. If you have any questions, please contact your lubricant supplier. Spare part Oil filler screw or oil drain screw with seal: screw plug See wearing and spare parts list Torch Check rotary table for leakageStep 1Step 2Step 3Step 4Step 5Step 6Step 7Step 8Step 9Step 10Step 11Step 12Inspect front of rotary table for leaking oil: Possible leak points:
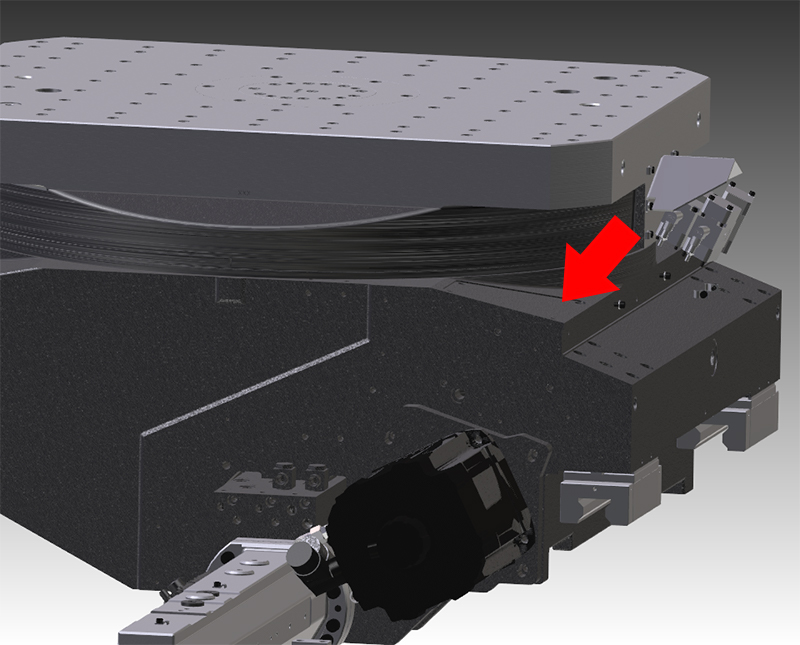
Step 13If the front of the rotary table is leak-proof, also check the drive side of the worm gear:
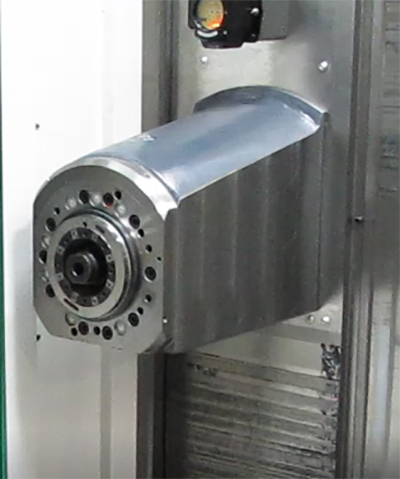
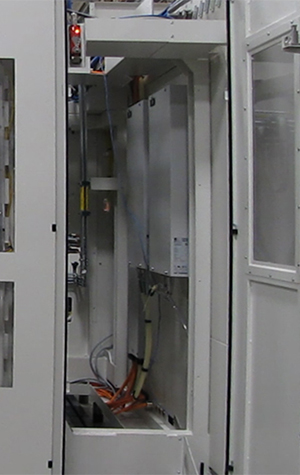
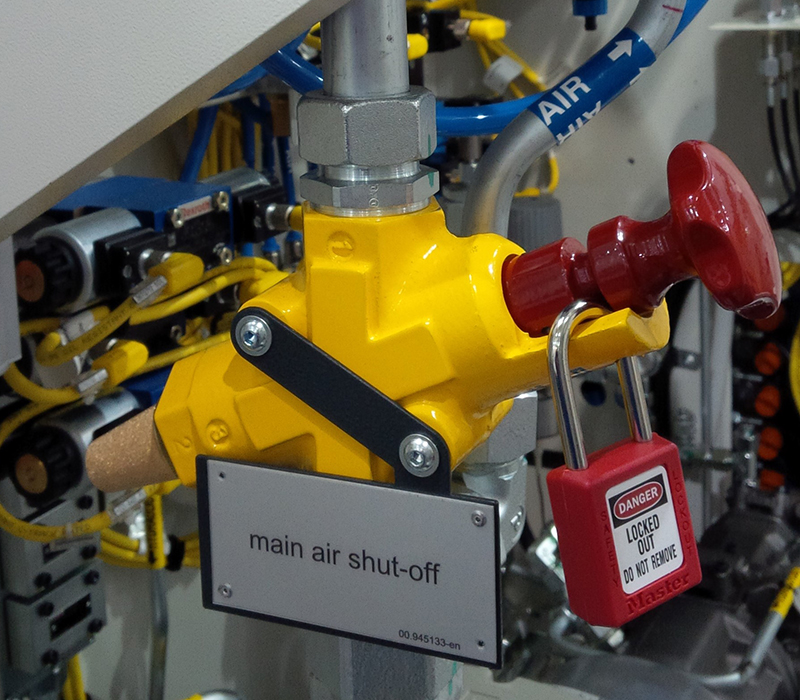
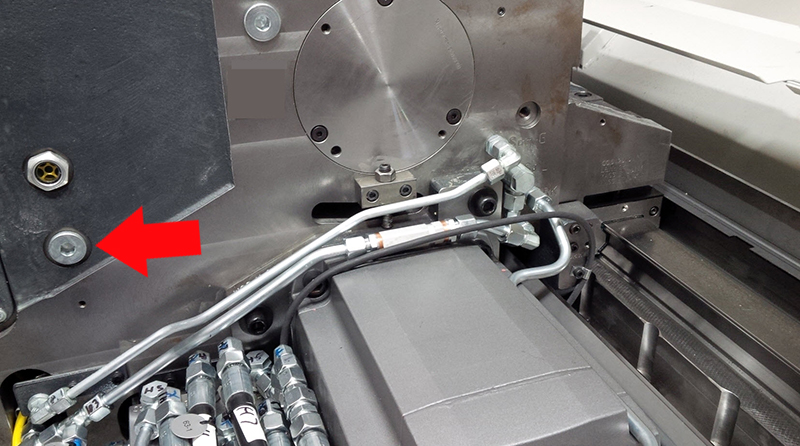
Step 14Repair leak yourself or have it repaired by customer services. Do not operate machine with damaged rotary table! Step 15Top up oilStep 1Step 2Step 3Step 4Before closing the safety doors, ensure that nobody is behind the guard panels. Close the work area safety door and the workpiece setting station safety door (front door). Step 5Step 6Before closing the safety door, ensure that nobody is behind the guard panels. Close maintenance area safety door. Step 7Step 8Step 9Place a tool in the tool spindle to protect the tool spindle from the ingress of dirt. Step 10 |
