Checking Linear Roller Guides Axis DrivesInterval 2000 Hour Operating time Component Linear roller guides and axis drives for the X-, Y-, and Z-axes Spare part Guide carriages of the X, Y and Z-axis with integrated seal and outer seal. See wearing and spare parts list (VS). The Wear Parts List contains the factory-mounted cover strips. These are loose cover strips, tightly fitted and 0.30 mm thick. For raising and attaching the cover strips of the guide rails: Assembly aid lifting plate according to the installation instructions of Messrs. Bosch Rexroth. For installation instructions on replacing cover strips and wipers, see Subsupplier's Information (ZI) from "Bosch Rexroth". For lube points, see media diagram (MP). Make Axes AccesiblePlease observe chapter 4.2 "Special safety measures" when entering or leaving the machine. Step 1: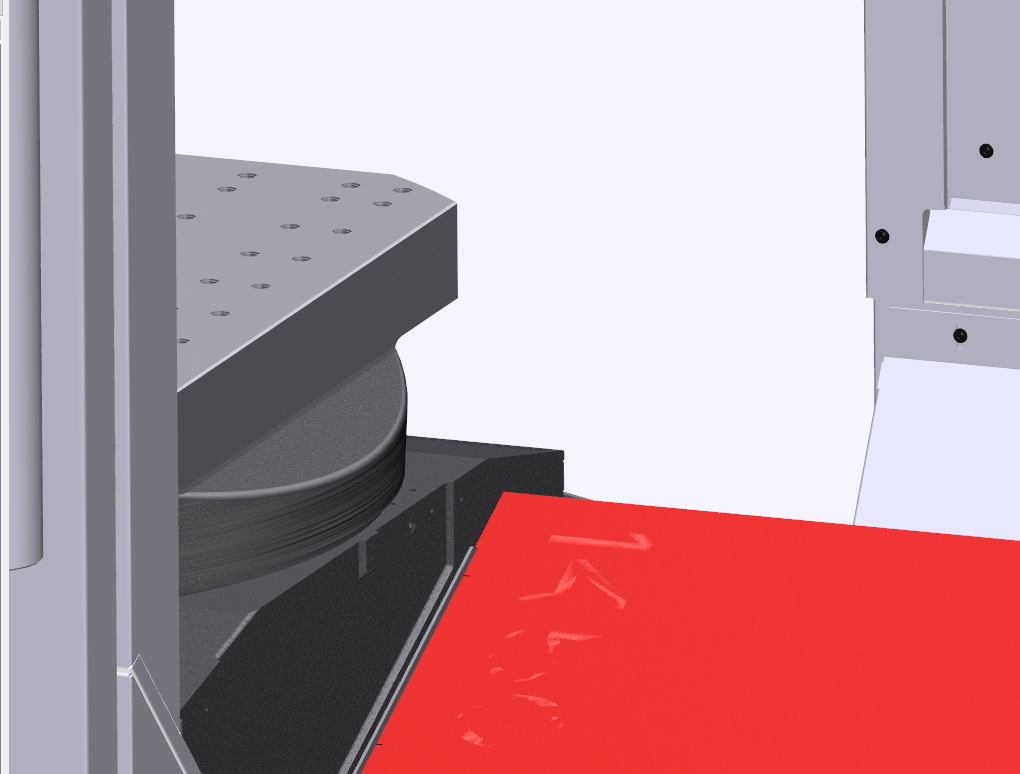
Adequate clearance in the machine. Remove the bulky workpieces and clamping devices. Step 2: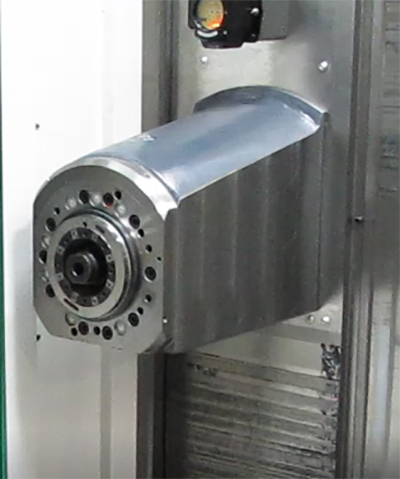
There should be no tool in the tool spindle. Step 3: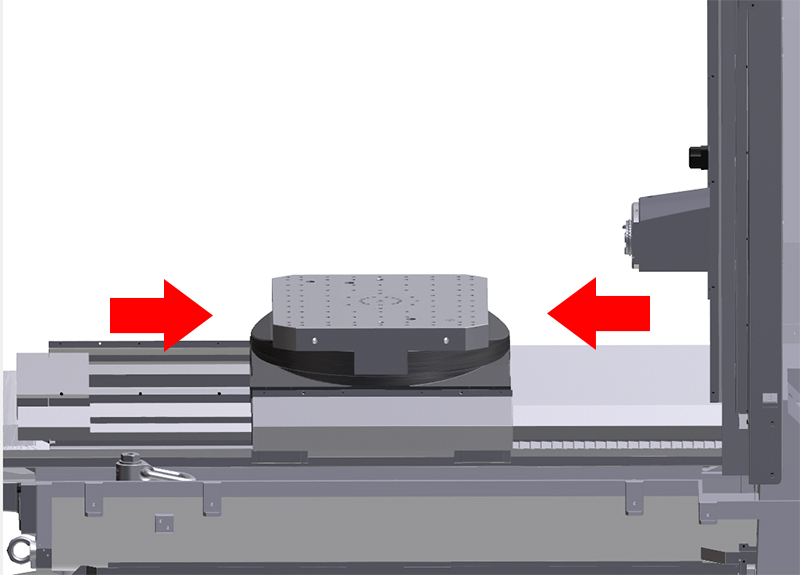
Traverse Z-axis (rotary table) to center of travel. Step 4: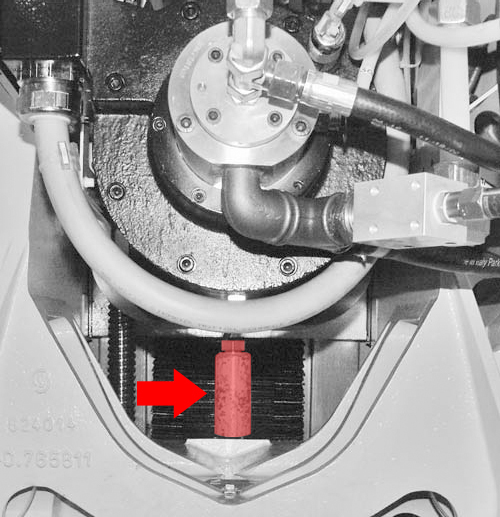
Machining unit traversed into support position. Step 5: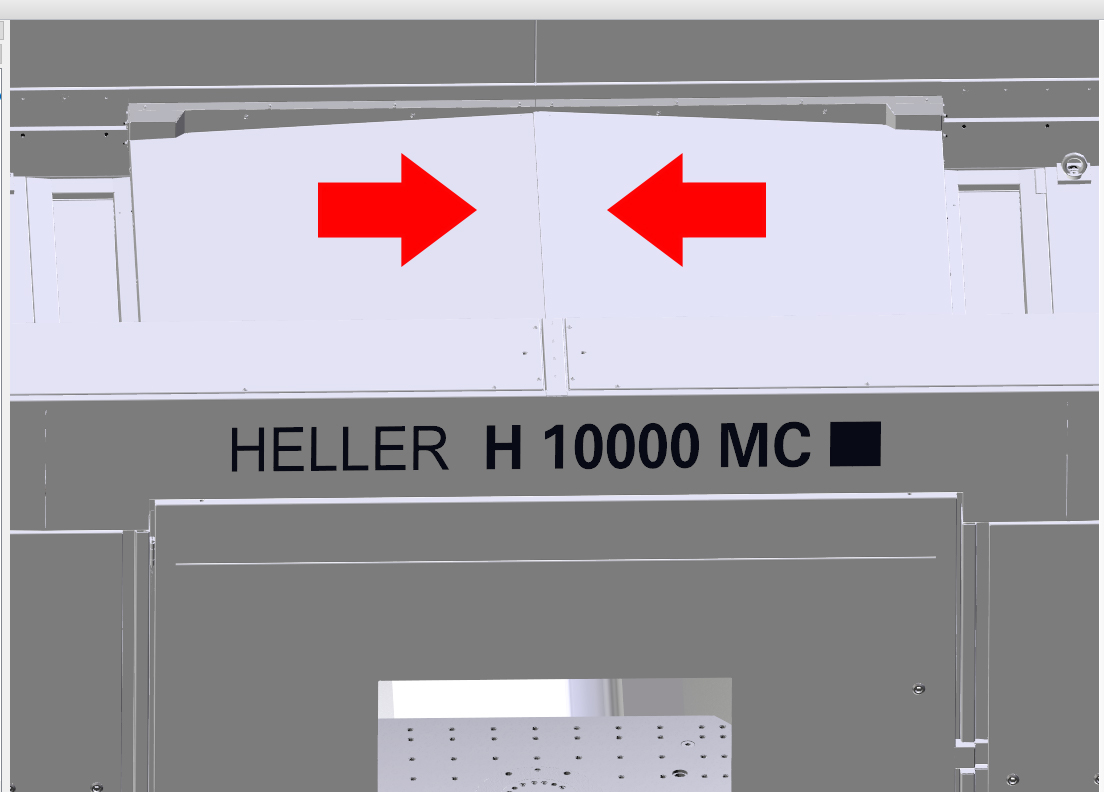
Loading hatch closed. Step 6: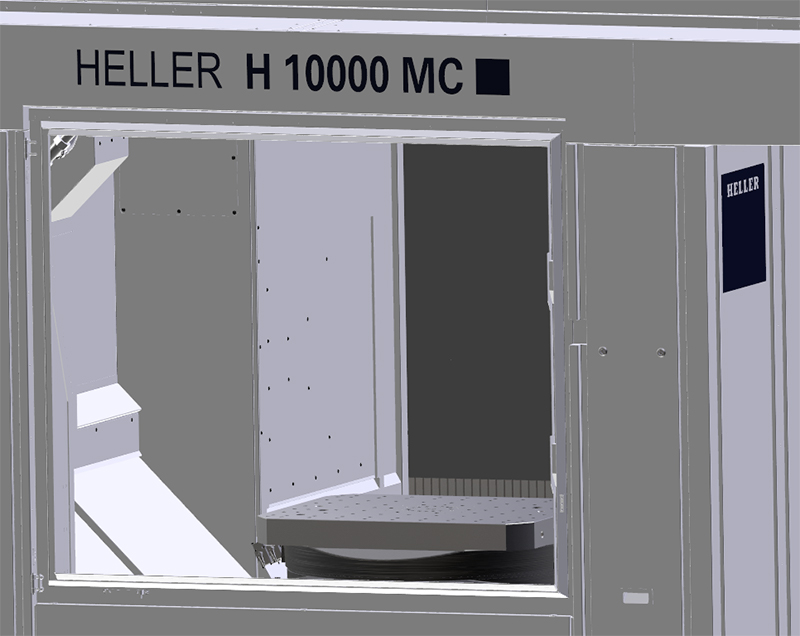
Workpiece setting station safety door (front door) opened and secured to prevent closing. Step 7: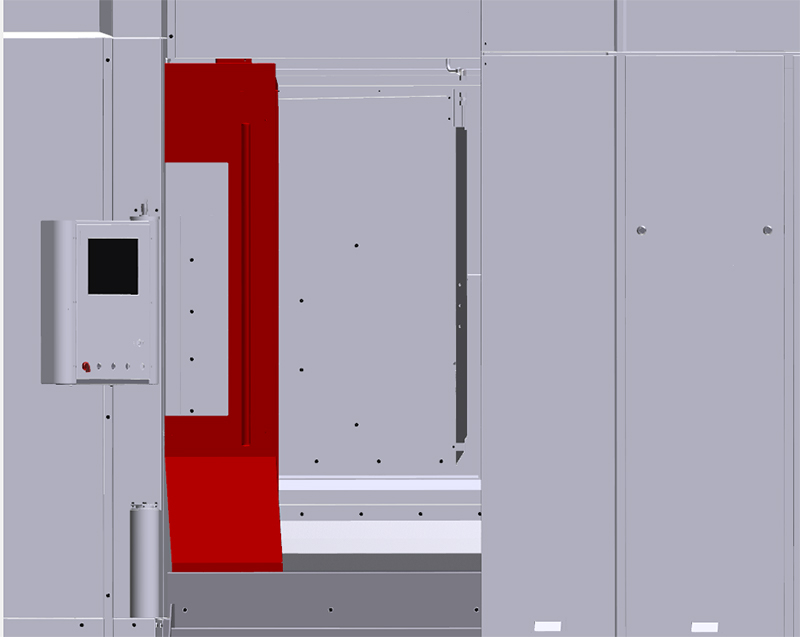
Work area safety door open and secured to prevent closing. Step 8: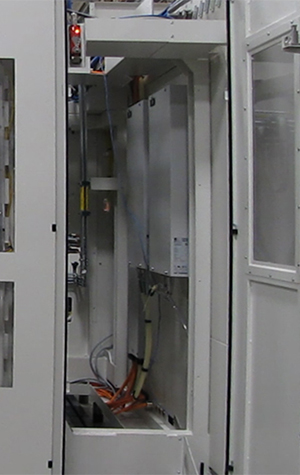
Maintenance area safety door opened and secured to prevent closing. Step 9: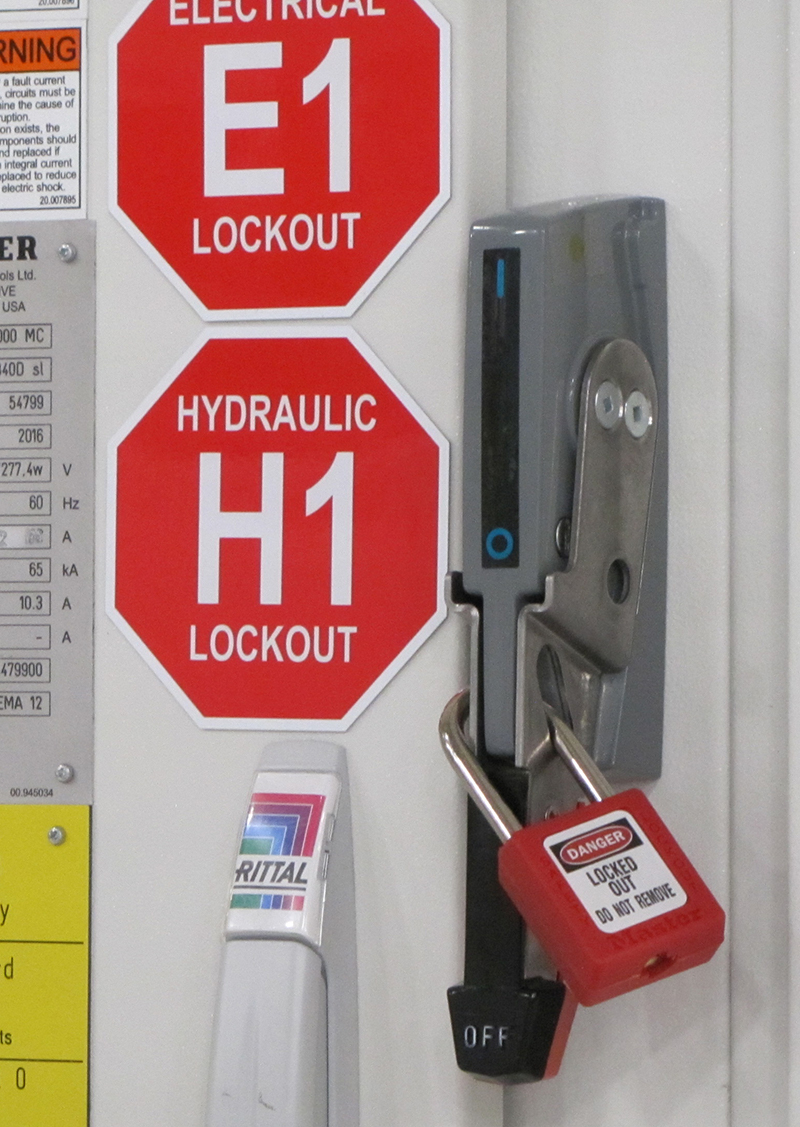
Machine switched off at main switch and secured against being switched on again. Step 10: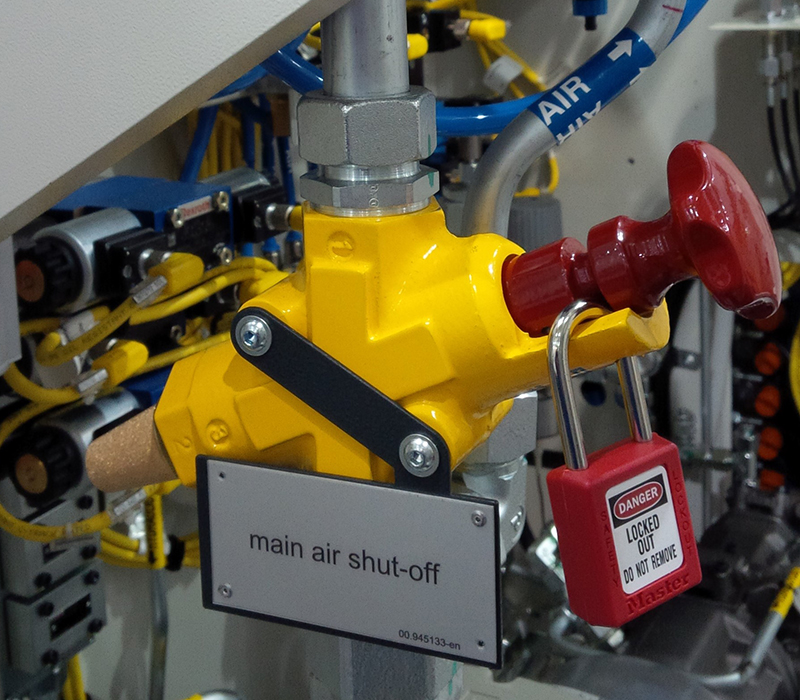
Compressed air shut-off valve closed and secured to prevent opening. Step 11: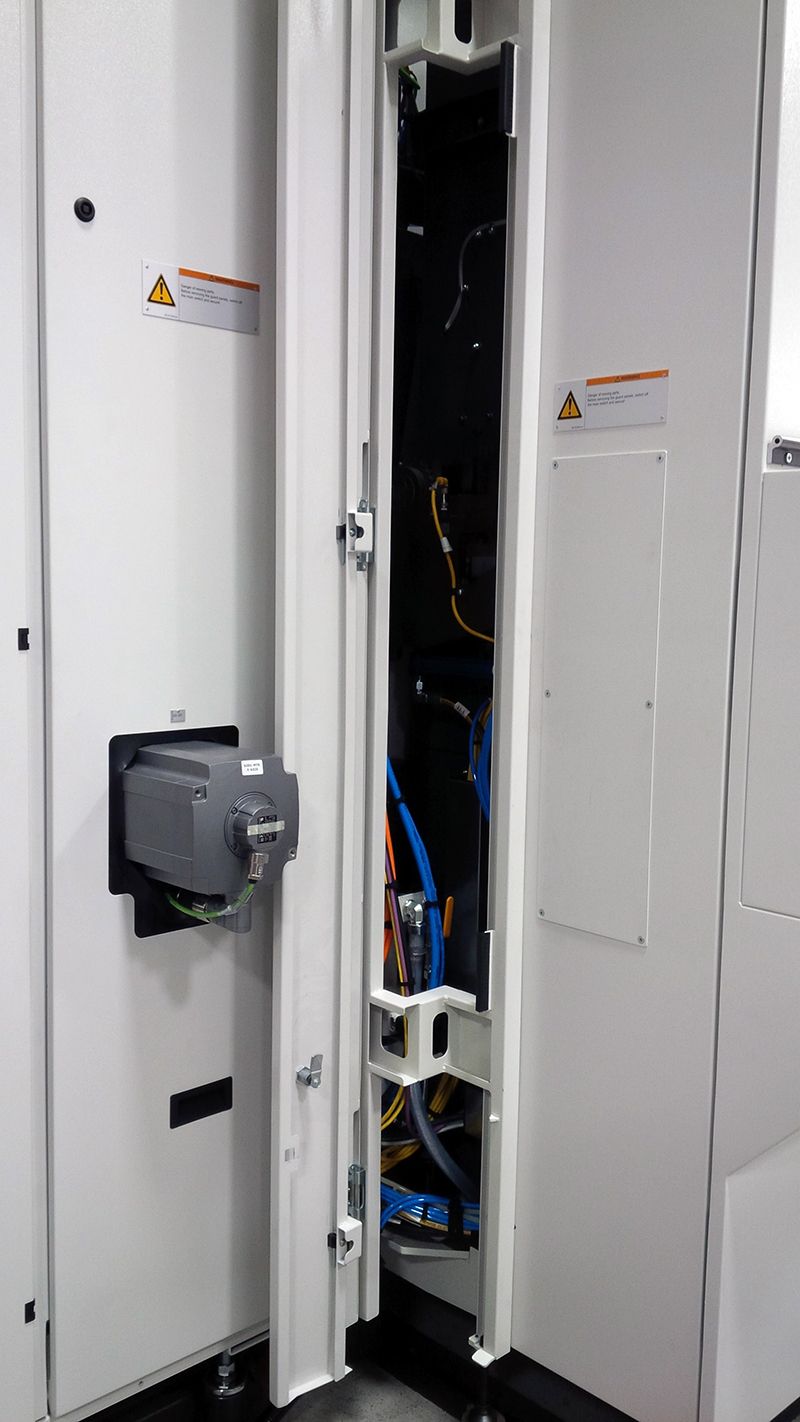
Maintenance openings B open. (Only with chain magazine) Step 12: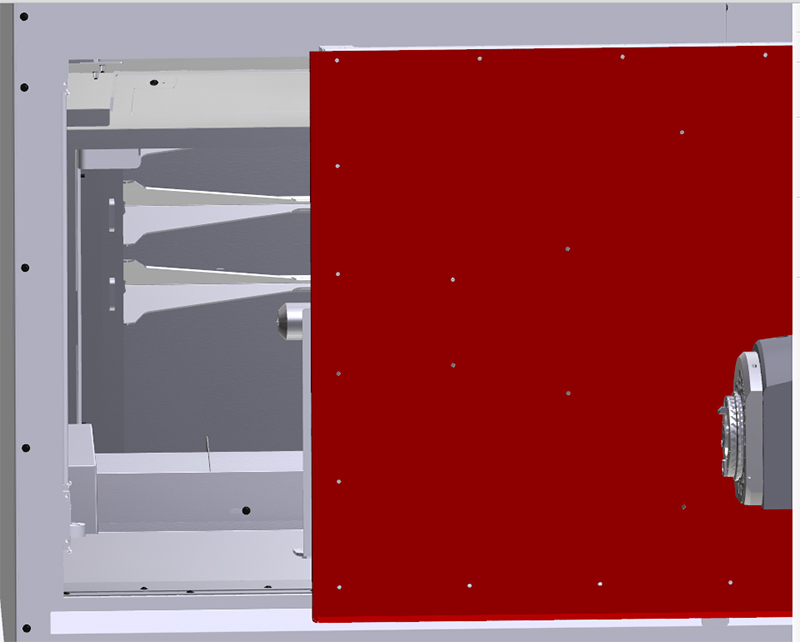
Maintenance door of the tool magazine opened and secured to prevent closing. (Only applicable with rack-type magazine) Step 13:
Machining unit protected from falling by supports. Step 14:
Unscrew all 4 concertina covers of the Z-axis from the rotary table and push away. InspectionsWhere visible, check the components from all sides. One side of the X-axis is shown here as an example. Step 1: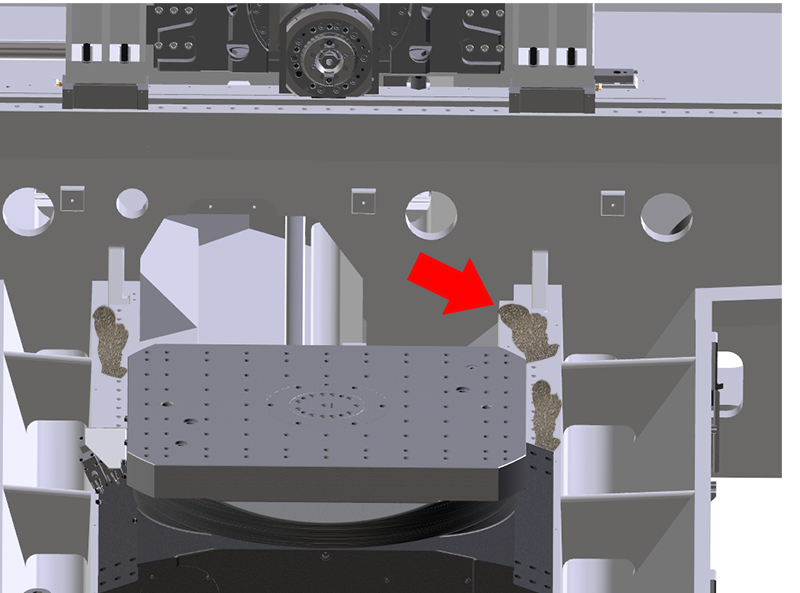
Remove chips from around the guide rails, ball screw drives and measuring scales. Step 2: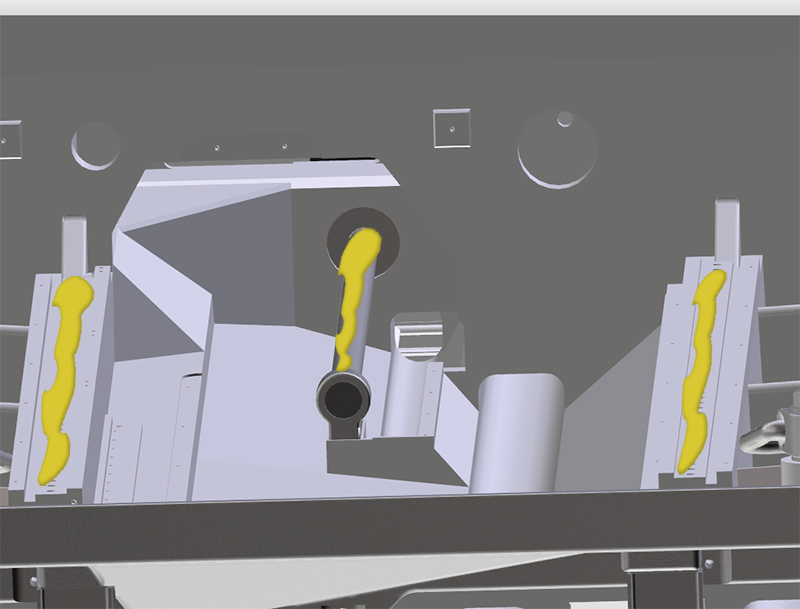
Check lubrication of guideways and ball screw drives:
Step 3: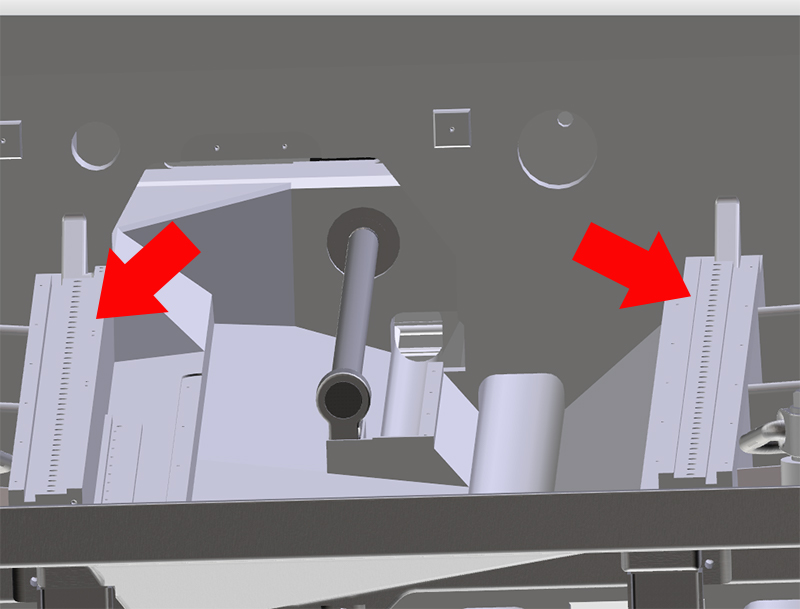
Inspect the rails to check that:
Step 4:Align an incorrectly seated cover strip according to the installation instructions of Messrs. Bosch Rexroth. Step 5:In the event of damage, shut down the machine. Call customer service. Do not operate machine with damaged guide! Indentations, scoring, scratches and discolouration indicate a faulty runner block. Guide rail/cover strip and both runner blocks must be replaced if any of these appear. Step 6: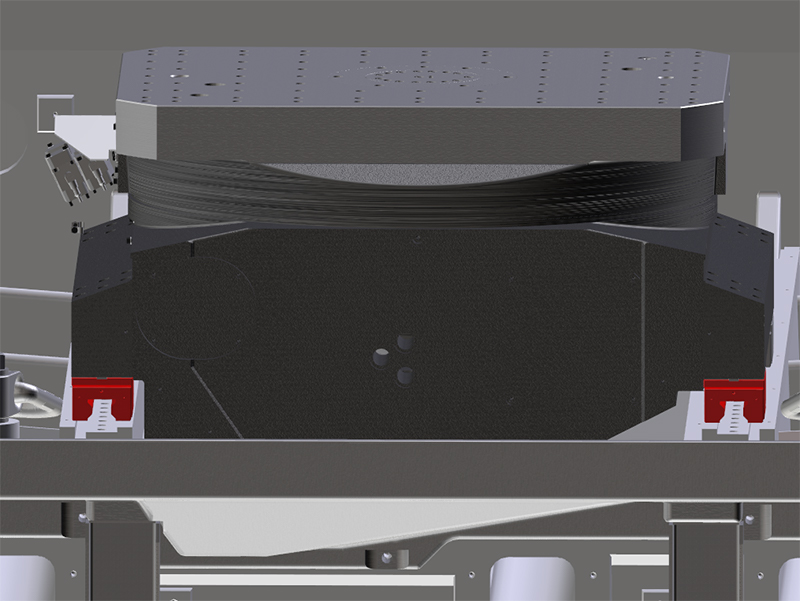
Check wipers on runner block for penetrated swarf. If chips have penetrated or the wiper is damaged, replace the complete sealing set. Step 7:
Clean guide and drive elements. Do not use compressed air! Lightly oil the running surfaces. Prepare machine for operationStep 1:
Screw concertina cover to rotary table. Step 2:
Remove support from the machining unit. Step 3:Before closing the safety doors and maintenance openings, ensure that nobody is behind the guard panels. Close safety doors and maintenance openings. Step 4:
Open compressed air shut-off valve. Step 5:
Switch the machine on. Step 6:
Traverse Z-axis to and from over the entire stroke and check that the concertina covers are running smoothly. Step 7: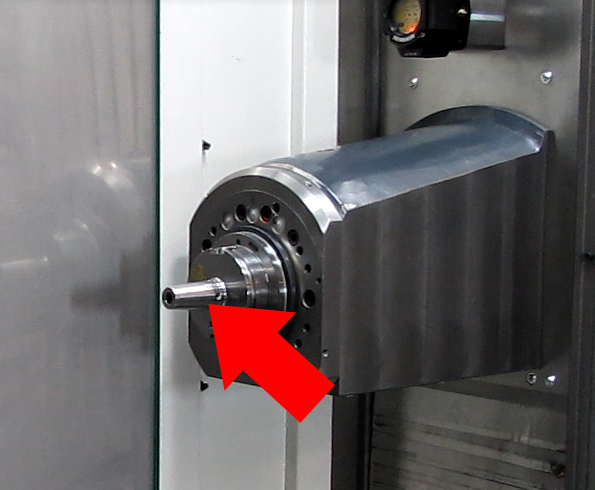
Place a tool in the tool spindle to protect the tool spindle from the ingress of dirt. Step 8: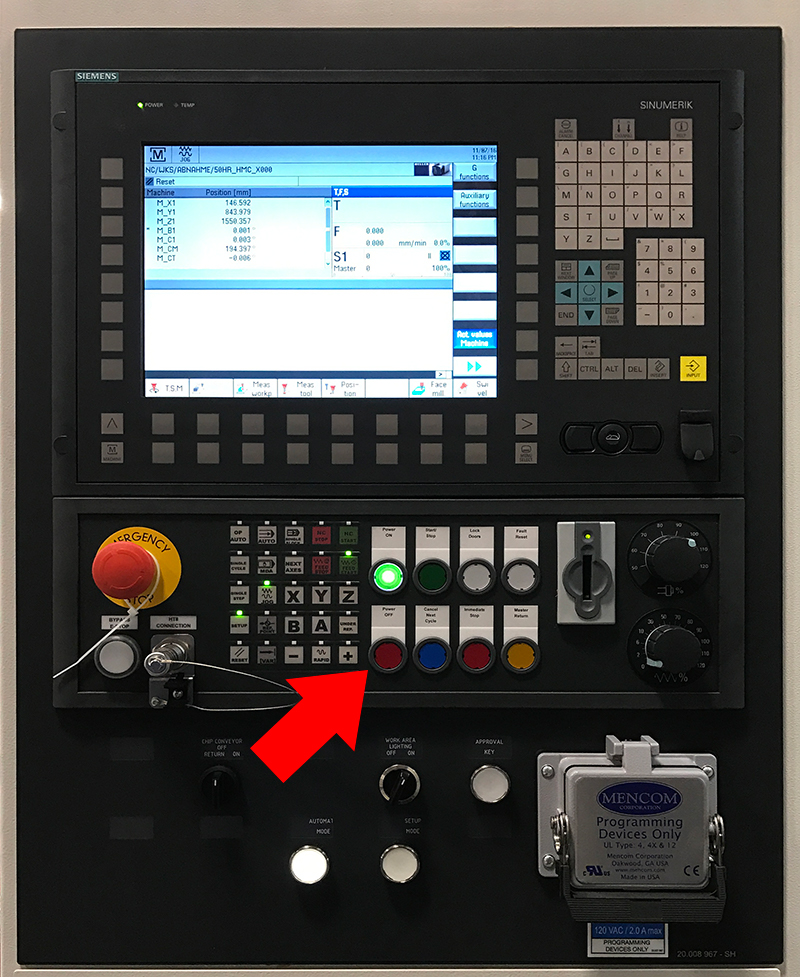
Switch off motors. |