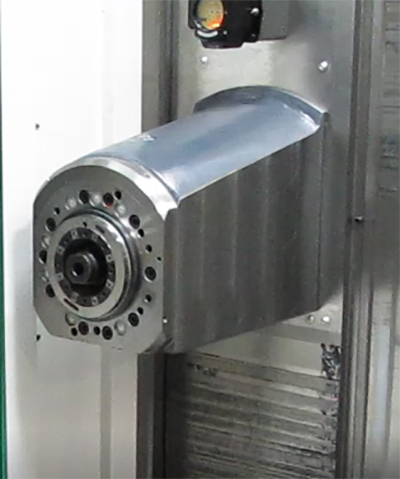
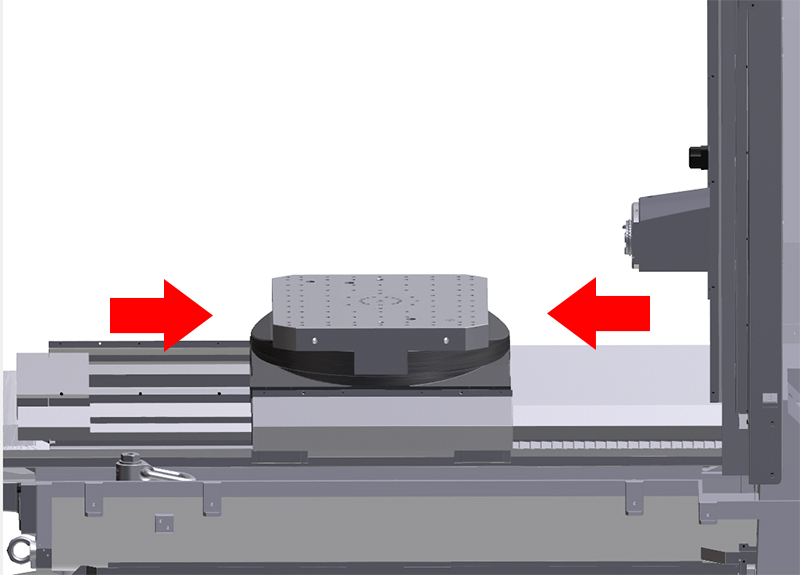
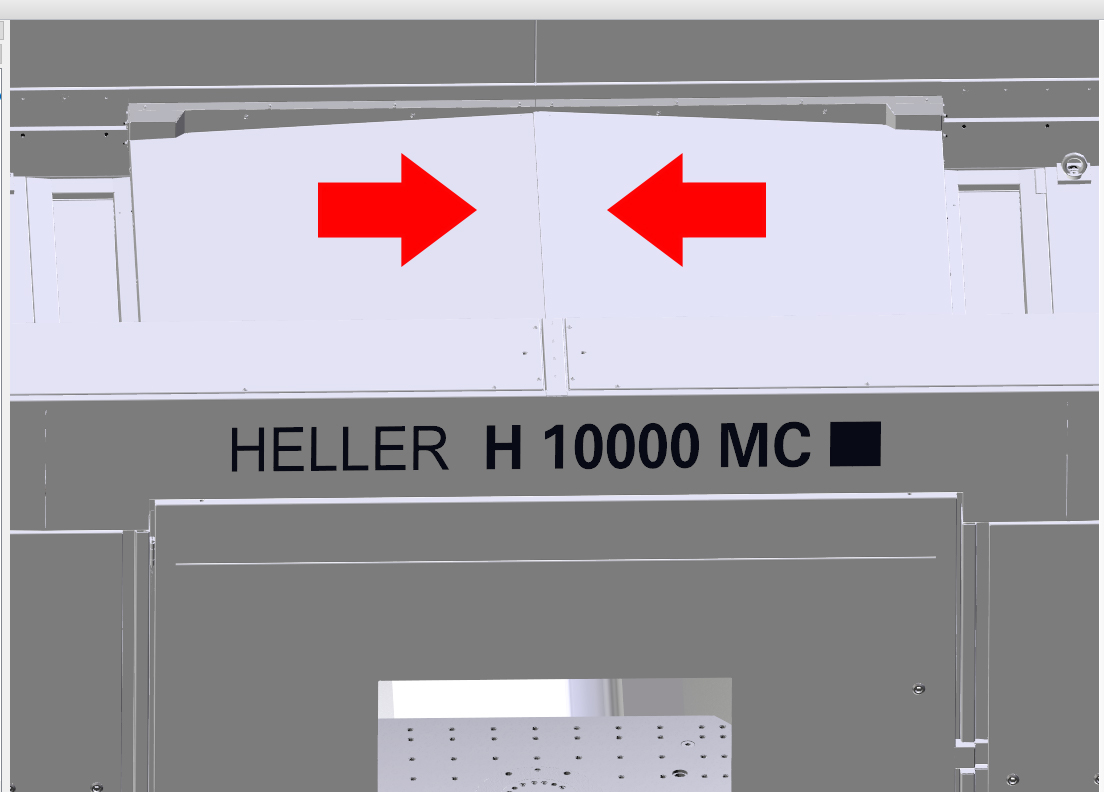
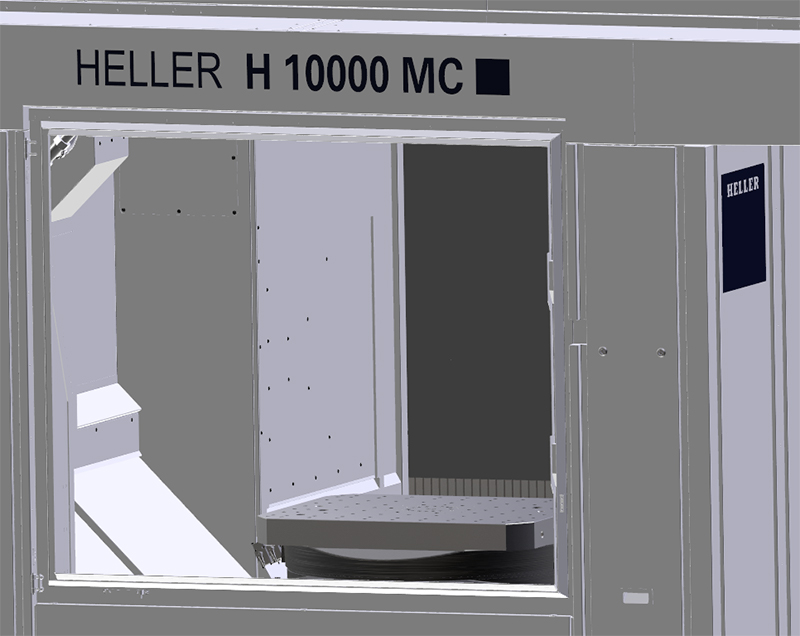
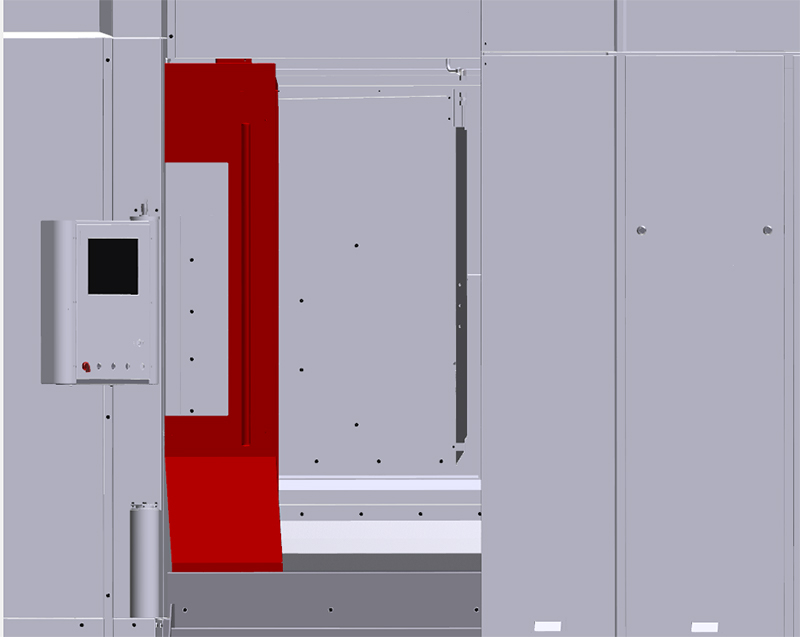
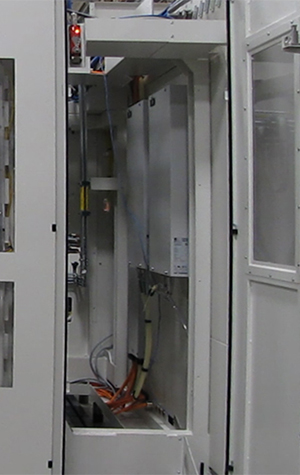
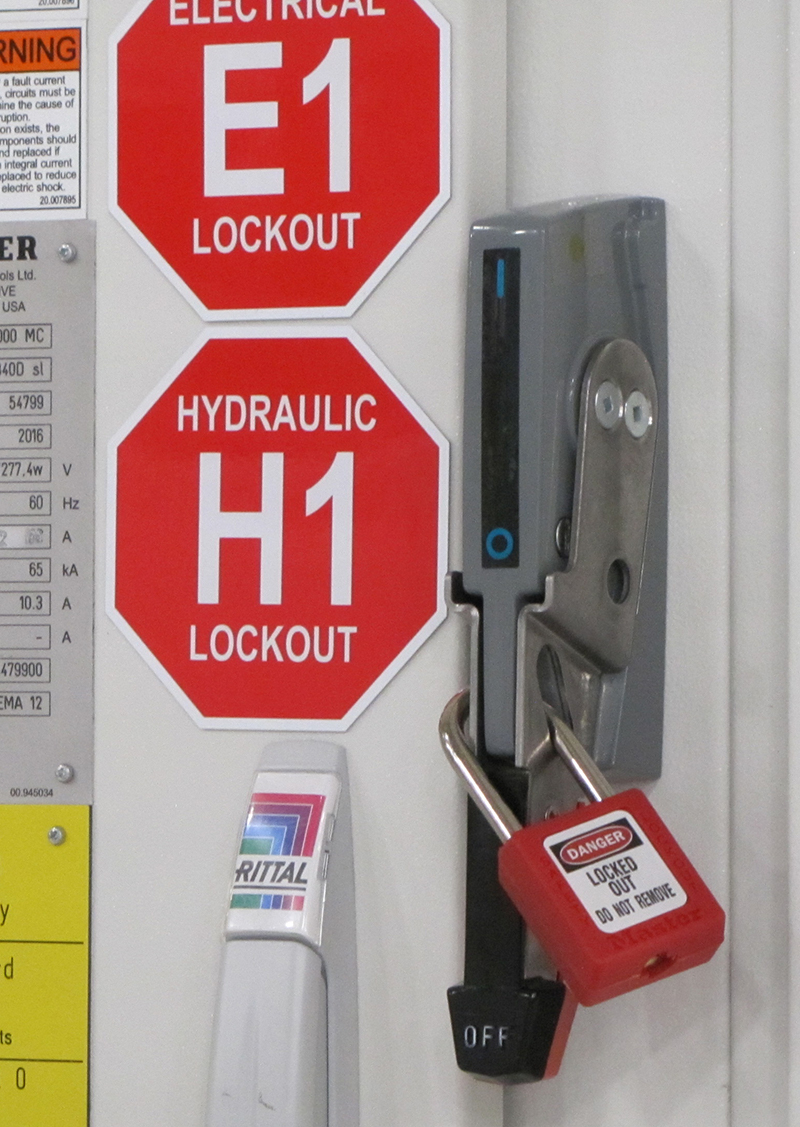
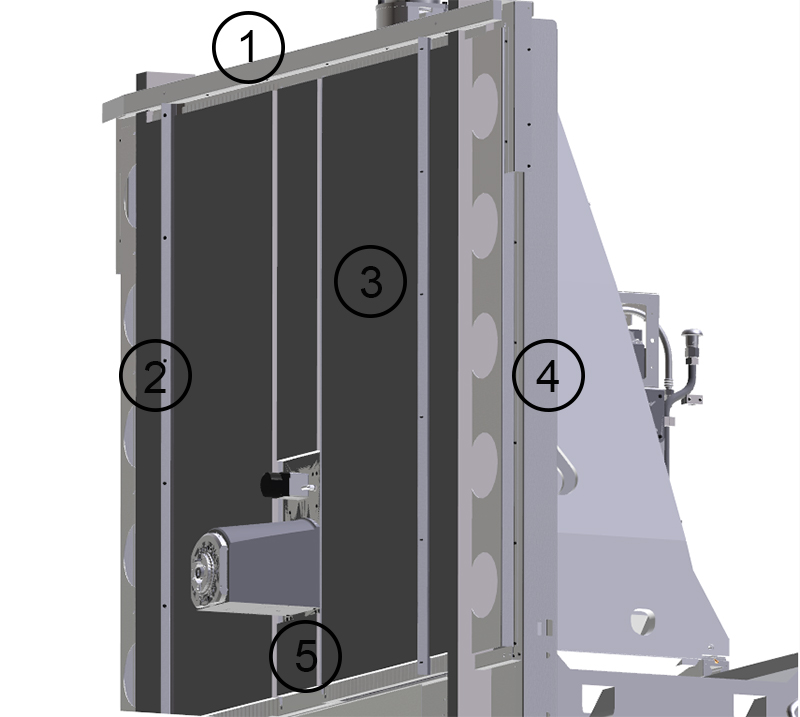
Checking Dirt Wipers and Concertina CoversInterval 1000 Hours Operating time Component Concertina covers of Y and Z-axis, wiper for XY cover Step 1:Step 2:The linear axes are positioned so as to make all covers easily accessible.
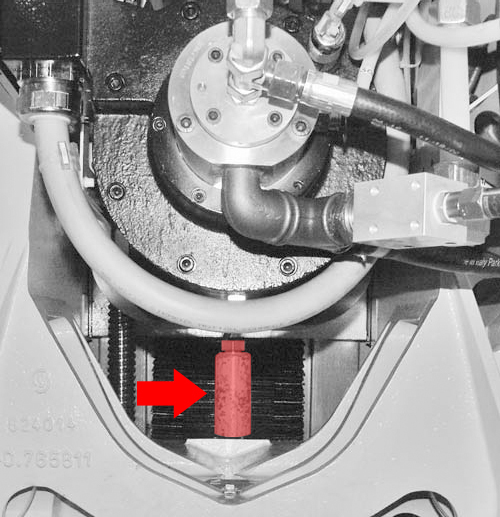
Step 3:Step 4:Step 5:Step 6:Step 7:Step 8:Step 9:Check all parts for wear and damage. Details are described as follows.
Step 10:If a part can no longer guarantee a sound function effect, call customer services. Do not carry out this work yourself. Customer service ensures that no consequential damage can occur from penetrating chips and dirt and that all covers are resealed after the maintenance activity. Step 11:Check X and Y axis Dirt WipersProcedure Check all wipers and concertina covers of the X and Y-axes for wear and damage. CloseProcedure Before closing the safety doors, ensure that nobody is behind the guard panels. Close the work area safety door and the workpiece setting station safety door (front door). Remove support from the machining unit. Before closing the safety door, ensure that nobody is behind the guard panels. Close maintenance area safety door. Place a tool in the tool spindle to protect the tool spindle from the ingress of dirt. |
