Check Tool Pull-in ForceMeasuring device, for example model "Power-Check" by Ott-Jakob Slot-type screwdriver, width 5.5 mm The collet features a latch which holds the measuring device even in the "unclamped" position. For safety reasons, it is nonetheless advisable to hold the measuring device in place during opening the collet. The collet engages easily, but it has a high retaining force, so you need a screwdriver as leverage to remove the measuring device. PreparationStep 1: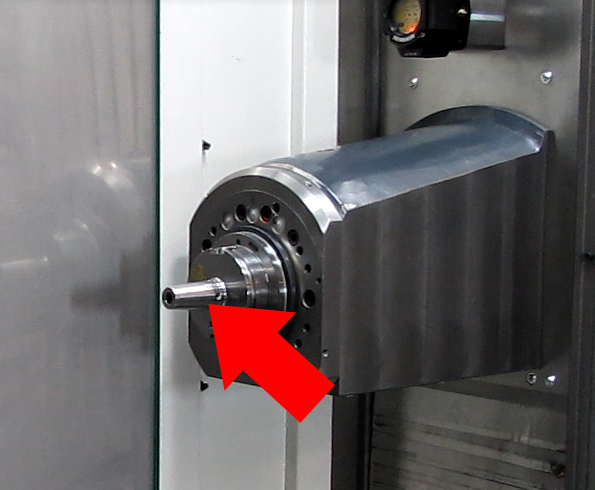
A tool is placed in the tool spindle. Step 2: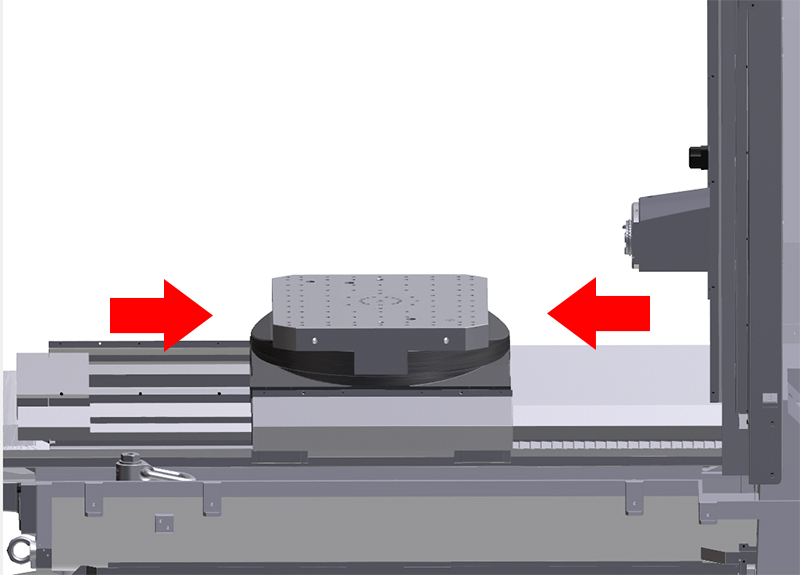
The machining unit is positioned such that you can work on the tool spindle and read-off the measuring device display without entering the work area.
Step 3:
Motors are switched on. Step 4:
Open work area safety door. Step 5: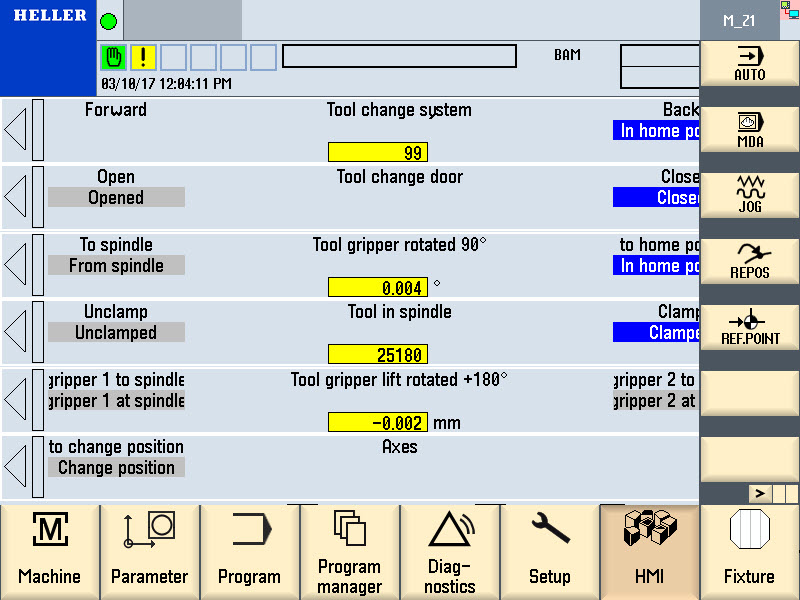
Take hold of the tool inserted into the tool spindle. Unclamp tool. You can use individual functions to open and close the collet. Step 6:
Remove the tool:
Measuring tool pull-in force
Step 1: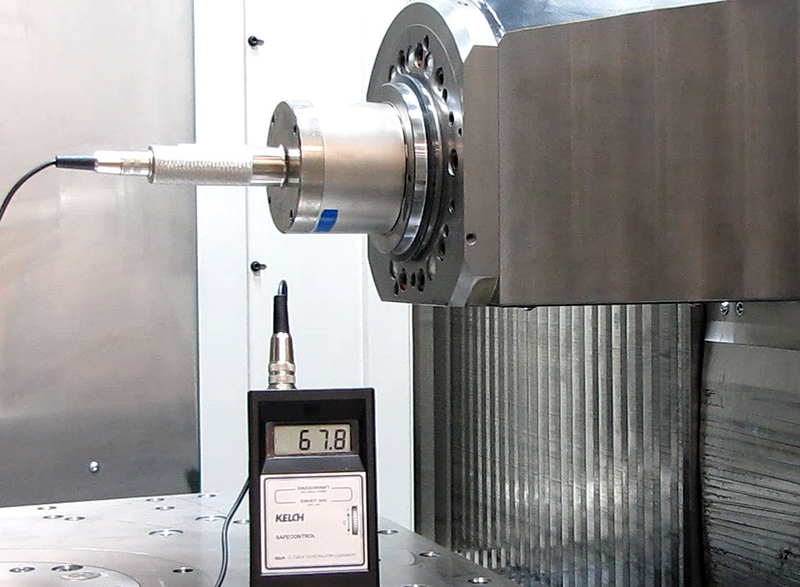
Insert measuring device into collet and let engage. Step 2:
Close collet. Step 3:
Read tool pull-in force off the measuring device display. The minimum value is 30000 N. Step 4:
Take several measurements. Hold the measuring in place during opening the collet. Step 5:
Hold measuring device in place. Open collet. Step 6: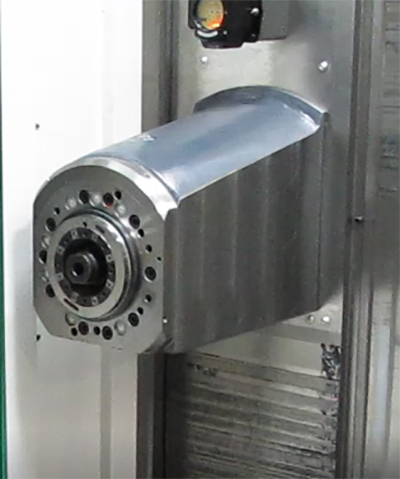
Remove measuring device. Step 7:If the tool pull-in force has not reached the minimum value, remove the collet and clean or replace. For procedure, see: "Repairing the collet" CloseStep 1:
Insert and clamp the removed tool into the tool spindle. Step 2:
Close and lock the work area safety door. Step 3: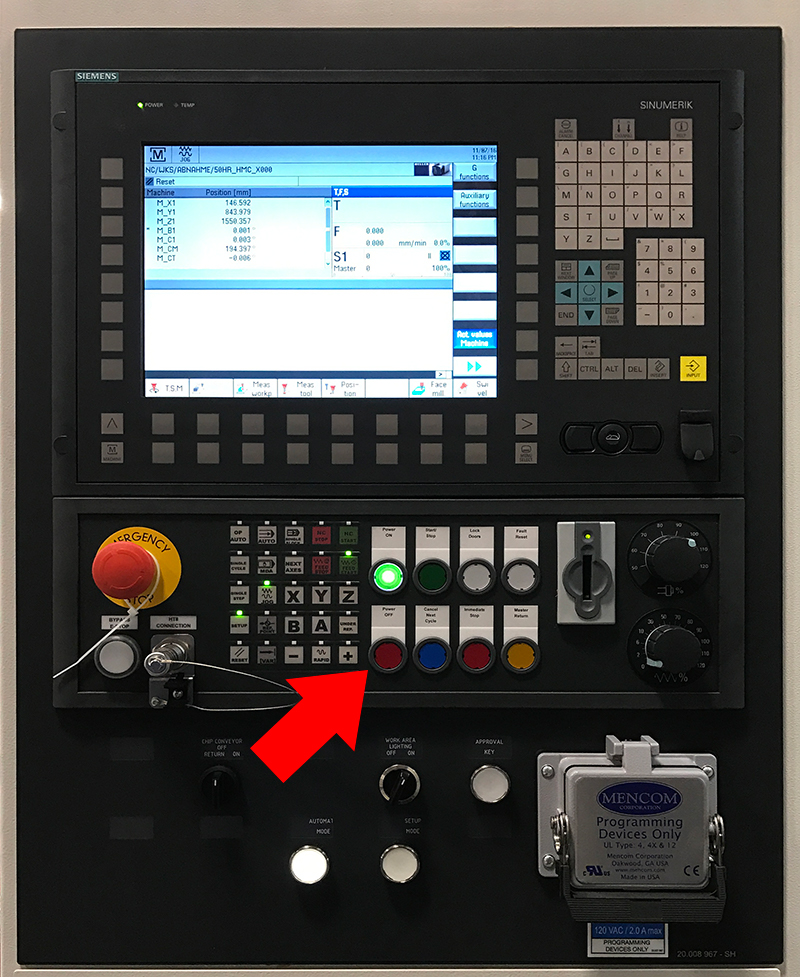
Switch off motors. Repairing the ColletSpare part Collet See wearing and spare part list (VS) Assembly aid number 786.15090.007.0 by Messrs. Berg (supplied with the collet) Depth gauge Torque wrench for 50 Nm For manufacture's documentation on the collet, see Subsupplier's Information (ZI) from "Berg". Step 1:
Measuring device removed. Collet opened. Step 2:
Work area safety door opened. Step 3: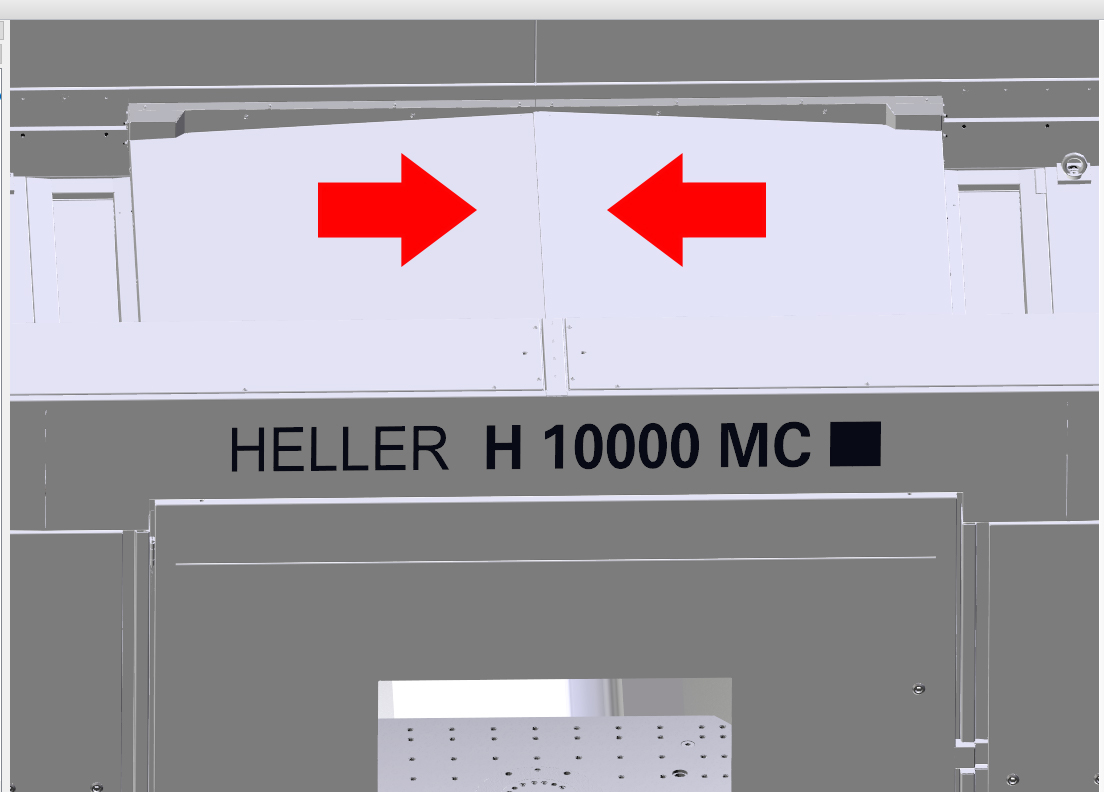
Loading hatch closed. Step 4: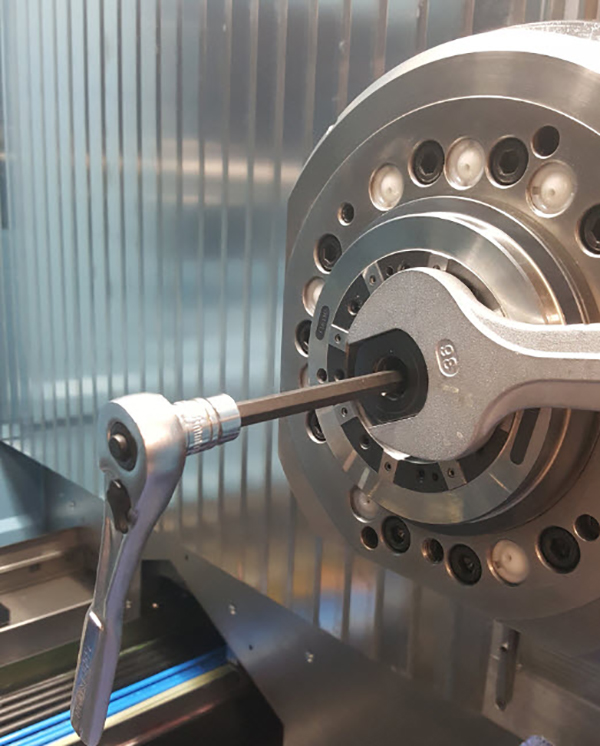
Unscrew collet using the face pair (width across flats 36) of draw bolt. Step 5: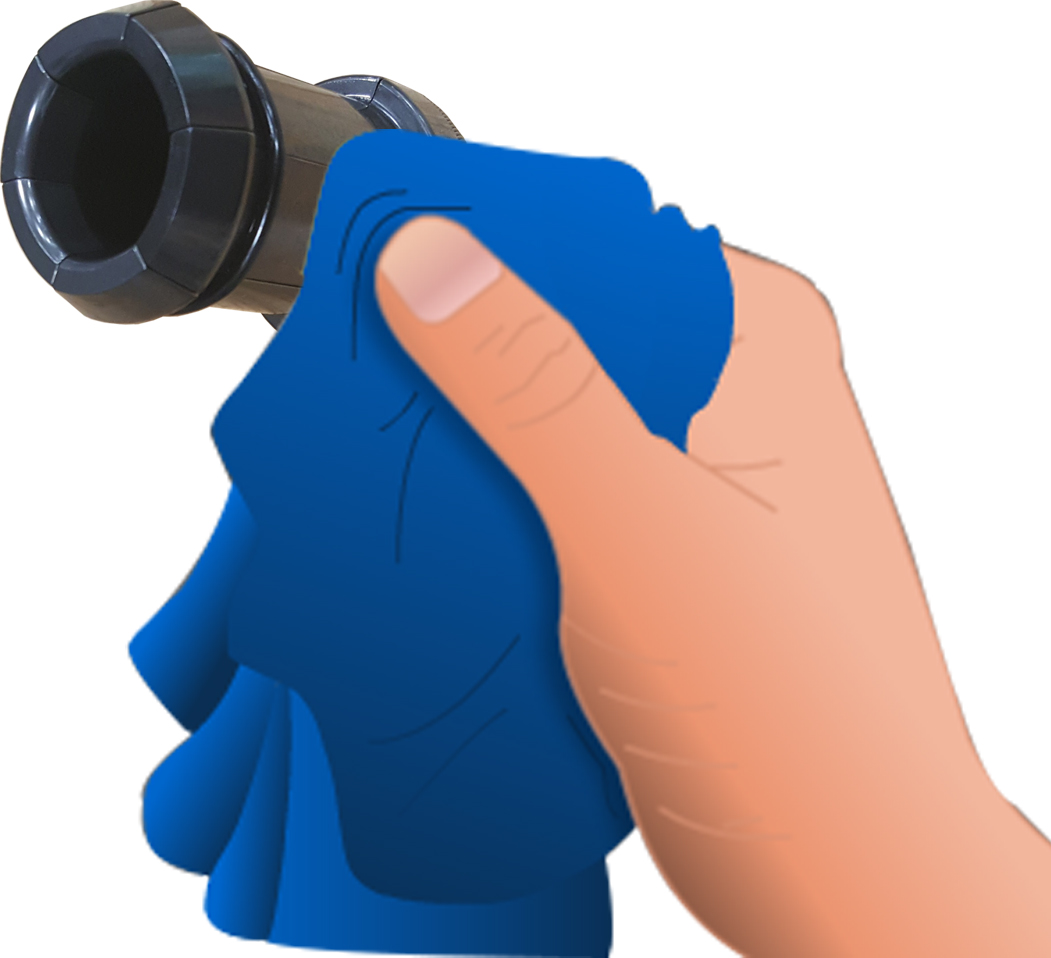
Clean collet . Check condition of the collet. Replace worn collet. Step 6: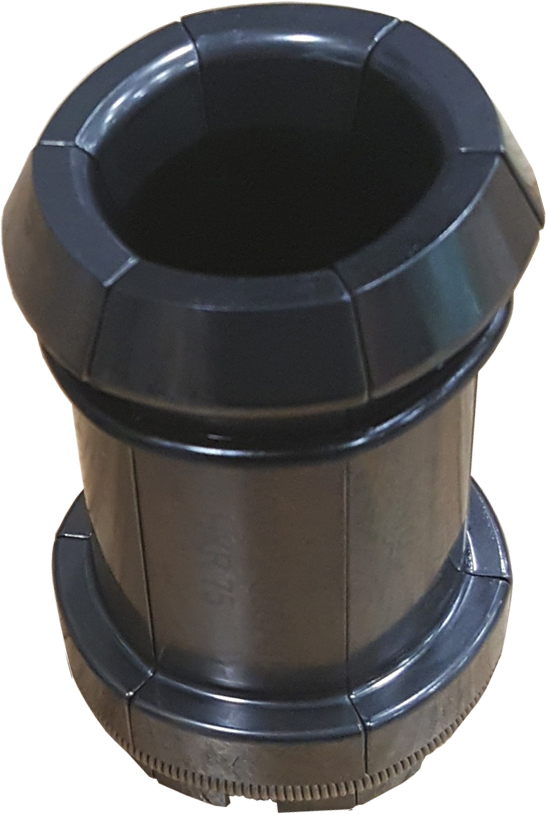
Prepare collet for installation:
Step 7:Install collet according to the installation instructions of Messrs. Berg and set to adjustment setting. Step 8:
Re-measure tool pull-in force after the collet has been cleaned.
Step 9:
If the tool pull-in force has not reach the minimum value despite the collet having been cleaned, the collet may be defective even if there is no visible external wear. Replace collet. Step 10:
Re-measure tool pull-in force after the collet has been replaced. Step 11:If the tool pull-in force has not reached the minimum value despite the collet having been replaced, the tool clamping system is probably defective. Call customer service. Do not operate machine with damaged tool clamping system! Step 12:
Insert and clamp the removed tool into the tool spindle. Step 13:
Close and lock the work area safety door. Step 14:
Switch off motors. |