Check Conveyor Helixes and Slide Rails for WearInterval 2 Year(s) Real time Component Conveyor helixes and slide rails in machine bed The 3 conveyor helixes that transport the chips out of the work area are located on slide rails, which are screwed onto the conveyor channel. Certain types of chips may cause shrinkage of slide rails and conveyor helixes over the years, despite of their robust material. Replace the parts in good time. Wear limit is reached at the latest when the thickness of a slide rail decreases to 2 mm at the thinnes point. Always replace the entire set, conveyor helixes and slide rails. The following inspection is best carried out when the machine undergoes its annual basic cleaning. For slide rails and conveyor helixes, see wear and spare parts list. (VS). Please observe chapter 4.2 "Special safety measures" when entering or leaving the machine. Step 1: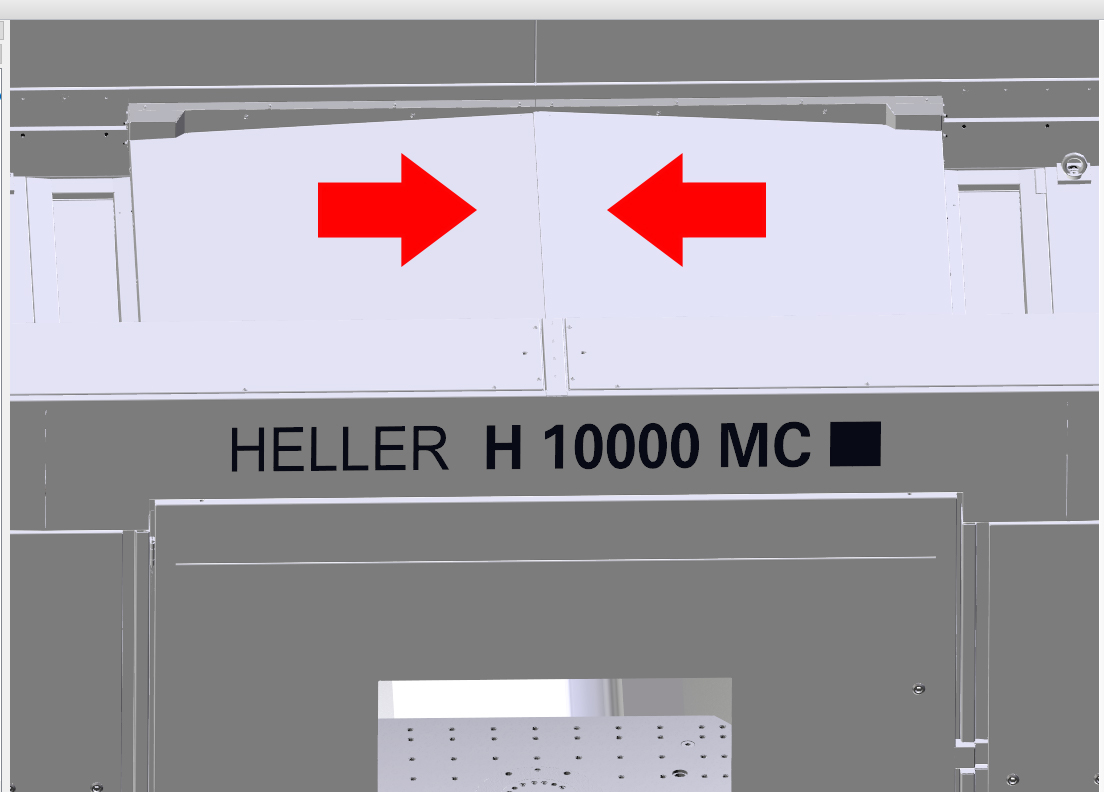
Loading hatch closed. Step 2:
There should be no tool in the tool spindle. Step 3:
Z-axis moved away from the machining unit into end position. Step 4:
Machining unit traversed into support position. Step 5: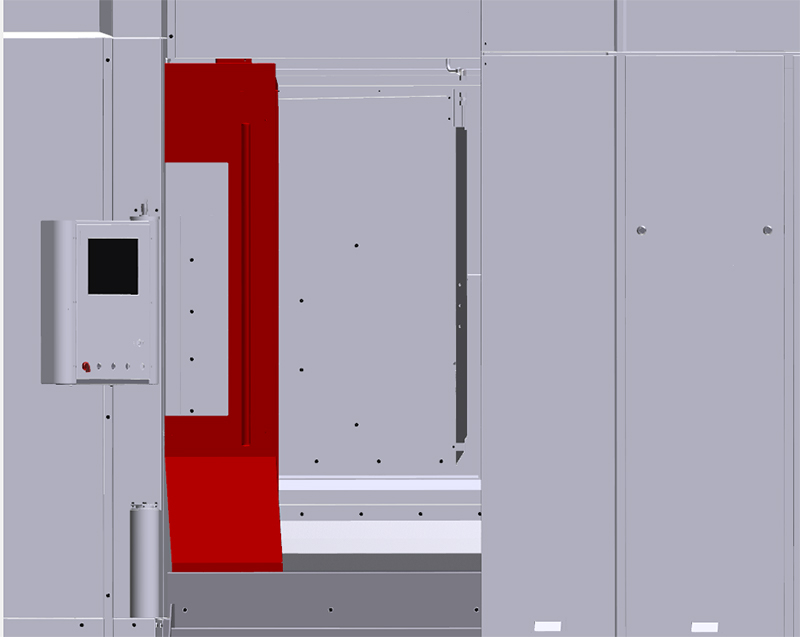
Work area safety door open and secured to prevent closing. Step 6: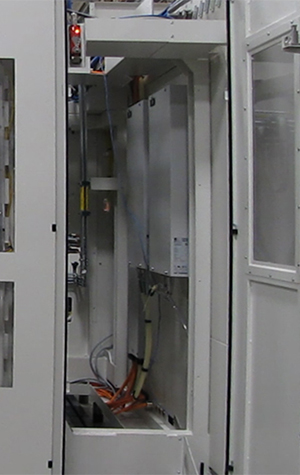
Maintenance area safety door opened and secured to prevent closing. Step 7: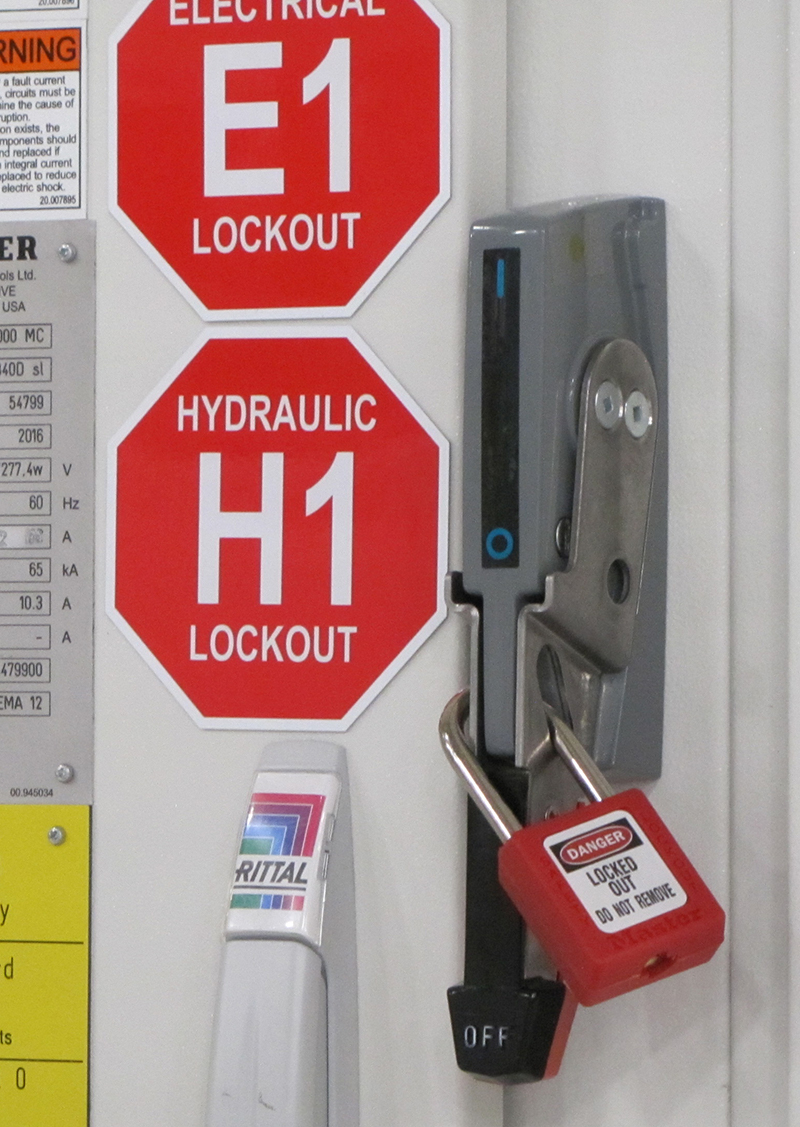
Machine switched off at main switch and secured against being switched on again. Step 8:
Machining unit protected from falling by supports. Step 9: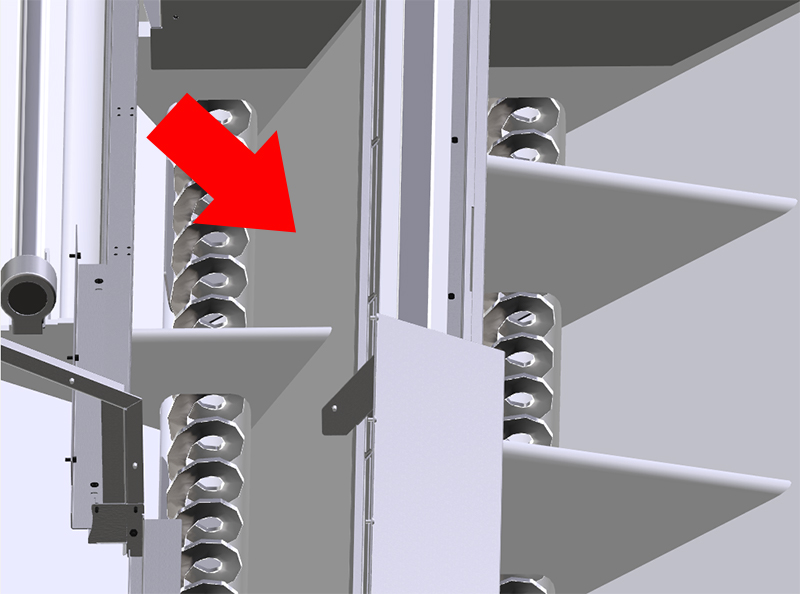
Conveyor channel covers unscrewed. Step 10: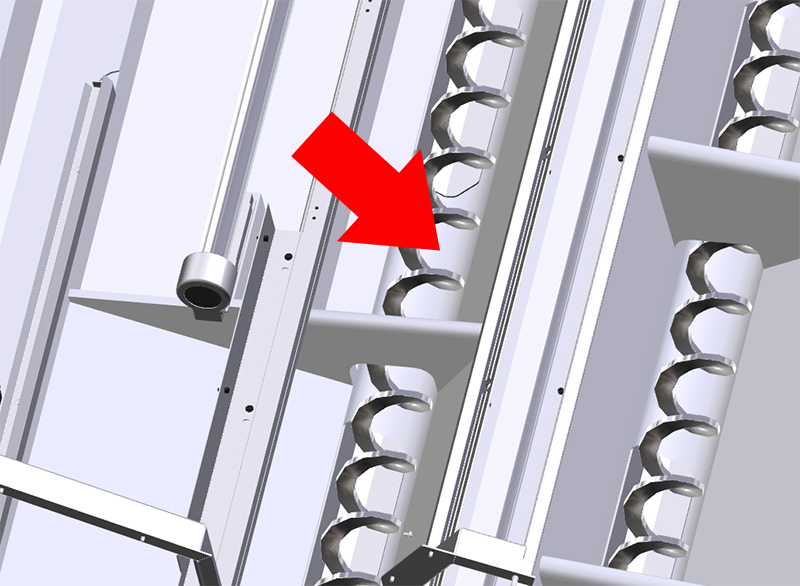
Check slide rails and conveyor helixes in the conveyor channels for wear. Step 11:
Prepare machine for operation. Move Z-axis to the machining unit, and check the side behind the rotary table in the same way. Step 12:Worn conveyor helixes and slide rails shall be replaced by the customer service. Step 13:
Remove support from the machining unit. Step 14:Before closing the safety doors, ensure that nobody is behind the guard panels. Close the work area safety door and the maintenance area safety door Step 15:
Switch the machine on. Step 16:
Place a tool in the tool spindle to protect the tool spindle from the ingress of dirt. Step 17:
Switch off motors. |