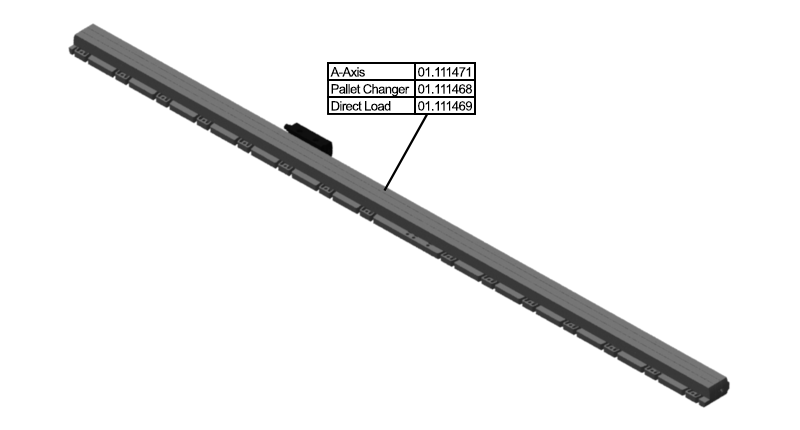
Z-Axis Length Measuring System
Parts List
Reference Files
Tools Required
Torque Chart
Step 1: ECPL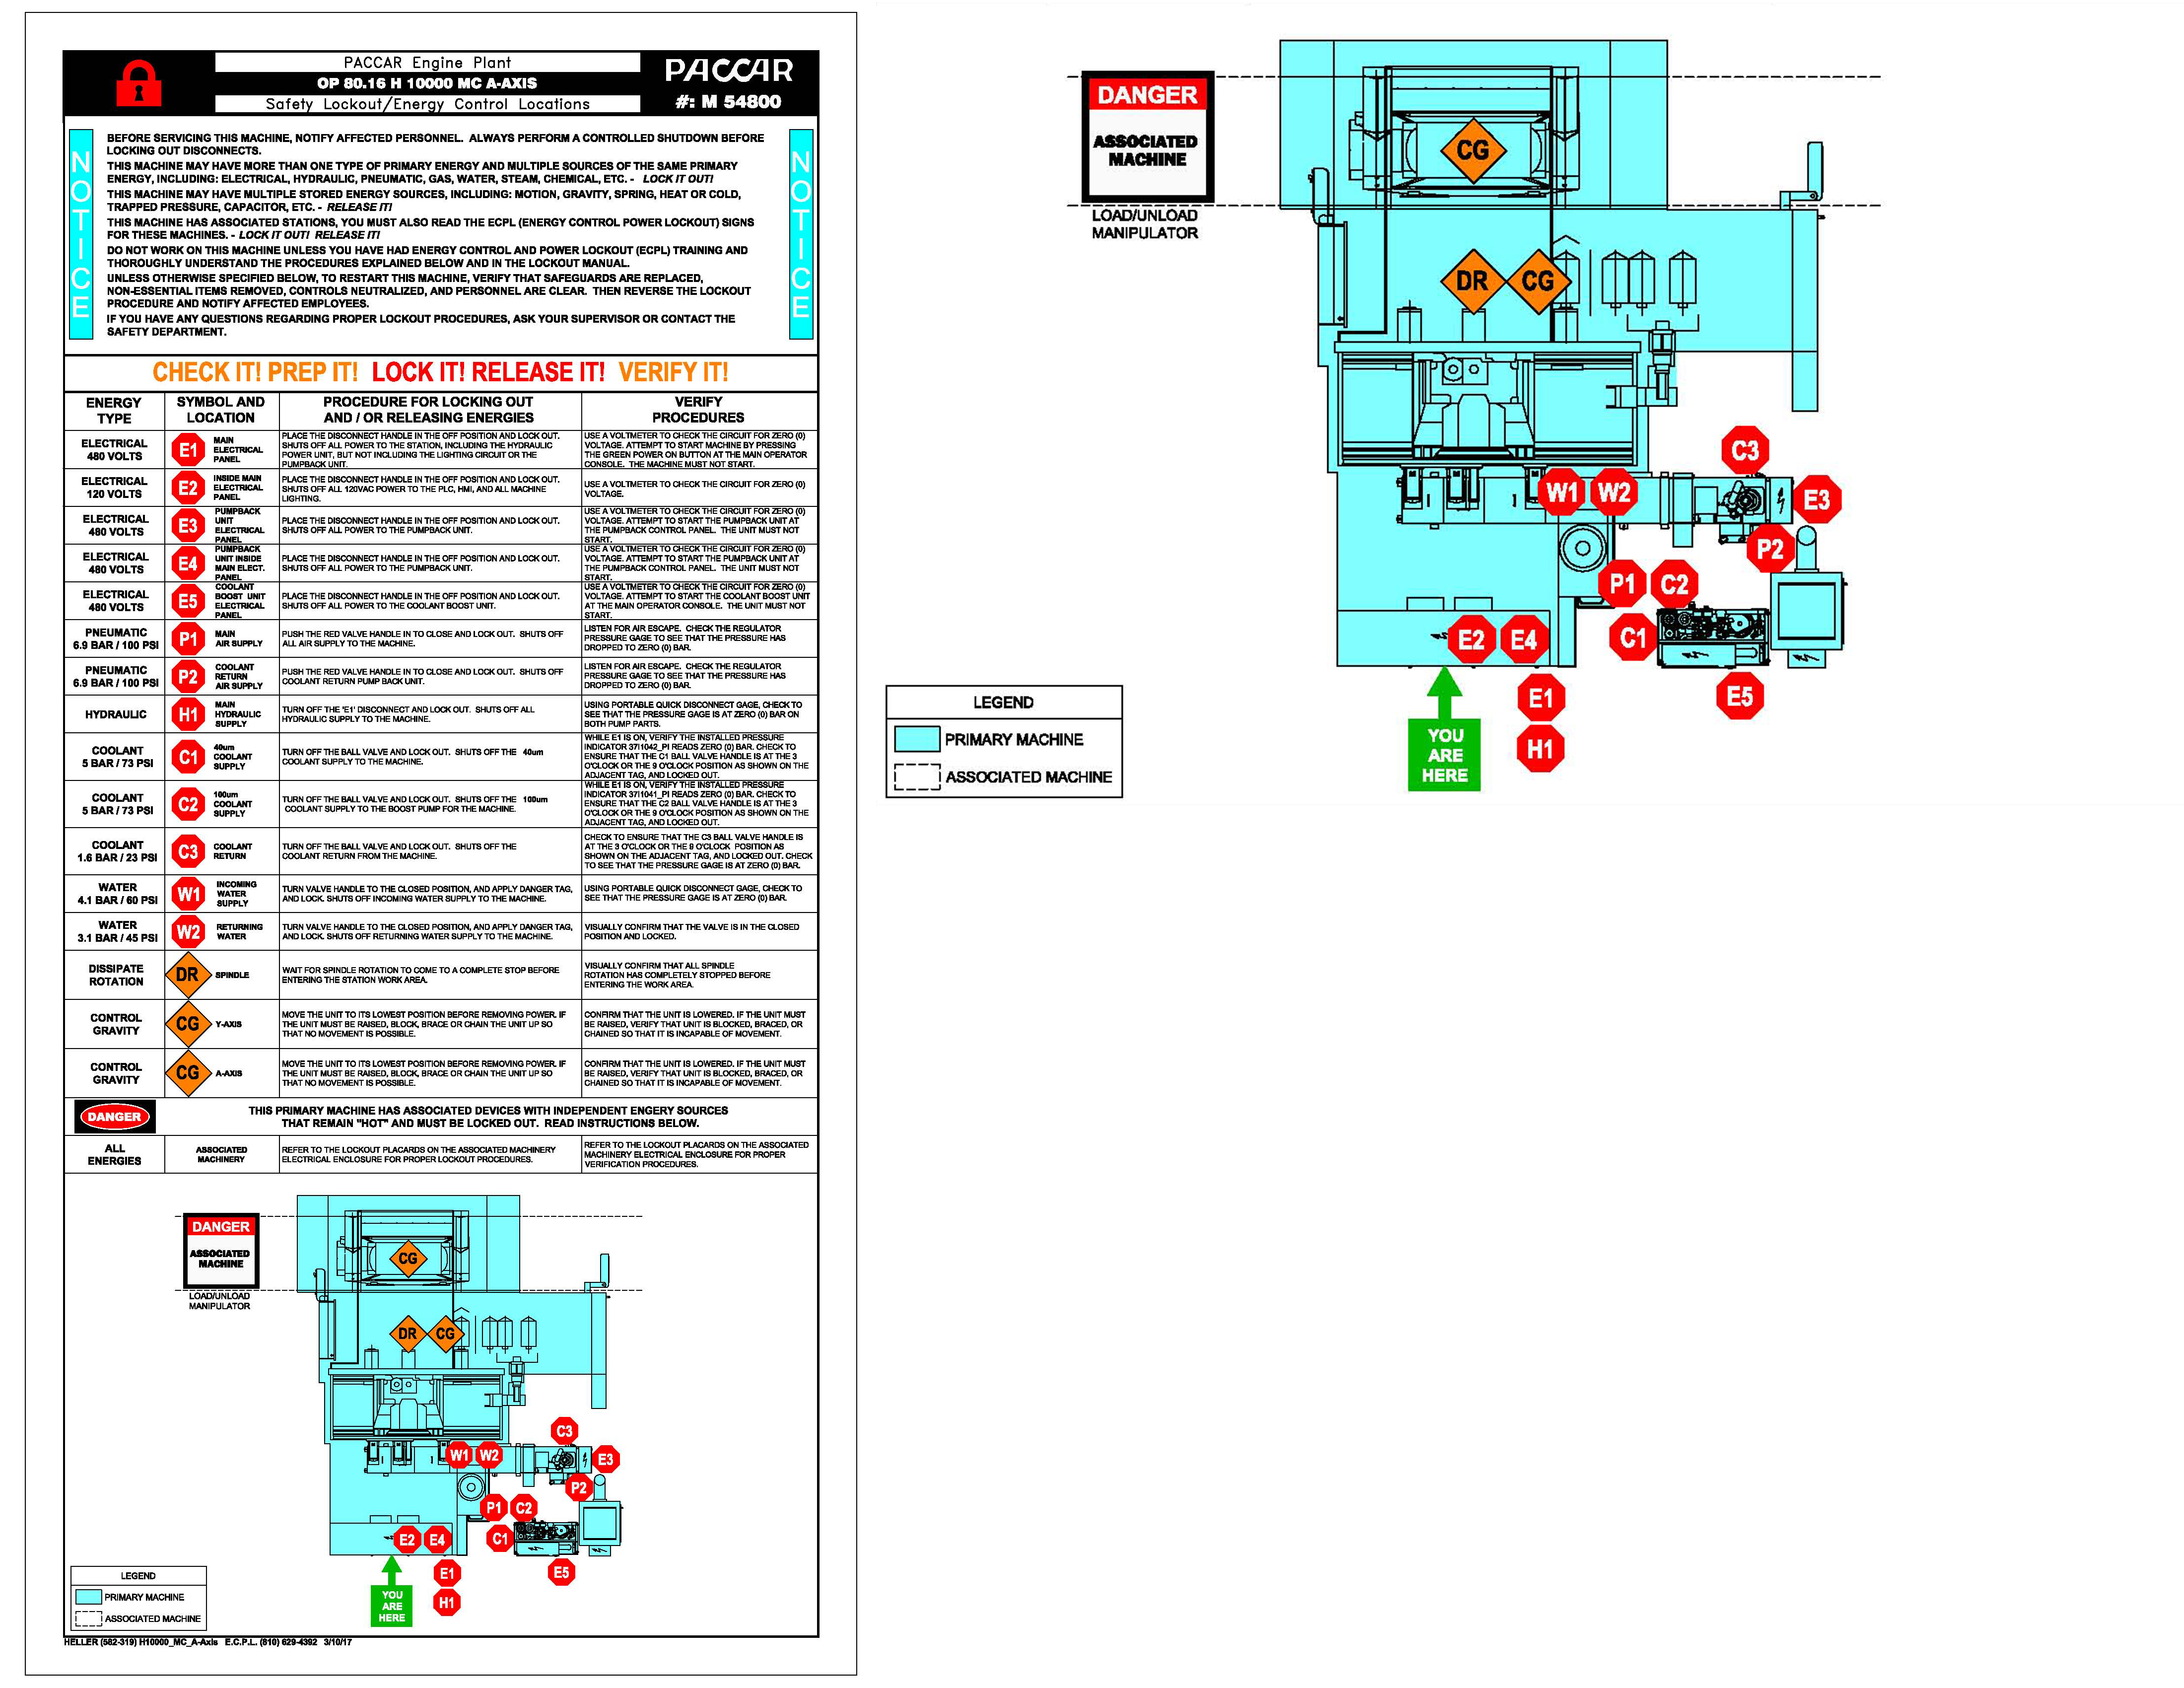
Step 2: Move Z-Axis ForwardStep 3: Open Work Area Safety Door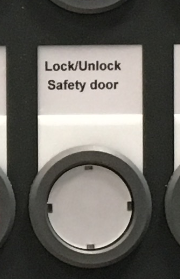
Step 4: Open Concertina CoverStep 5: Remove Rear FastenersStep 6: Remove Air PurgeStep 7: Jog Z-Axis BackStep 8: Open Front ConcertinaStep 9: Remove Front FastenersStep 10: Unscrew Mounting BracketStep 11: Remove Mounting BracketStep 12: Remove Electrical Connection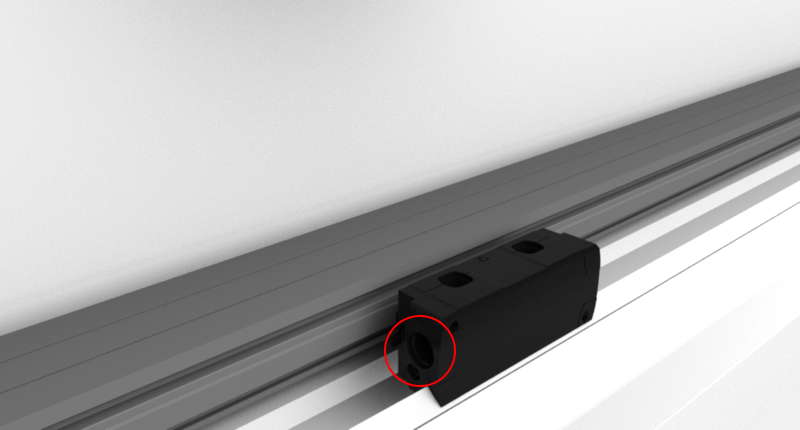

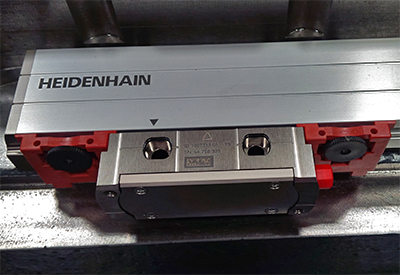
Step 13: Remove Measuring Scale from MachineStep 14: Replace with New Scale (will have shipping brackets)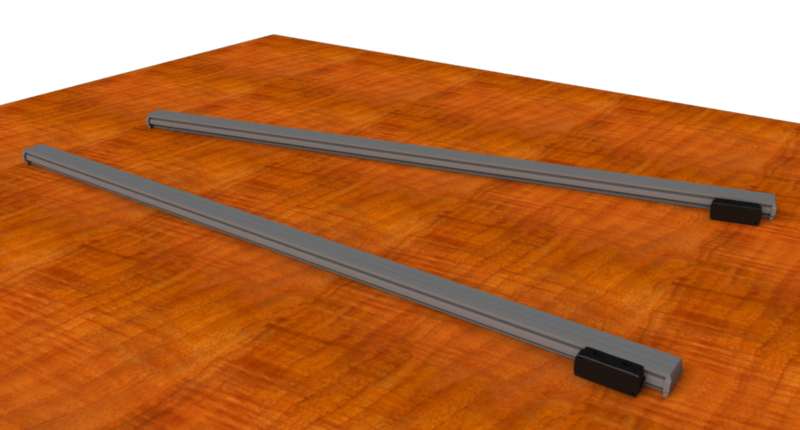
Step 15: Make Sure Mounting Area is Clean
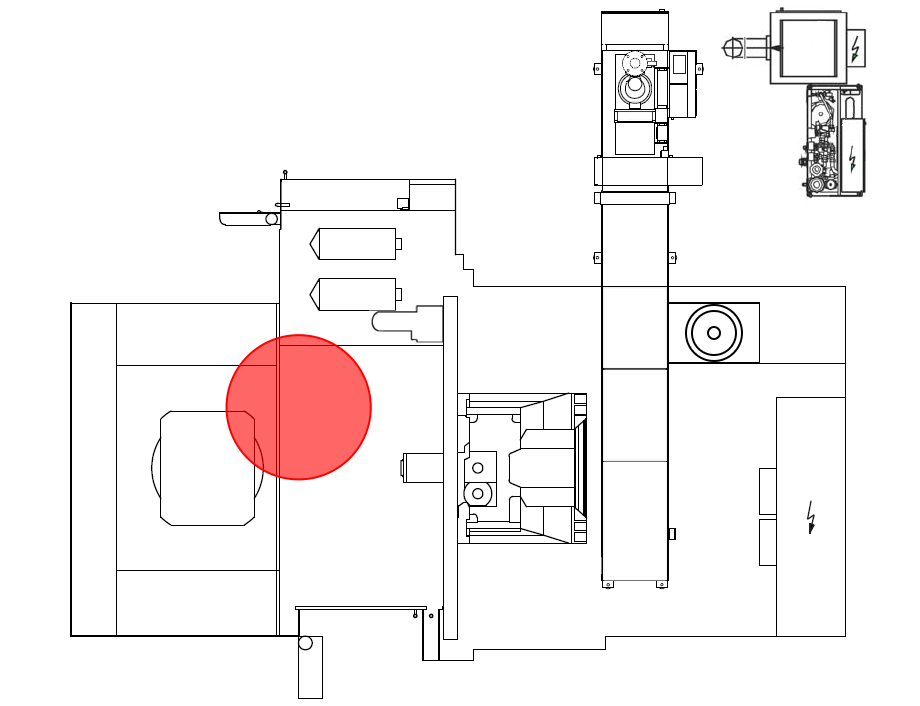
Step 16: Insert Scale into Machine
Step 17: Insert Accessible screws (do NOT torque)Step 18: Install Mounting BracketStep 19: Install Electric Connection
Step 20: Connect Mounting bracket to Rotary TableStep 21: Jog Z-Axis ForwardStep 22: Insert Rear Fasteners and Torque
Step 23: Install Air PurgeStep 24: Close and Secure Rear Concertina CoverStep 25: Jog Z-Axis BackStep 26: Torque Front Fasteners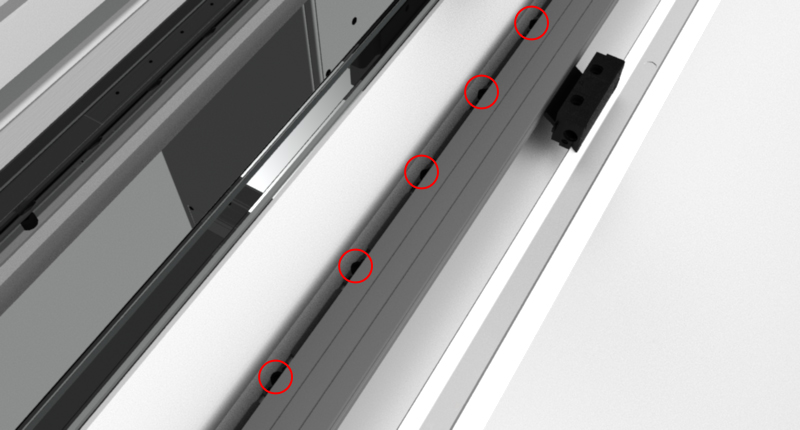
Step 27: Close and Secure Front Concertina CoverStep 28: Close Work Area Safety Door
Step 29: ECPL
|
|||||||||||||||||||||||||||||||||||||||||||||||||||||||