Replacing swivel clamps
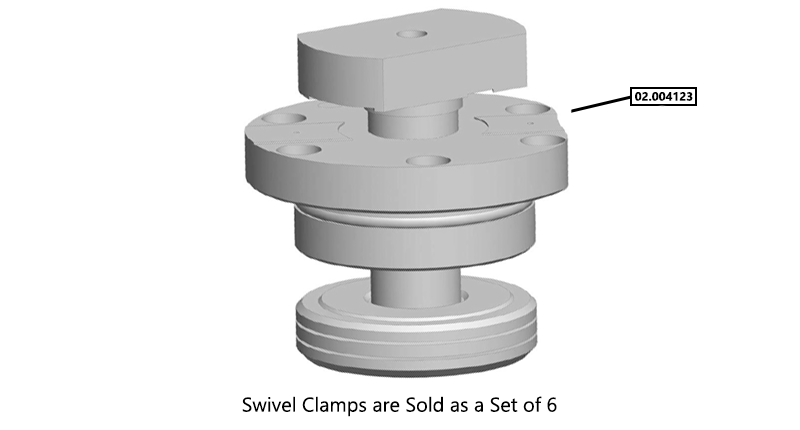
Parts List
Reference Files
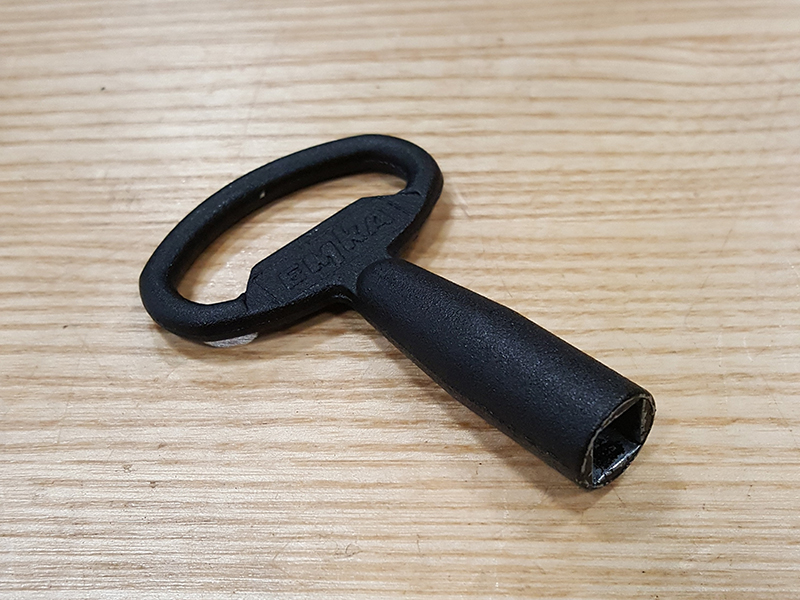
Tools Required
Torque Chart
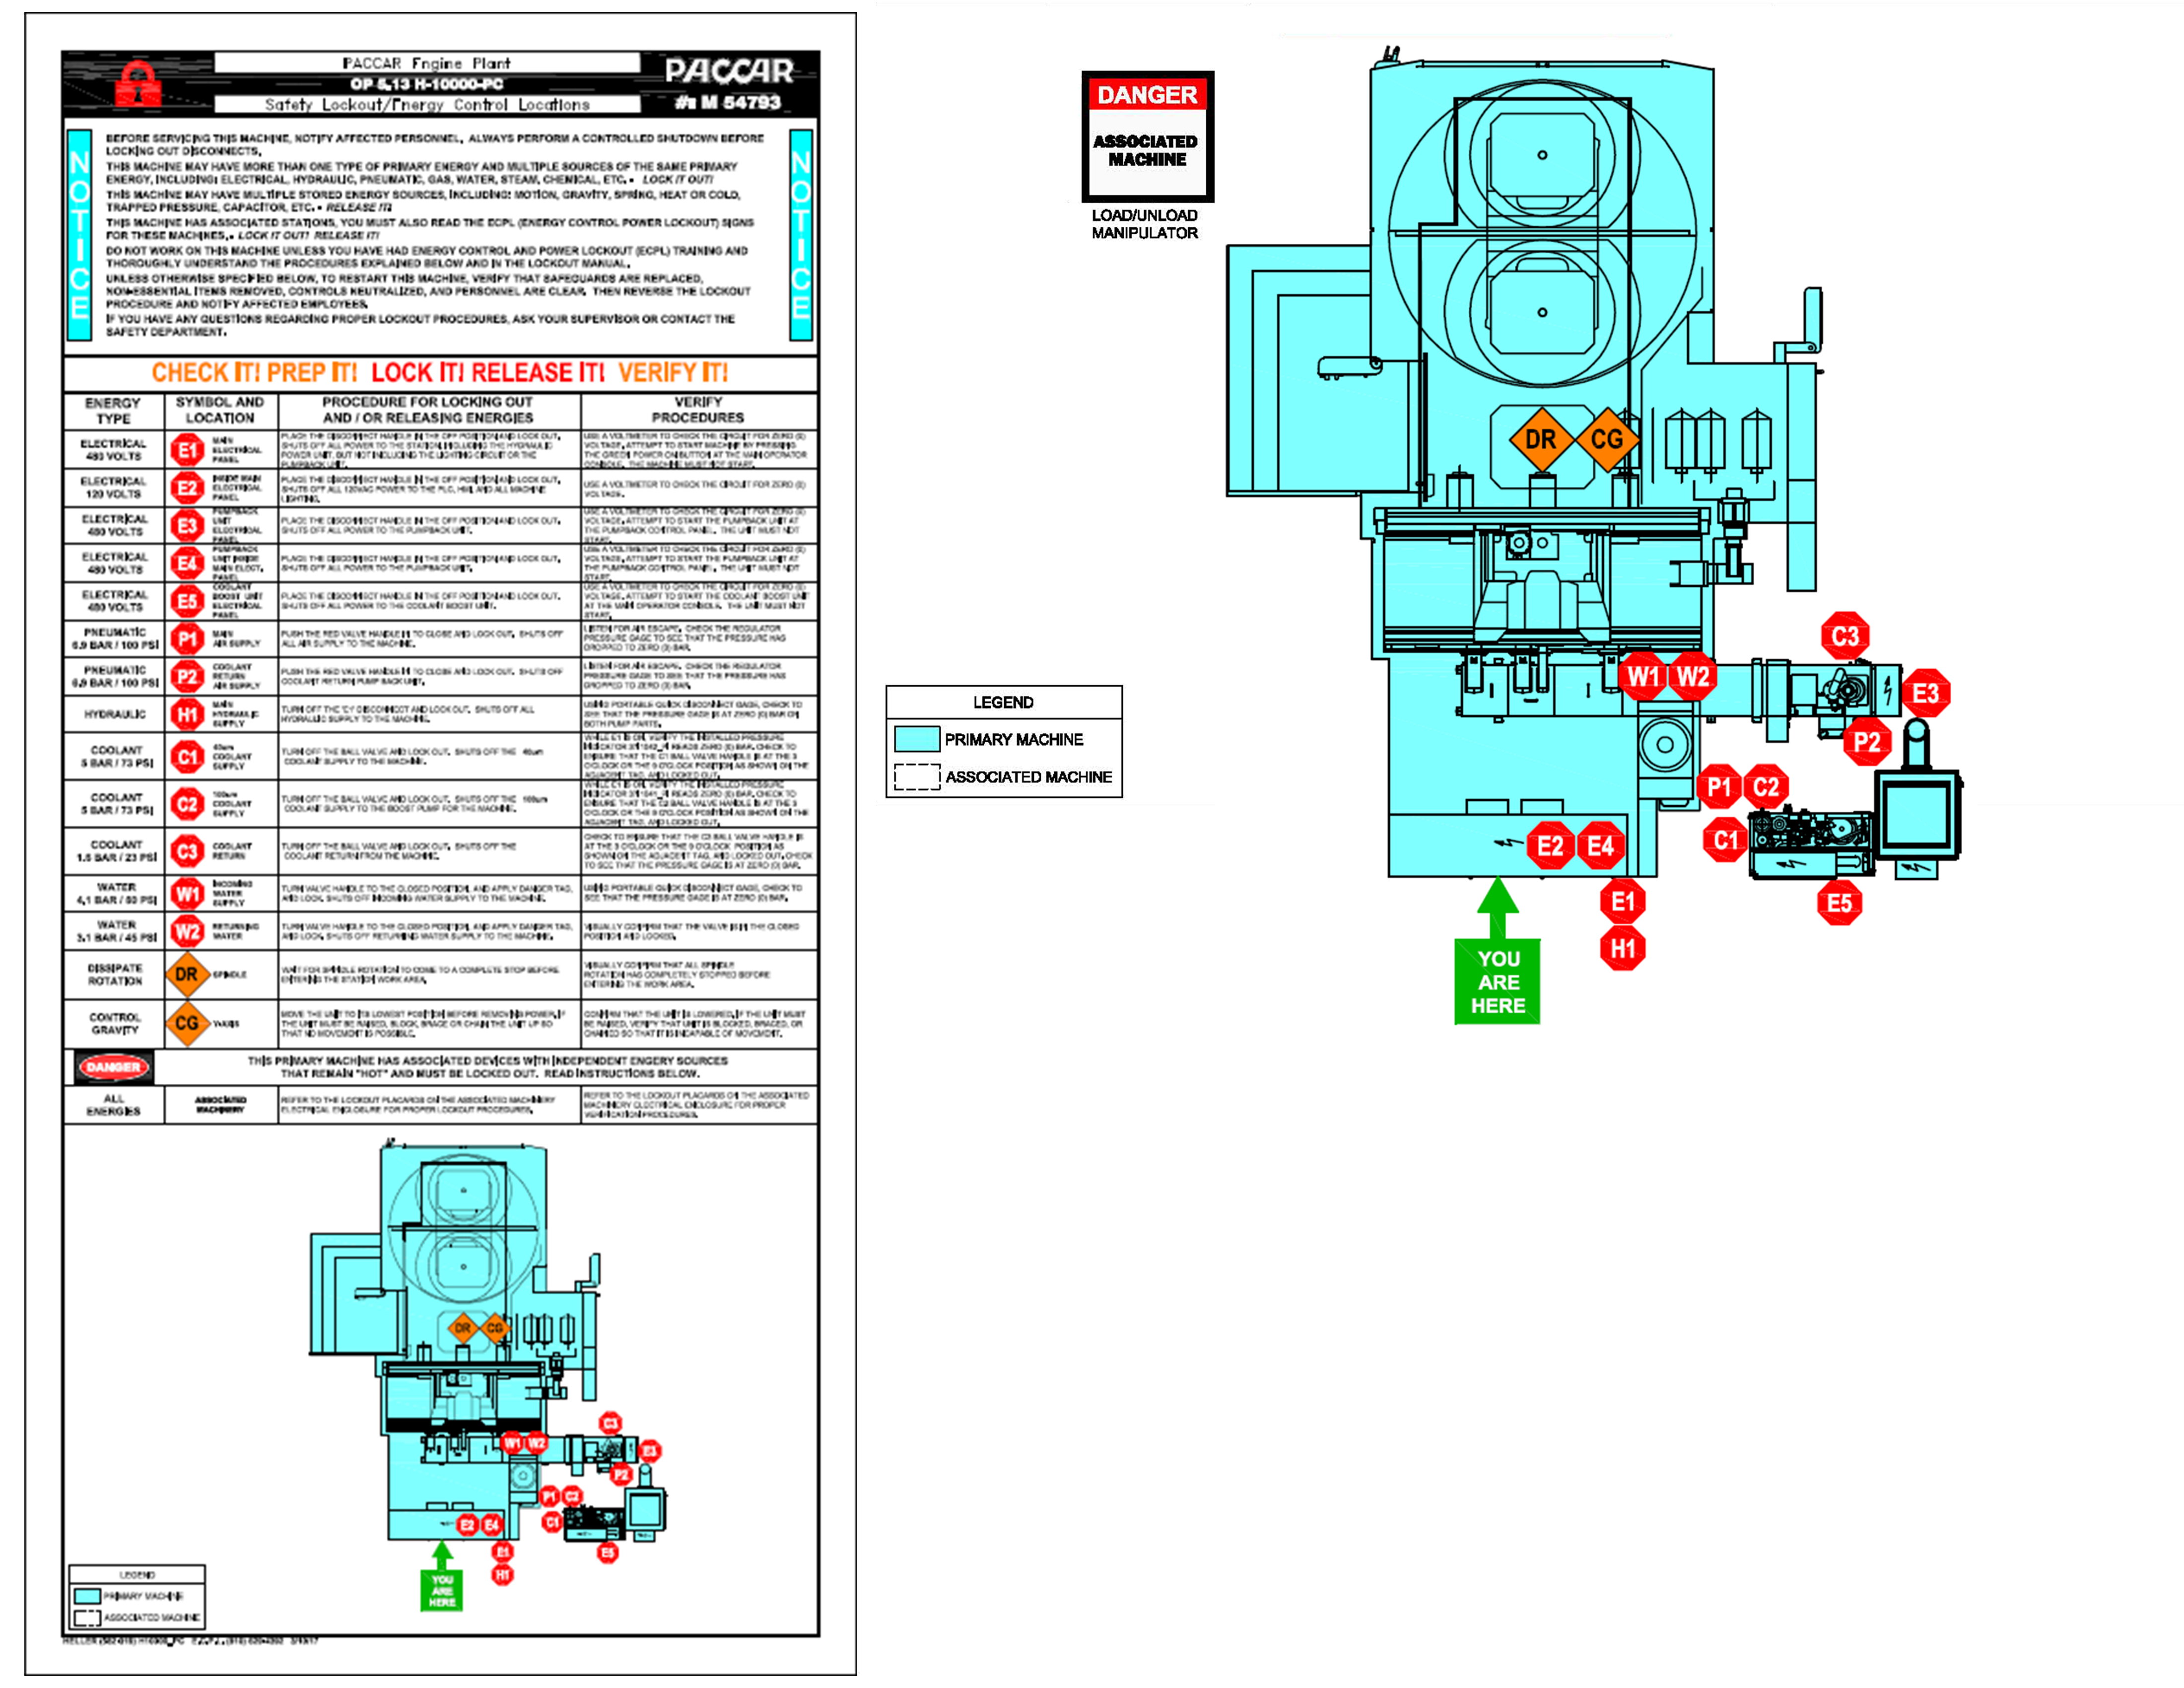
Step 1: ECPLStep 2: Preconditions
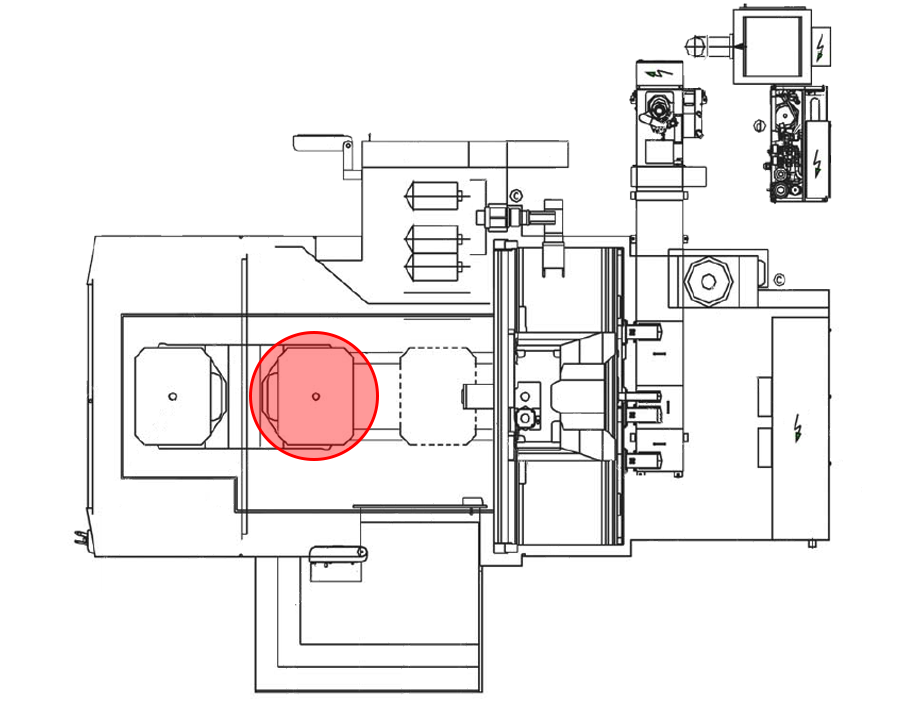
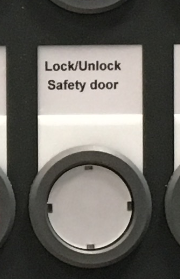
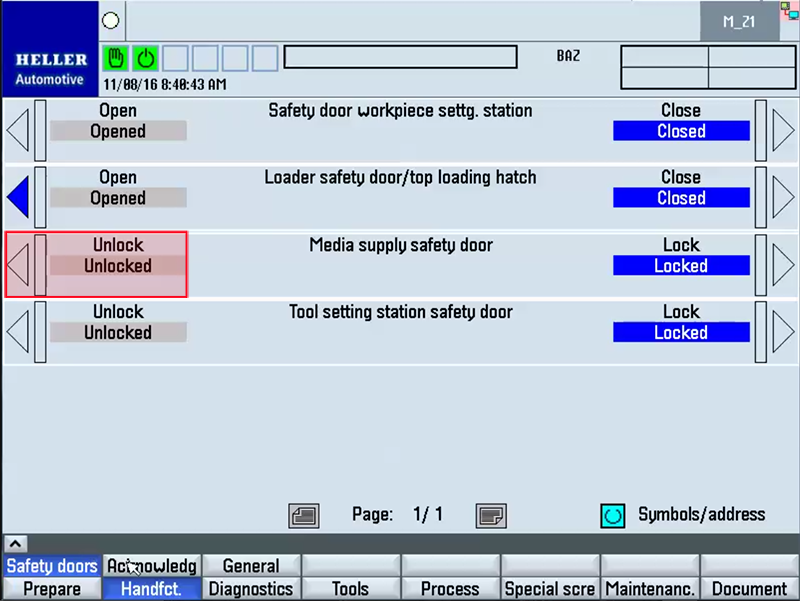
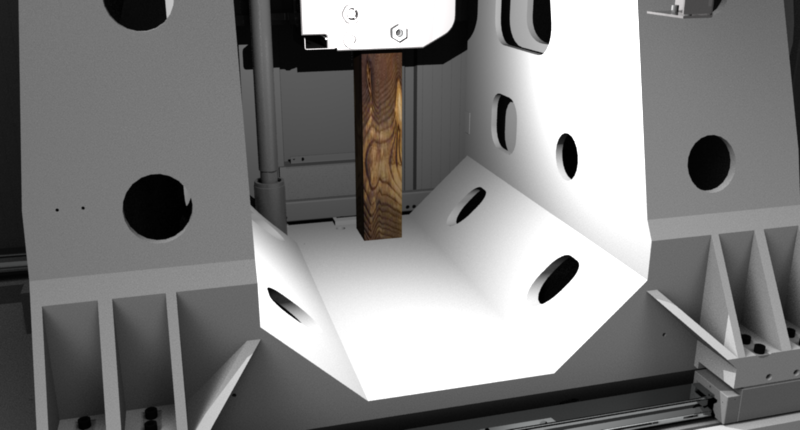
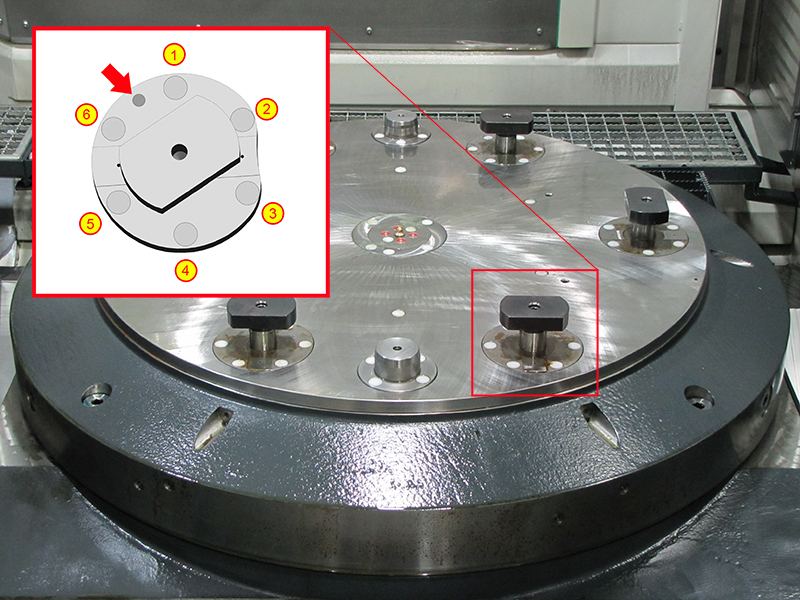
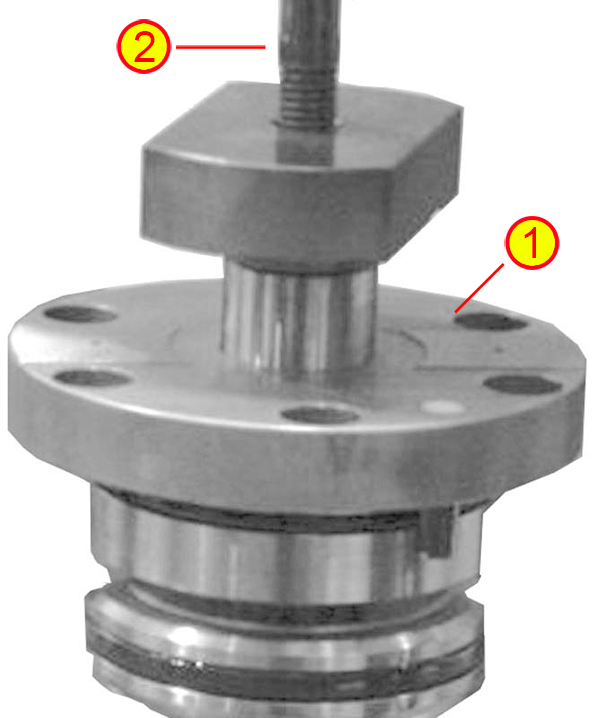
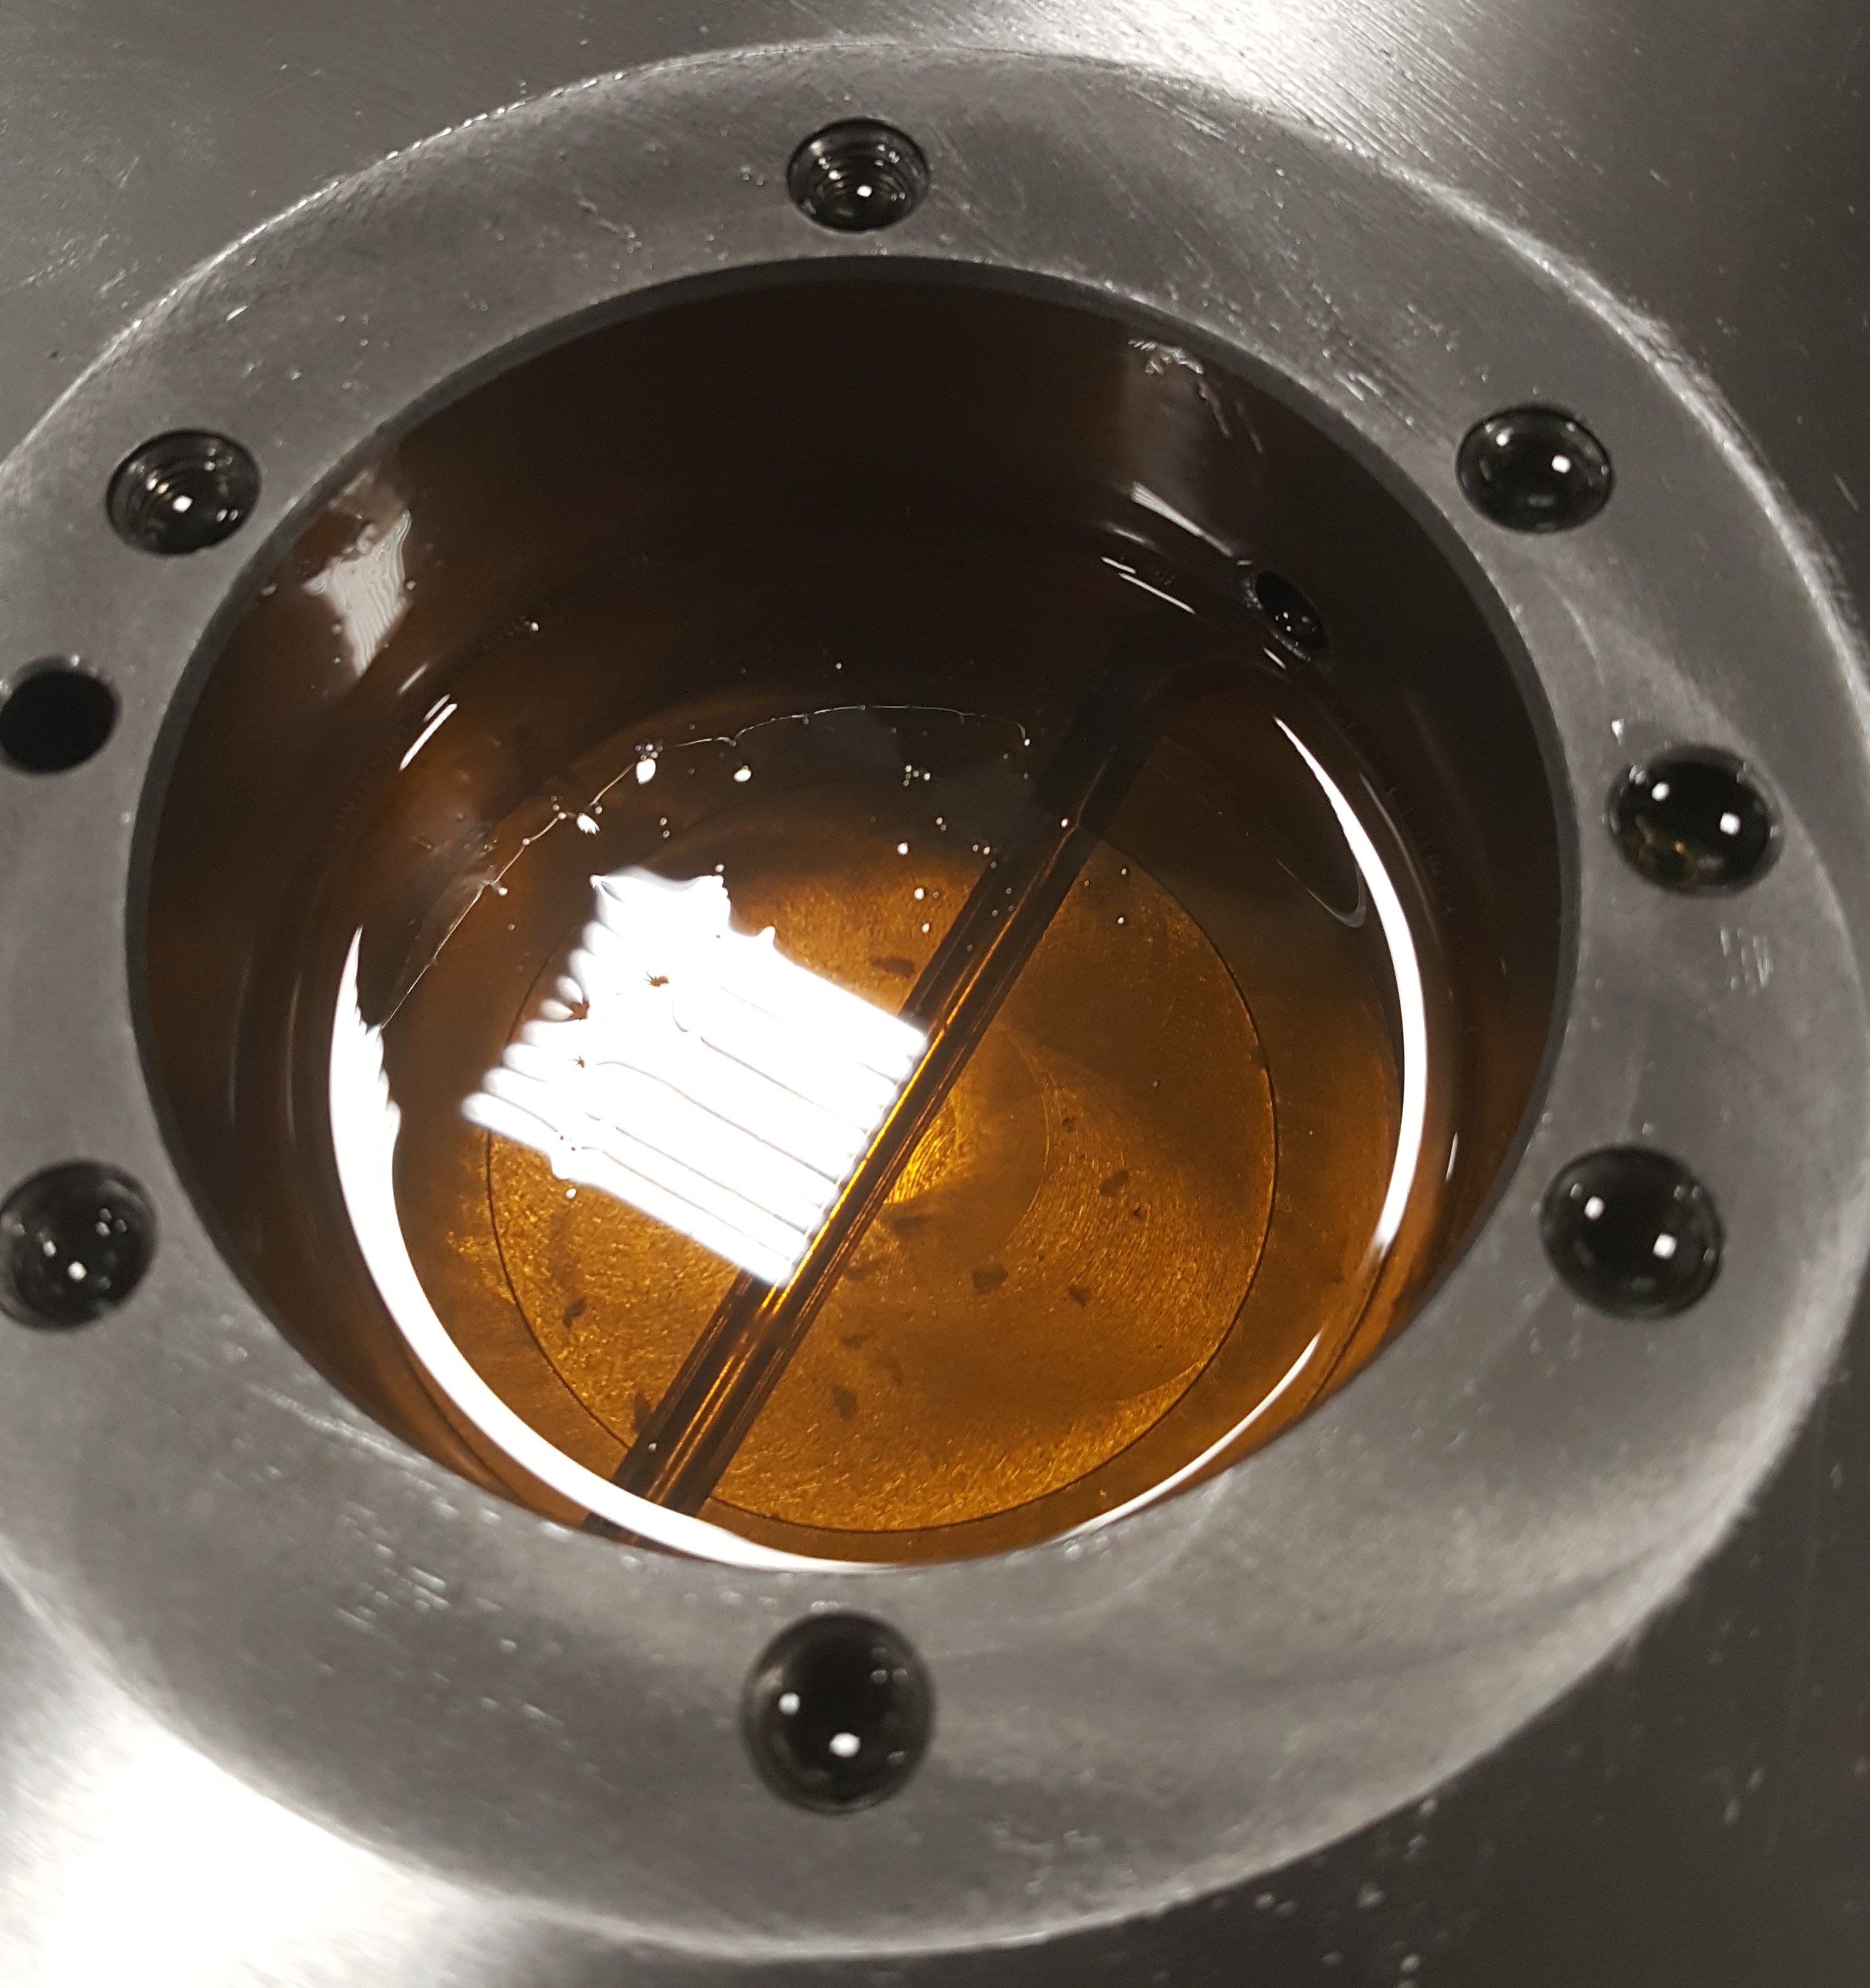
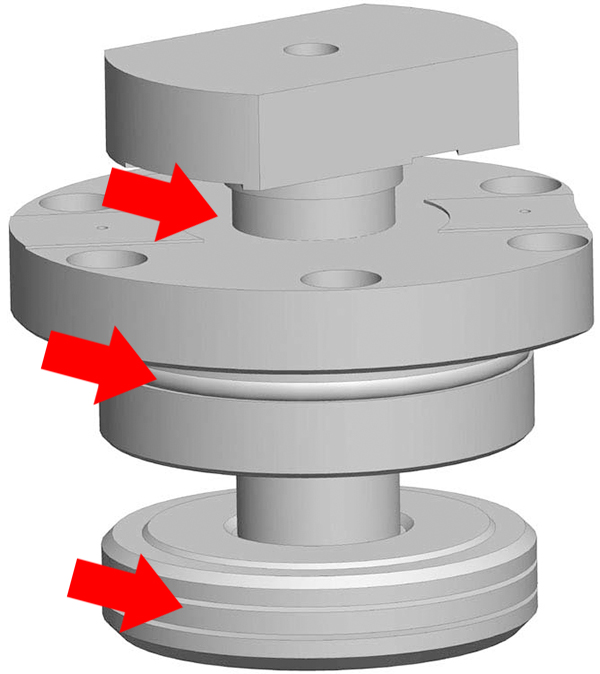
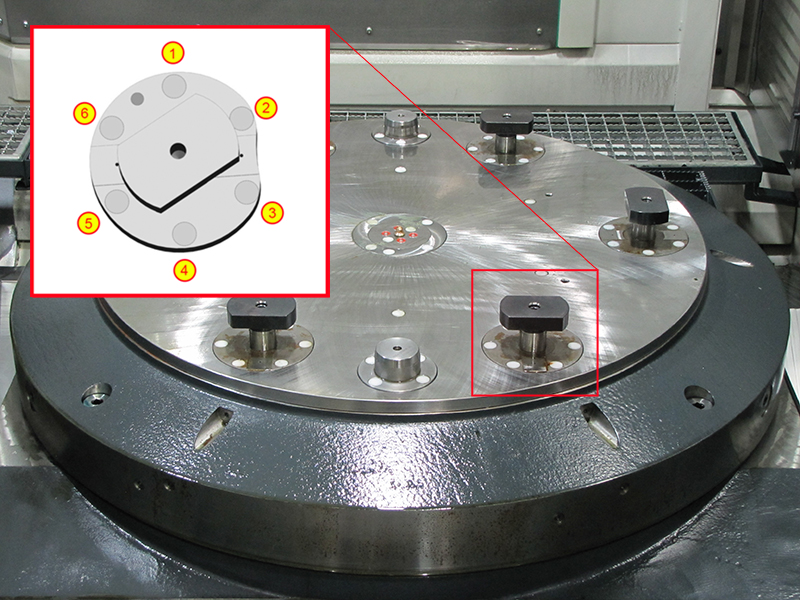
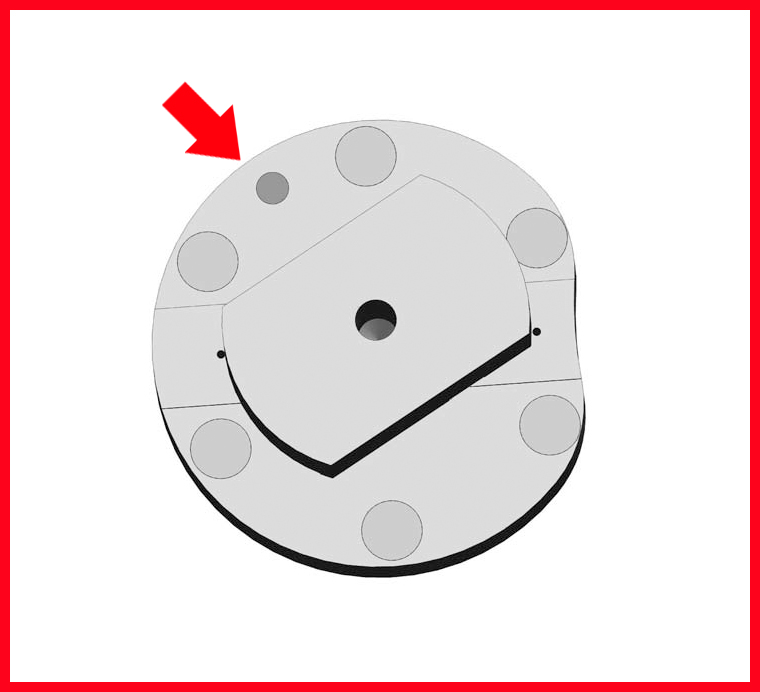
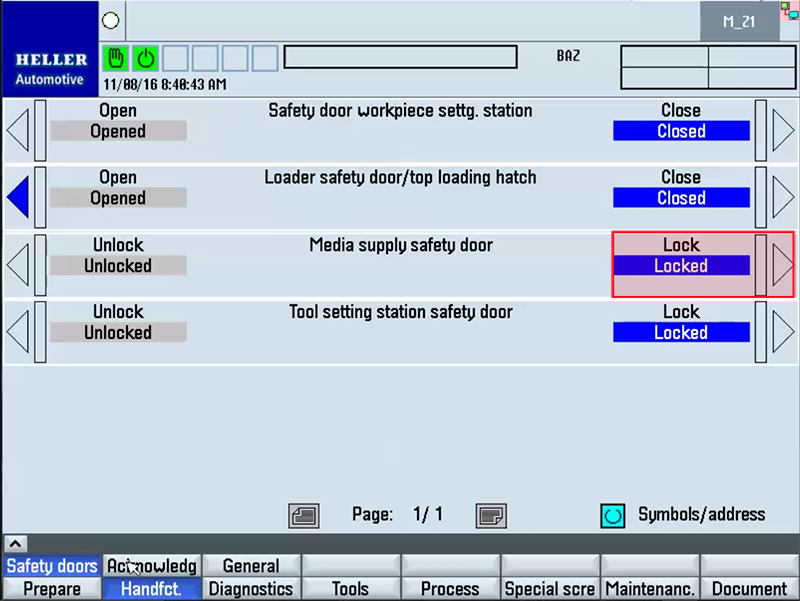
Step 3: Work Area Safety Door opened and securedStep 4: Maintenance Door Open and secured.Step 5: Machining unit SecuredStep 6: Remove Screw Covers and Six ScrewsStep 7: Remove Clamping Device with Slide HammerStep 8: Exhaust oil and clean bore and contacts, Smooth the contact surfaces with a grindstone.Step 9: Lightly oil the sealing points.Step 10: Carefully insert the new clamping device. Screw in the screws, but do not tighten them yet.Step 11: Tap in the locking pin.Step 12: Tighten the screws and tap in new covers.Step 13: Remove support from the machining unit.Step 14: Close maintenance opening.Step 15: Work Area Safety Door ClosedStep 16: ECPL |
|||||||||||||||||||||||||||||||||||||||||||||||||||||||
