Replacing indexing pins

Parts List Reference Files Tools Required Torque Chart
Note: Most common screw sizes shown. Always consult manufacturers recommendations.
Screw Size Grade Torque Specs Range
M5 12.9 7.7-10.3 N-m
M6 12.9 13.1-17.6 N-m
M8 12.9 32.1-42.6 N-m
M10 12.9 64-84 N-m
M12 12.9 110-146 N-m
M16 12.9 274-365 N-m
M20 12.9 534-712 N-m
M24 12.9 923-1231 N-m
Tools Required
1. Set of Metric Allen Wrenches
2. Set of Metric Open End Wrenches
3. Set of Metric Sockets
4. Ratchet and Extensions
5. Torque Wrench
6. Lift Assist Device
7. Depth Gauge
8. Lubricating Oil
9. Isopropyl Alcohol
10. Lint Free Rag
11. Fine Stone

Step 1: ECPL

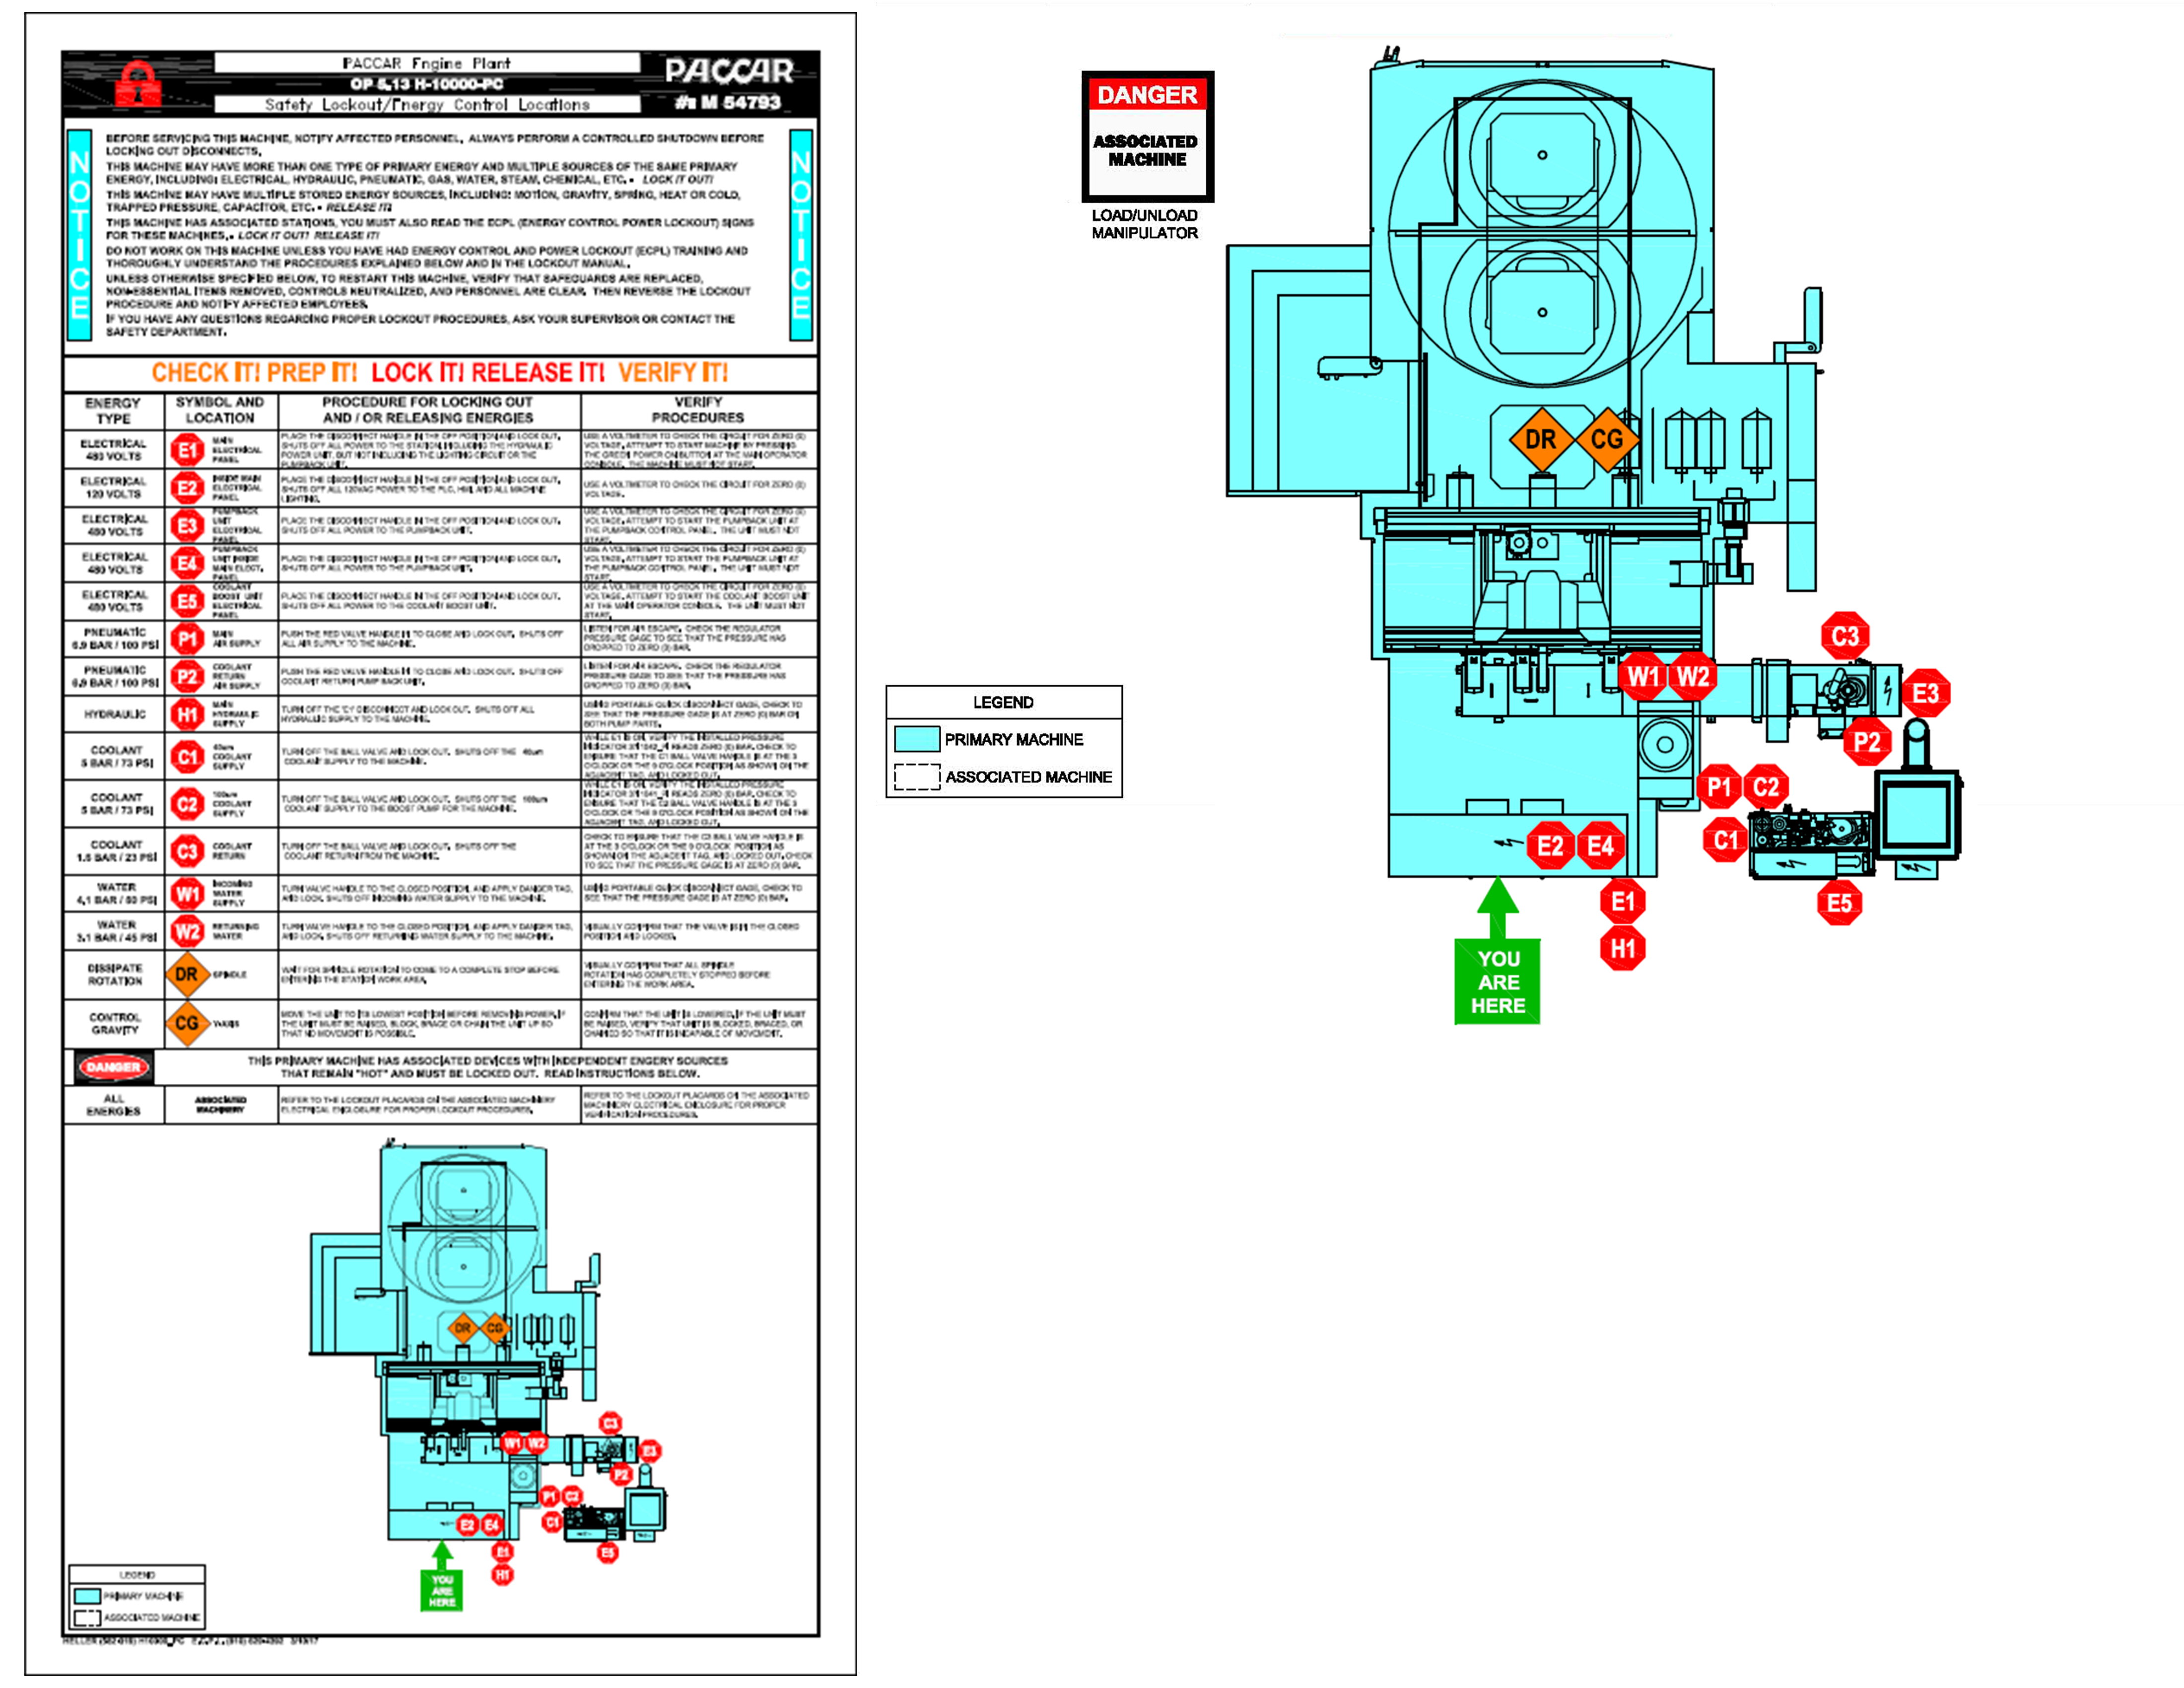
Step 2: Open Work Area Safety Door

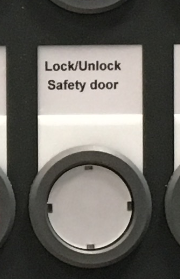
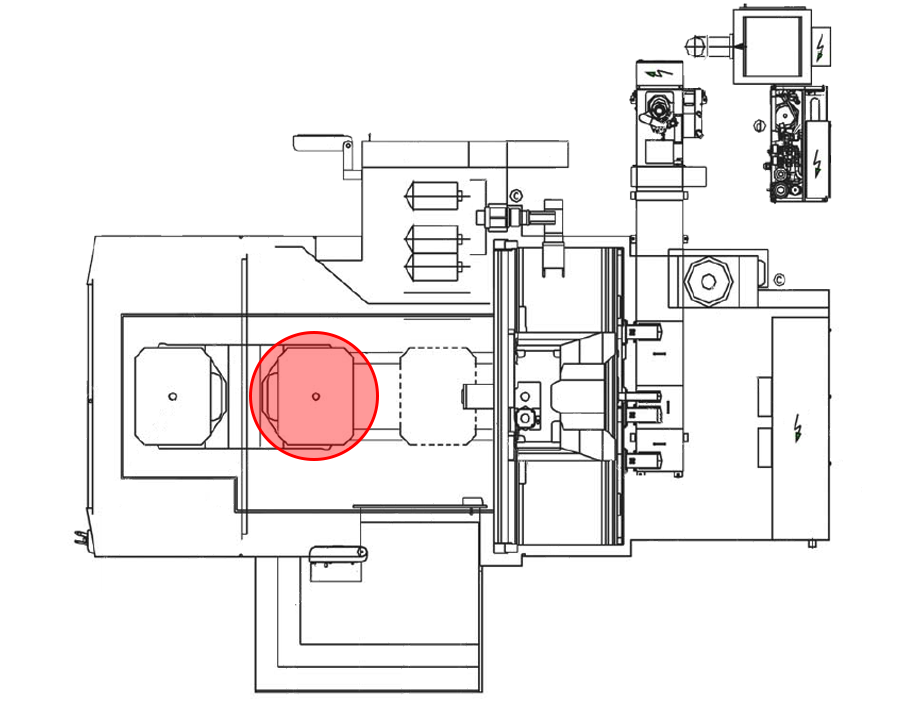
Step 3: Place Bridge
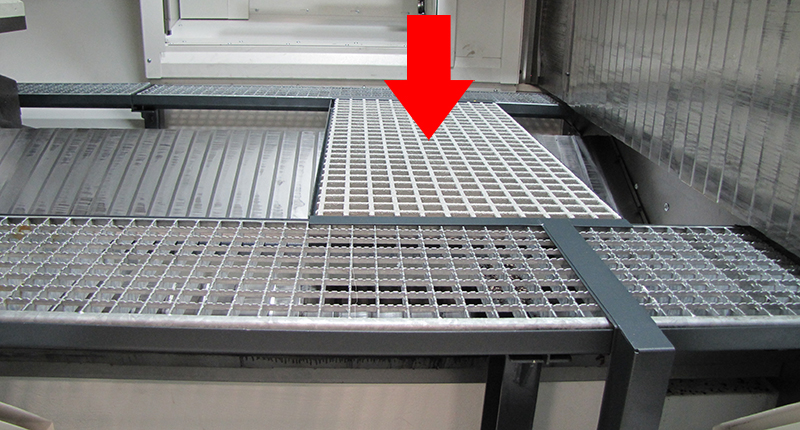
Step 4: Remove Covers

Step 5: Remove Screws

Step 6: Remove Indexing Pins

Step 7: Check Locating Hole

Step 8: Insert and Oil O-rings

Step 9: Insert Indexing Pins

Step 10: Warning

WARNING:
If necessary, use a fine abrassive paper on the index pin so it is able to move freely within the locating hole.

Step 11: Install Screws

Step 12: Install Covers

Step 13: Remove Bridge

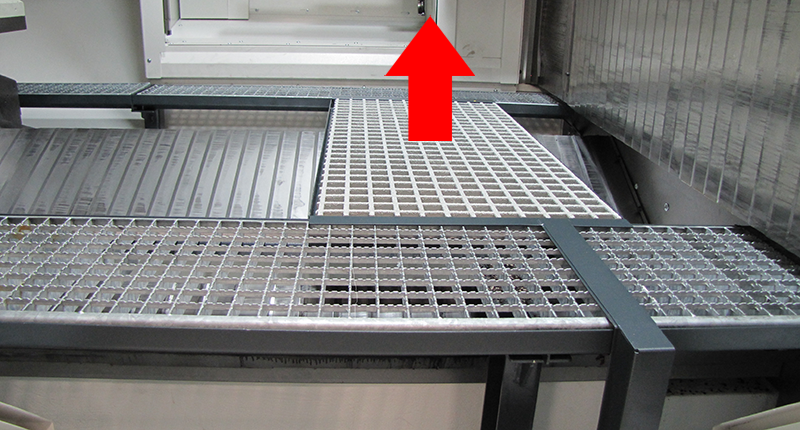
Step 14: Close Work Area Safety Door

Step 15: ECPL